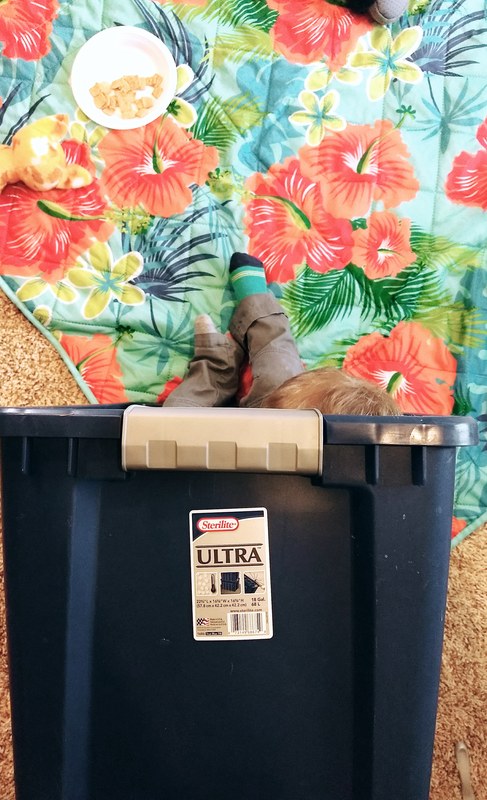
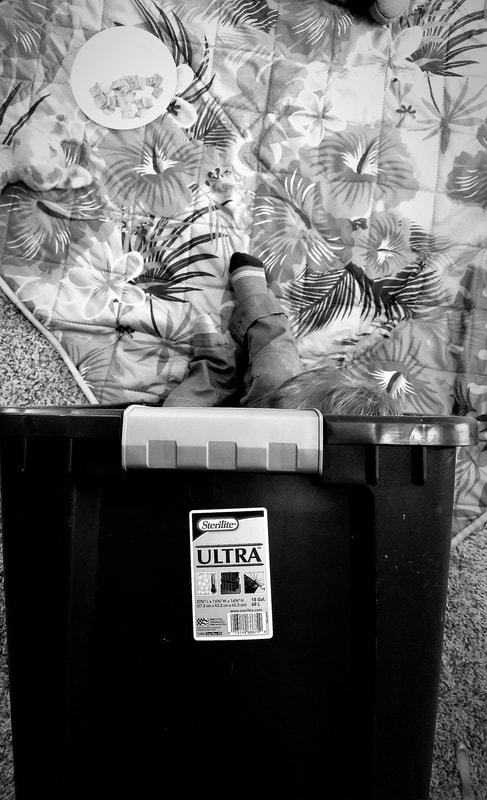
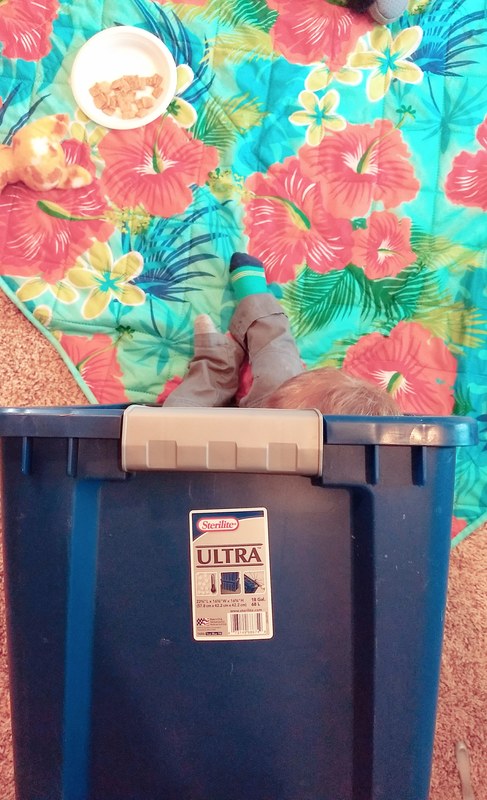
hello!Welcome to Day 2 of my WITL proiect! I took a lot of pictures on Tuesday, so I had to do some editing and not all of them made the cut. I would rather have too many pictures though, so it's ok! Ok, here goes! 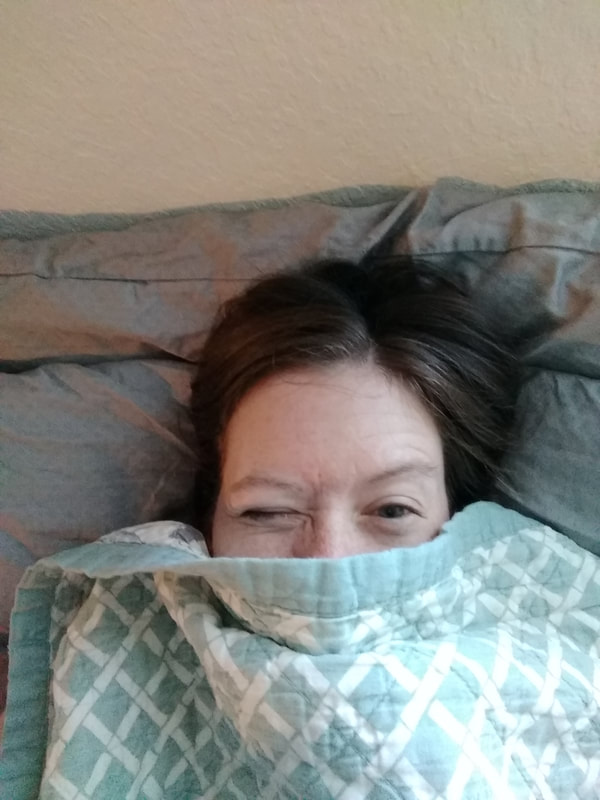 I am not a morning person, so if I could just hide under the covers all morning, I would. But I have a two year old, so I can't. I also totally stole this picture idea from Ali Edwards. I have been looking at her past WITL projects for subject inspiration. Sometimes it's hard for me to recognize those little moments, and sometimes it comes easier. So it's nice to have someone to look to for ideas. 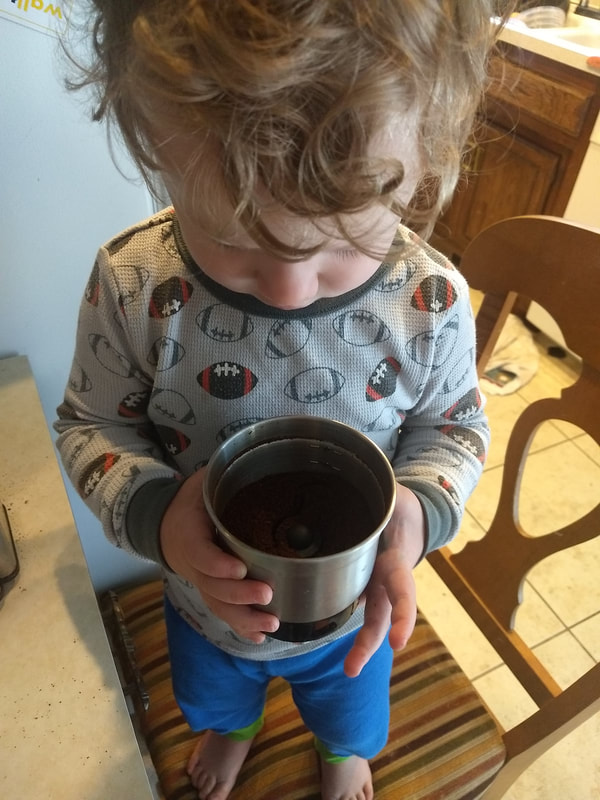 My little barista! L likes to climb on a chair and grind the coffee beans for us. It' so cute! I love when he helps out and finds joy in doing things we would consider mundane. Everything is brand new to him and it really makes me look at life from a whole new perspective.  Impromptu lunch date with my boo. Love these little moments we manage to squeeze into the day. 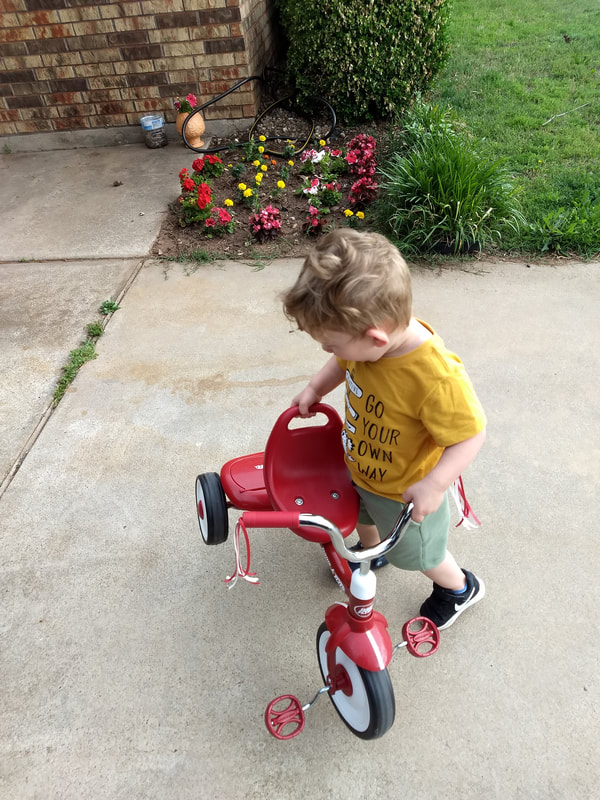 He insisted on carrying it into the house....ok, whatever, little dude, lol. I love his independent spirit that is starting to come out! 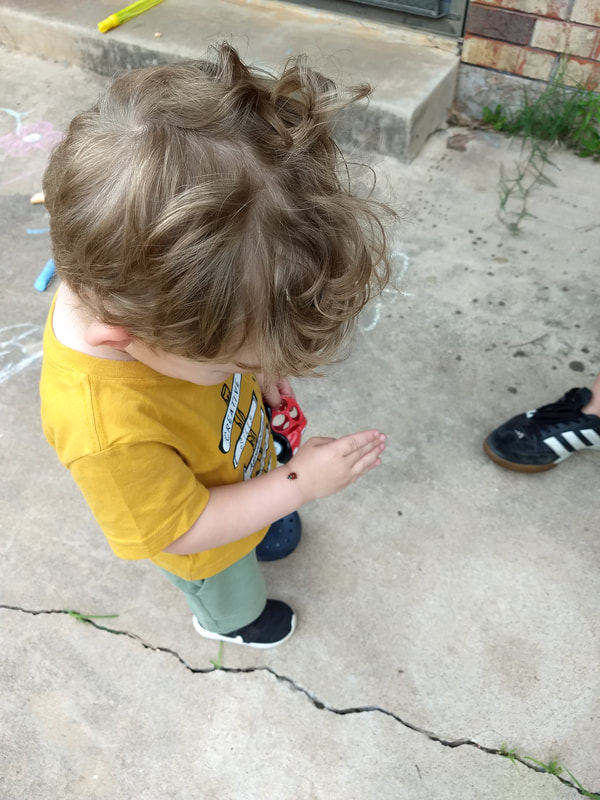 We found a pretty big ladybug on the water table outside. So, of course, it had to crawl all over L! He is fascinated by bugs and when we put the ladybug down, we had to repeatedly tell him to leave the bug alone. Otherwise, it might not make it out alive...eek! 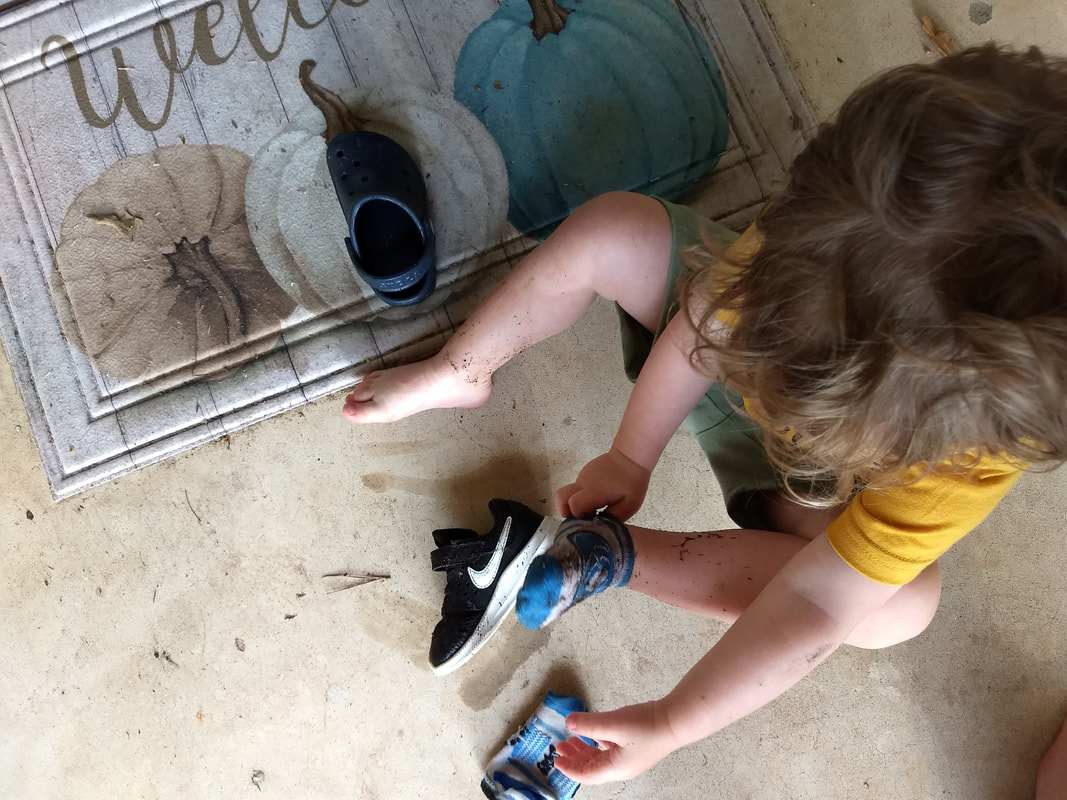 Taking our shoes off after stomping around in a small mud puddle. Yes, they don't match. No, I don't care. Kids are kids, *shrug*. 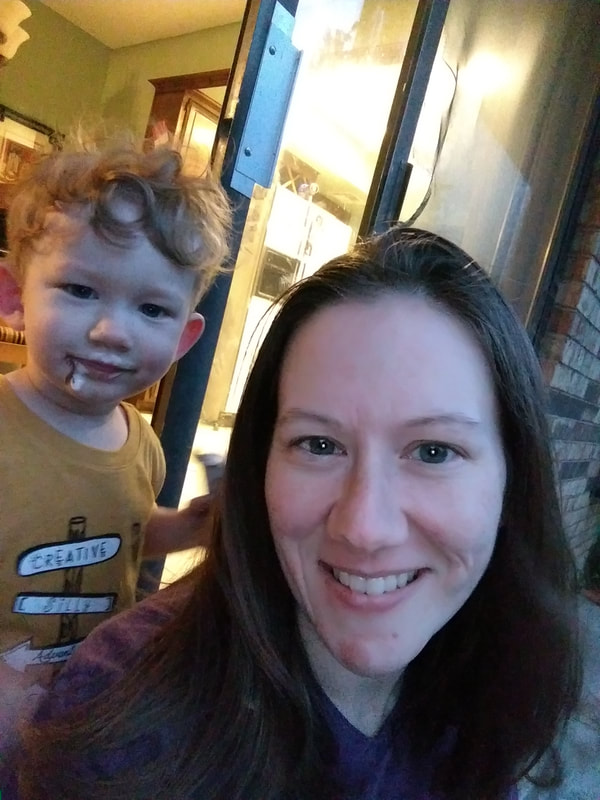 Ice cream and playing outside before we settle down and get ready for bed. The weather has been perfect in the mornings and evenings, and our little nature boy loves to be outside. So that's Tuesday! Thanks for stopping by, and feel free to comment with links to your projects!
Peace, Anne
0 Comments
hello!Well, at the last minute (story of my life), I decided to take part in Ali Edwards' "Week in the Life" project. Basically, it's just a more detailed look into a week of your life. I decided to just go with the flow and document whatever seemed interesting-not really keeping a theme or storyline in mind. So, here is day one. Enjoy! And if you are taking part, please leave a comment or link to your work :) 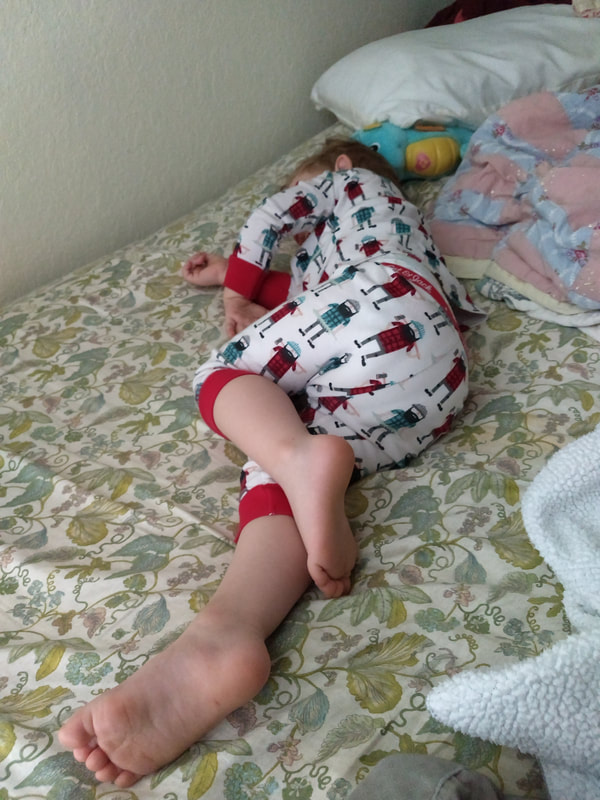 A typical morning is waking up next to this kid. I complain about co-sleeping sometimes, but honestly, I love it. This morning, I let L sleep a few minutes longer because we had a busy day on Sunday. 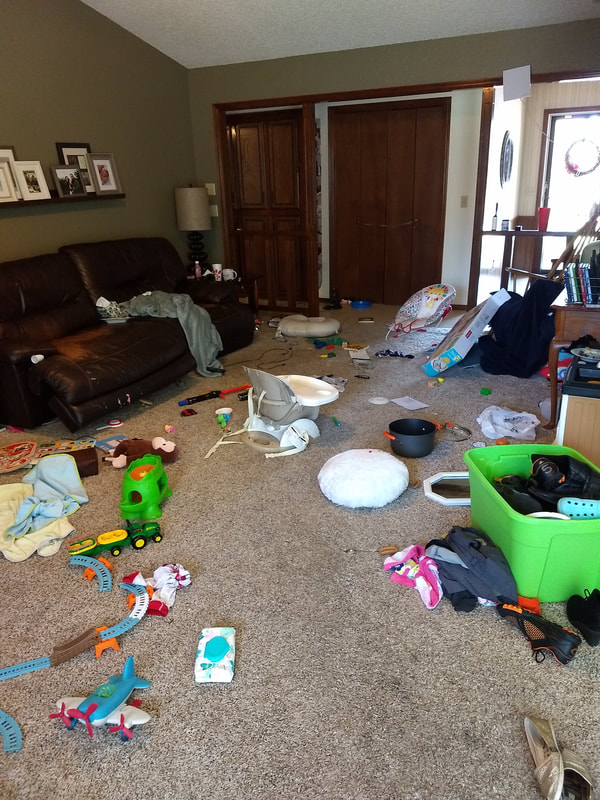 This mess, ya'll. Unfortunately, I didn't get an after picture, but I promise, it did get cleaned. And then it was promptly dirty again after L got home. Oh well! 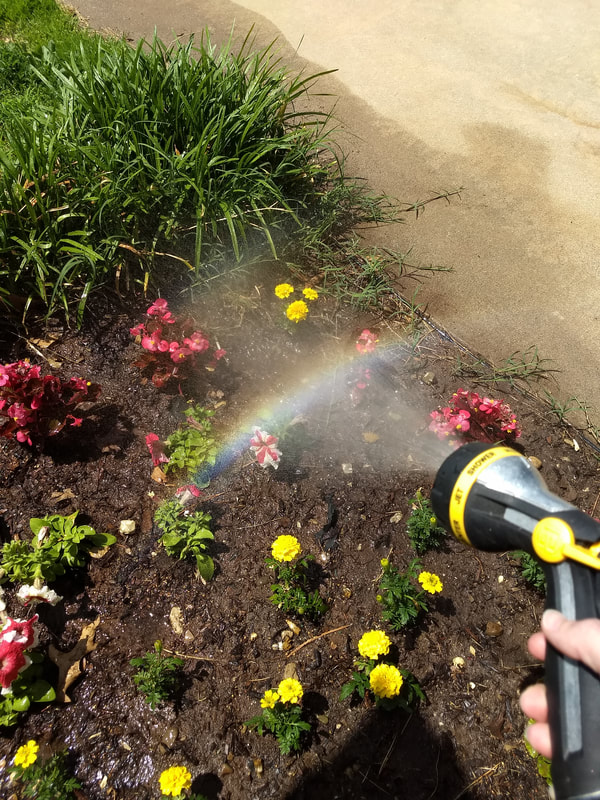 Watering my little garden. I've never been much of a gardner, but it runs in my family, so I figured I'd see if I got any of the green thumb genes. So far, so good, but its only been a month, lol. I find it to be calming and somewhat therapeutic though, so I' m enjoying it so far. 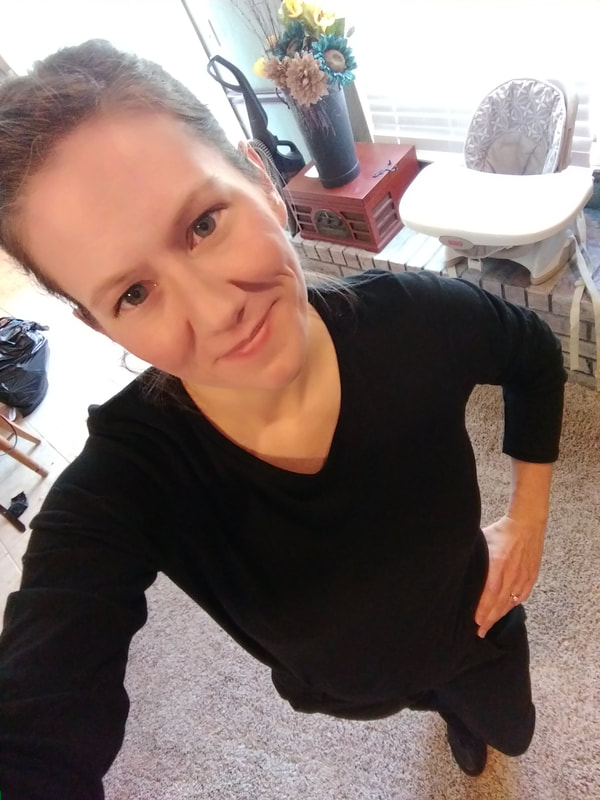 Heading off to orientation at my new job. Little did I know, the next day I would find out that this job probably isn't going to work out. Such a bummer, I was looking forward to it. So, now I'm back to the drawing (job) board! And that's it! Hope you all are enjoying the little moments in your days!
Peace, Anne hello!Happy (inter)National Scrapbook Day! Today I have a freebie for you! Yay! Hopefully, you can use this to honor a special mama in your life. Even if it's yourself! Because, let's face it, sometimes we don't give ourselves enough credit :) I have two .pngs, a filler card, a journal card, and some papers. And these were made with some free graphics from foxandhazel.com-check them out! Just click on the picture below and it will take you to the download. Hope you all have a fabulous (i)NSD and Mother's Day! 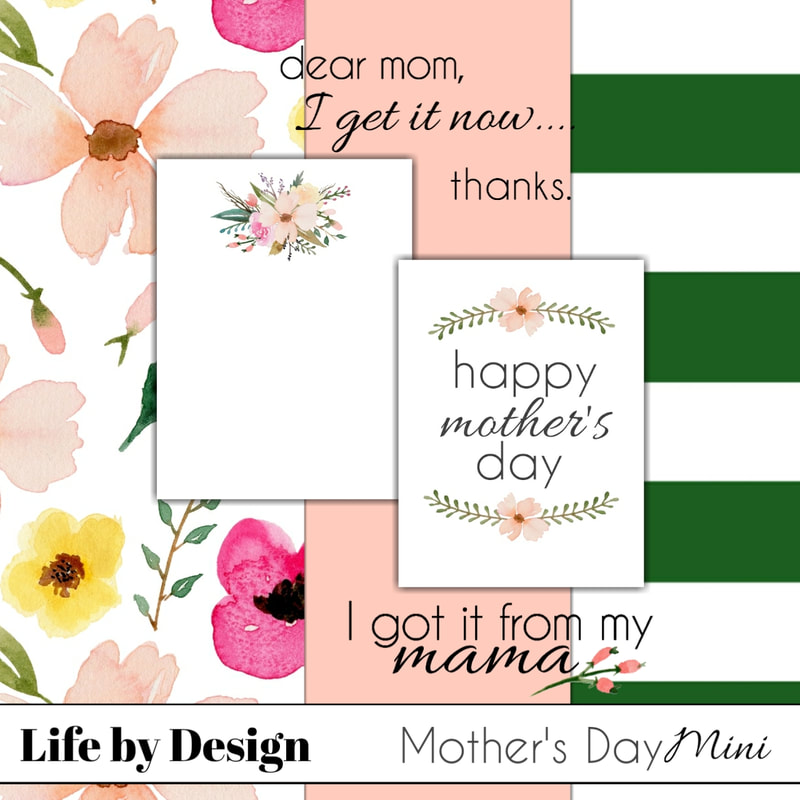 Peace,
Anne hello!Well, we are moving through this year very quickly! And my, what a year it has been so far! I thought it might be nice to share some of my favorite layouts with you, as well as my process, and how it differs from last year. Let's dig in! So, last year, I did the Project 52 format, using the Project 52 Fresh Edition. I didn't deviate much and used the same kit all year....and I got bored. So, this year I am using The Project 52 Rad Edition as my main kit and then complementing it with about three other kits (or sometimes whatever works with the pictures). I like the variety and I'm not getting bored with it. I am also scrapping in a more event focused manner, instead of doing strict week by week. It's kind of a blend of events and month by month. It seems to be working. I don't feel as much pressure to take pictures and I think it leads to more meaningful memories. So, remember, there are no rules, no pressure to get it done...just relax, it's about the memories in the end :) Enjoy this little bit of inspiration and tell me..how do you document your year?? 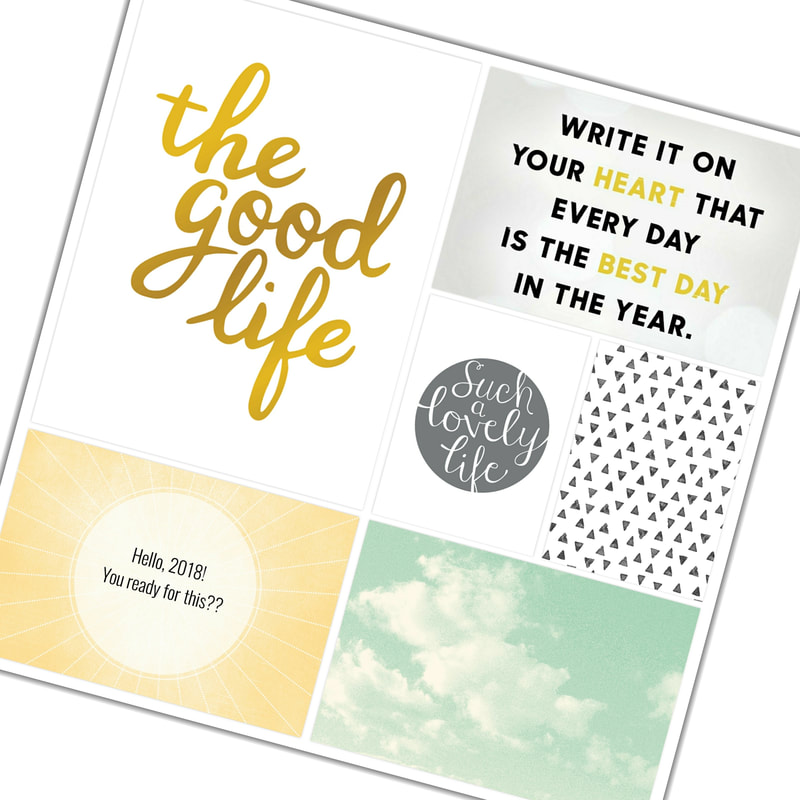 Amy Tangerine Cut and Paste Mini Kit, Memories in the Making, Happiness Is, All Year Long Edition 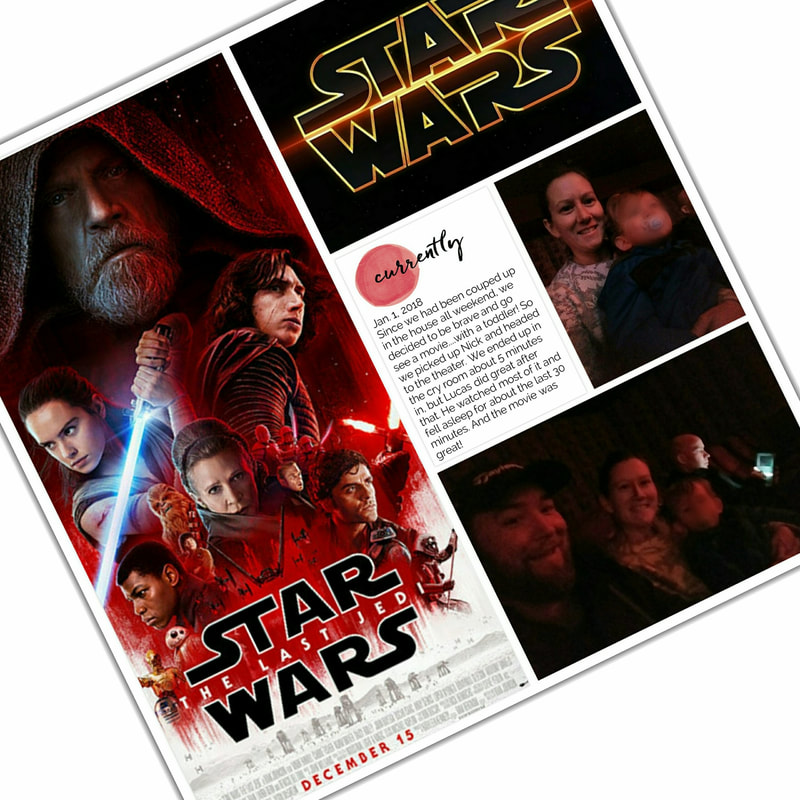 Modern Edition 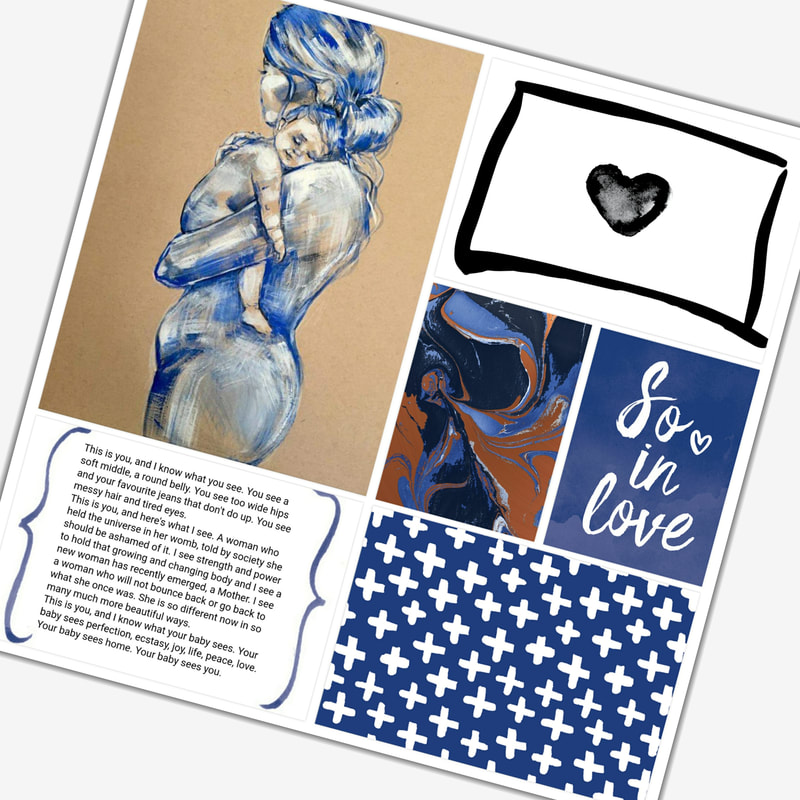 Modern Edition, Love Story 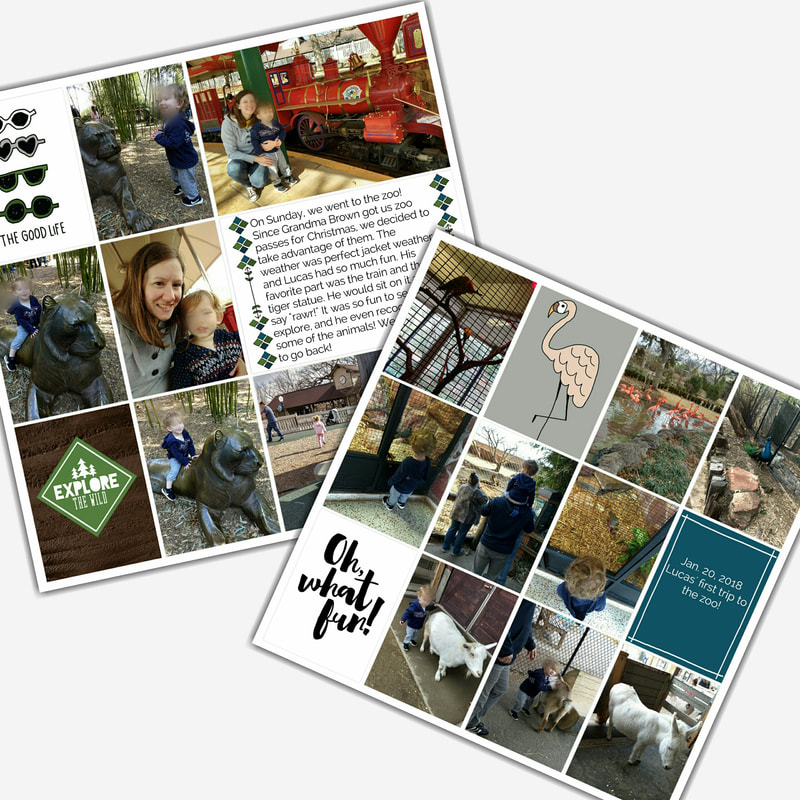 Dreamchaser Kit (how perfect is that flamingo??), Hello Lovely, Explore Edition  Modern Edition 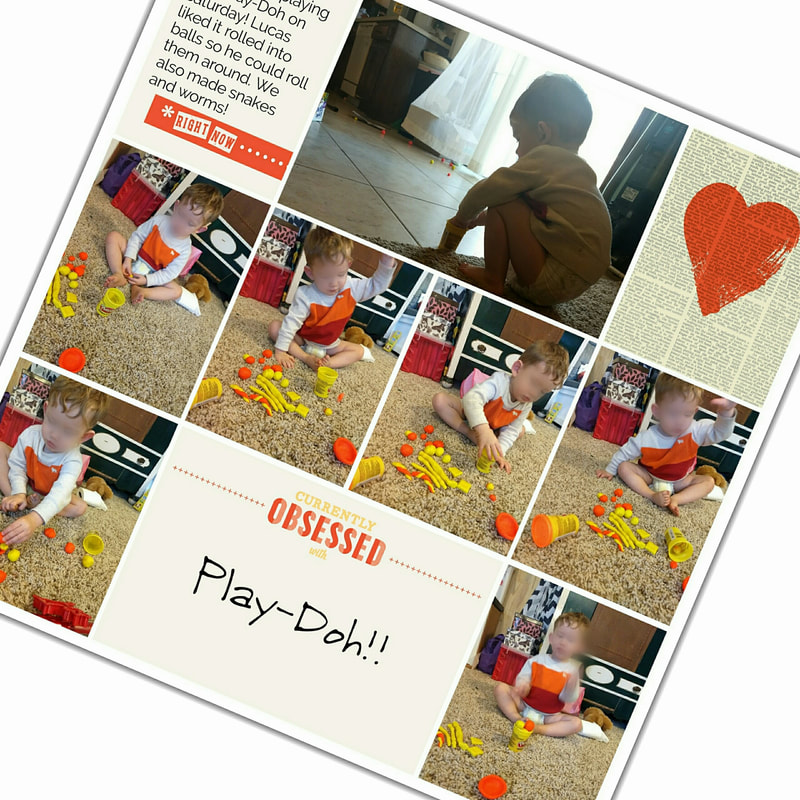 Amy Tangerine Cut and Paste Mini, Copper Mountain Card Collection 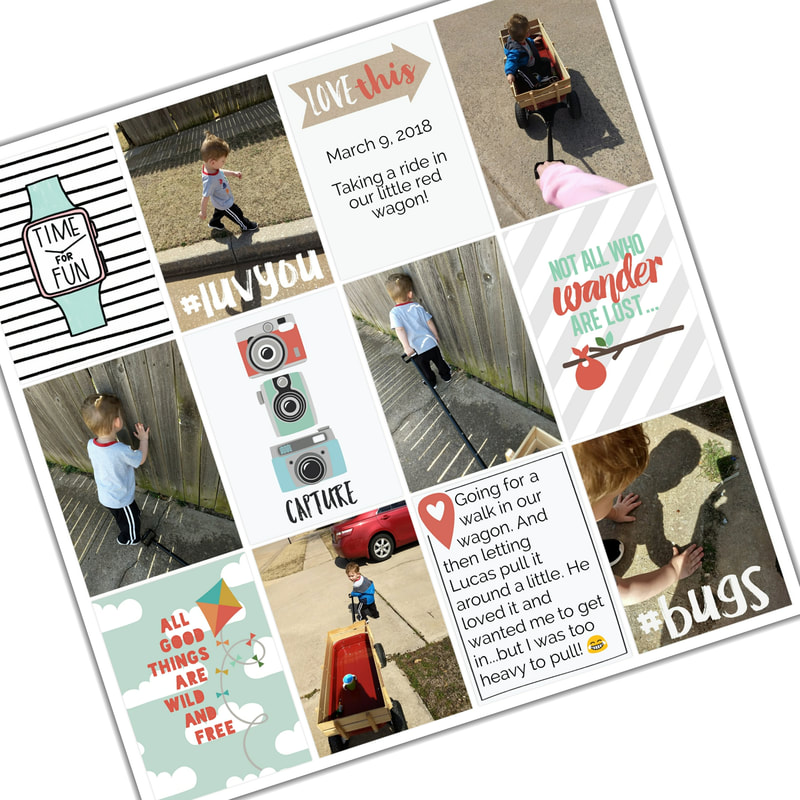 Project 52 Rad Edition, Explore Edition, Capture Life Themed Cards 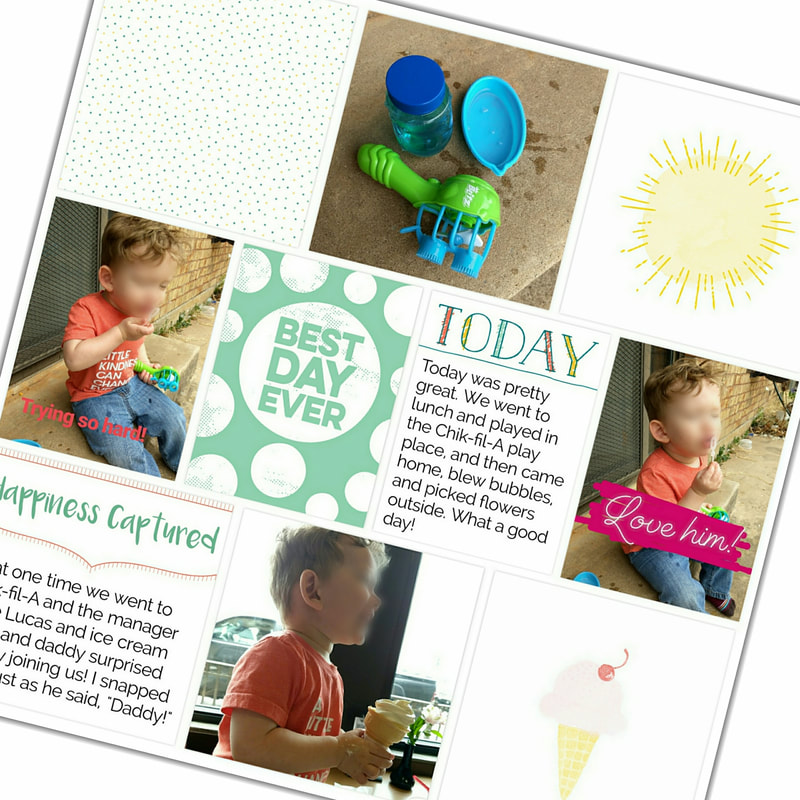 Memories in the Making, Explore Edition, Playground Edition, Baby Boy Edition  School Themed Cards Peace,
Anne hello!!How are you?? I'm doing pretty good. Today I want to talk to you about Instagram Stories. I love Instagram Stories! If you're unfamiliar with it, basically it just allows you to create a 24 hour story through pictures or video. It's a great way to show your process if you are a creator, show off merchandise, or just talk to people and share your thoughts. It also has some great options for adding text, emojis, or hand drawn accents to your photos. And although your followers will only see them for 24 hours, you can save them to your phone if you want to keep them; which means, in a way, you could use it as a quick photo editor and add them to your Project Life layouts :) If you haven't tried it, I highly recommend it! So, like I said, you can add little embellishments, text, whatever to your photos. Today, I am going to show you how to make a quick journal card, do a text overlay, add embellishments to your photos and add filters. And, just to note, you can either edit the photo, and then save it to you phone and stop there, or you can keep going and publish it to your story...whatever you want to do. (There is a setting where Instagram will automatically save any of your stories for you after you've published them as well.) Ok, so first things first, you start a story by clicking on either the camera or your circle in the upper left hand corner. 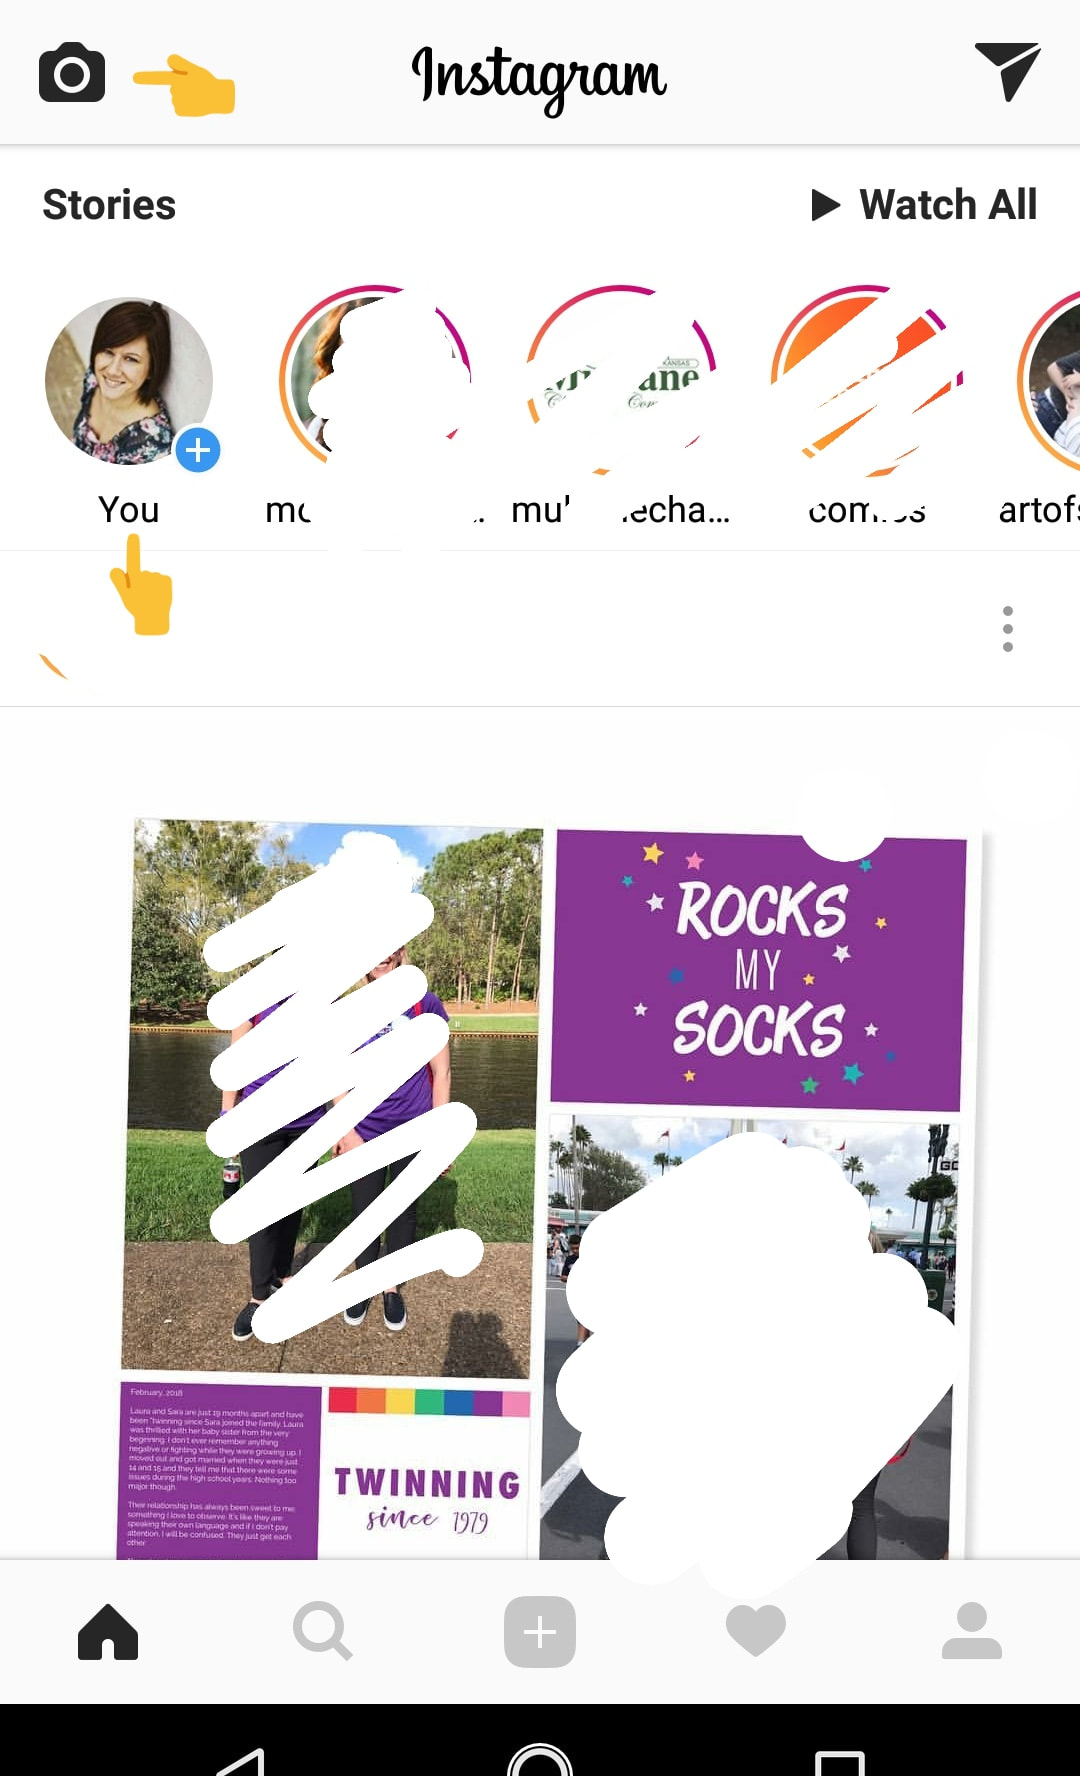 It will automatically open up to the camera function, so to edit an existing photo, you will select the square on the bottom left hand side of the screen. This will pull up your gallery. 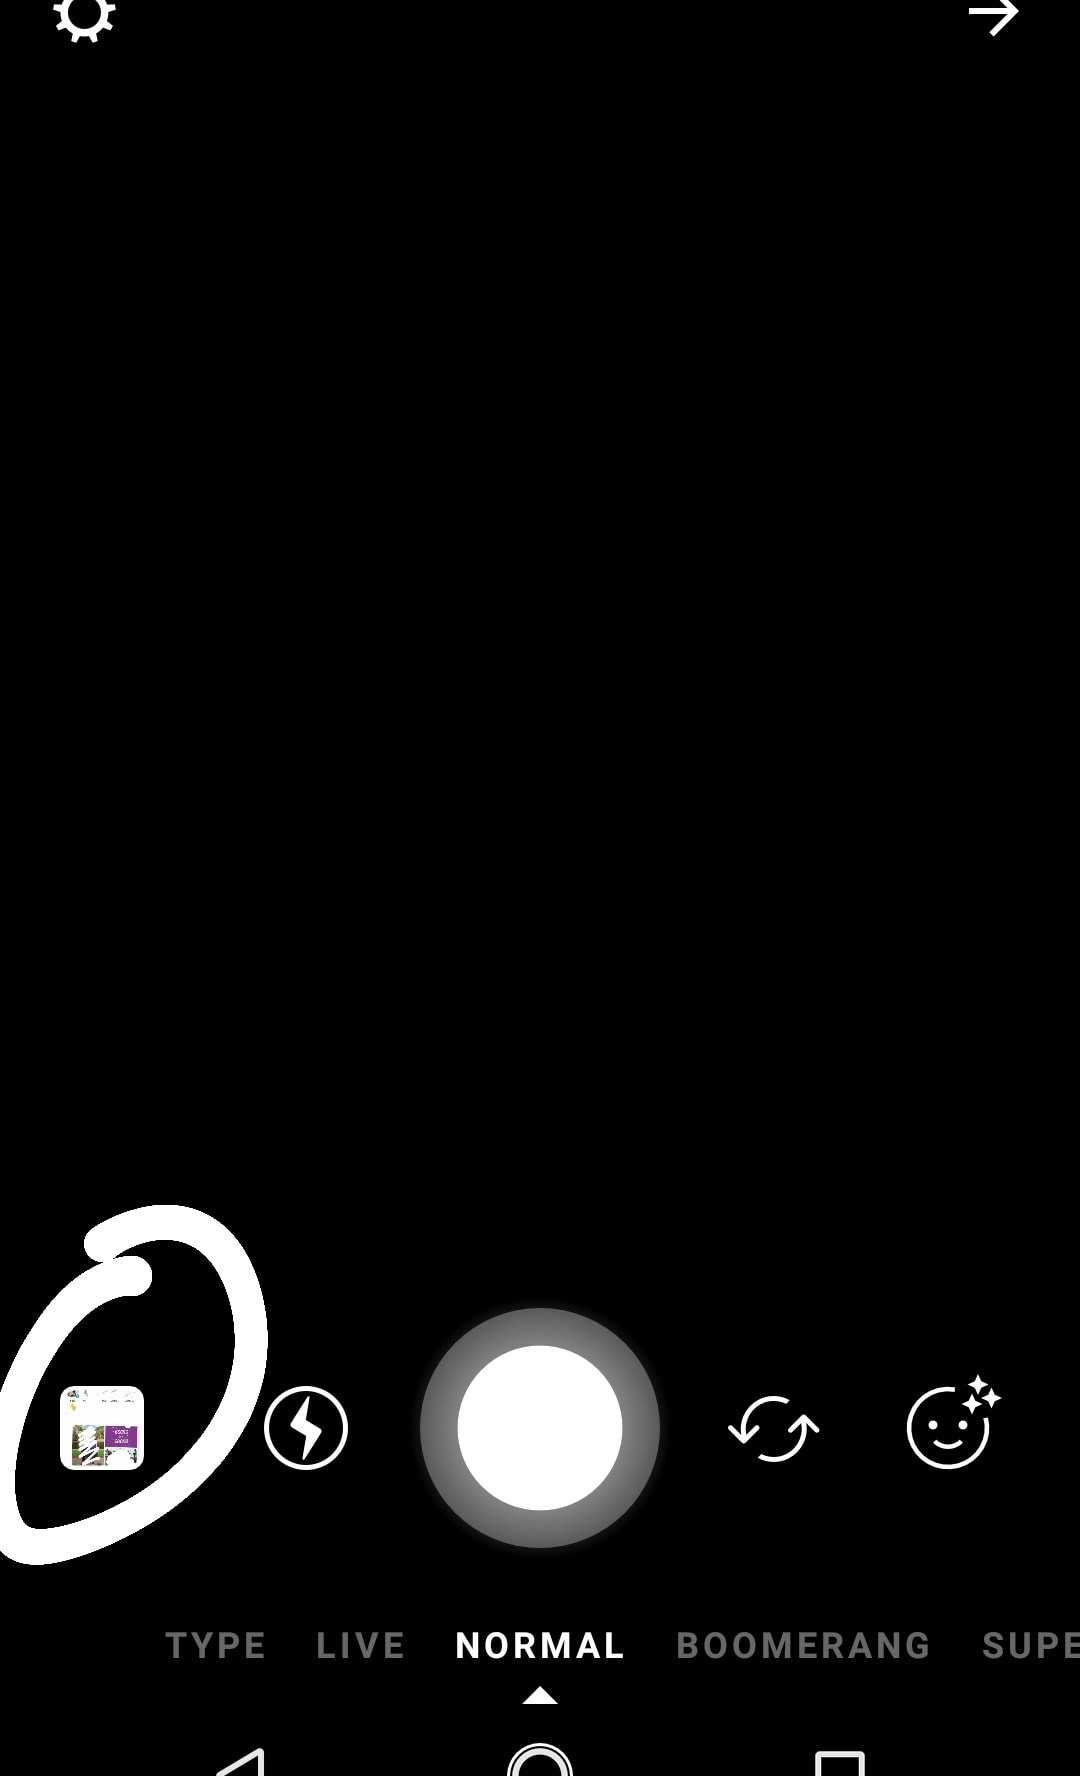 So from here you can add an element to your photo like the date, a cute phrase, etc. You'll see these options in the upper right hand corner. Basically this will give it an overlay look. And then when you want to save it, just hit "save" in the lower left hand corner. Done! 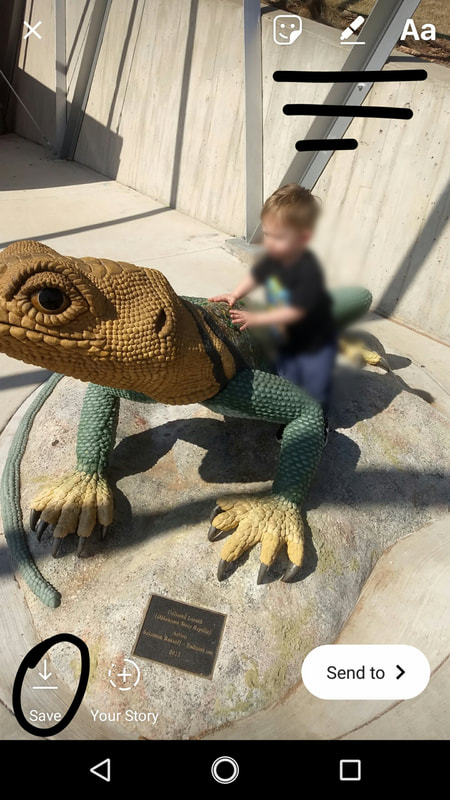 If you slide the word "Type" over to the arrow on the bottom, you will get a colored background to just write or draw on. This is a good journal card option. You just tap to type and then change the color with the little circle on the lower left side of the arrow. 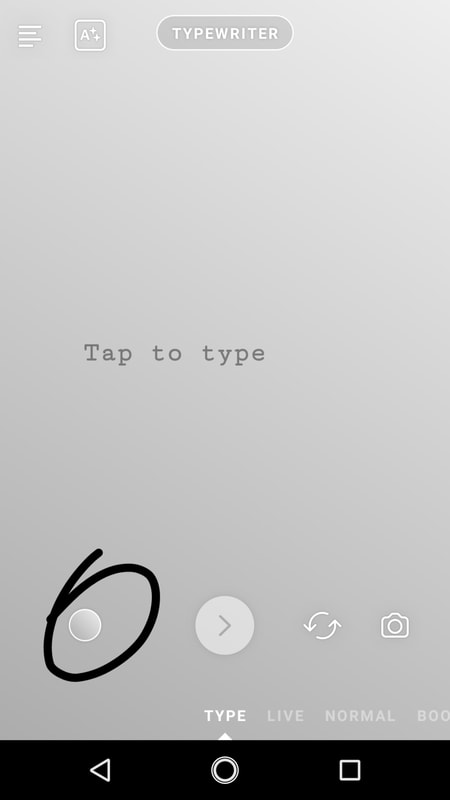 I like this idea because I know not everyone wants to download a ton of apps on their phone to do photo editing. And this is fairly quick and easy to figure out once you start to play with it. Here are some examples that I recently did: 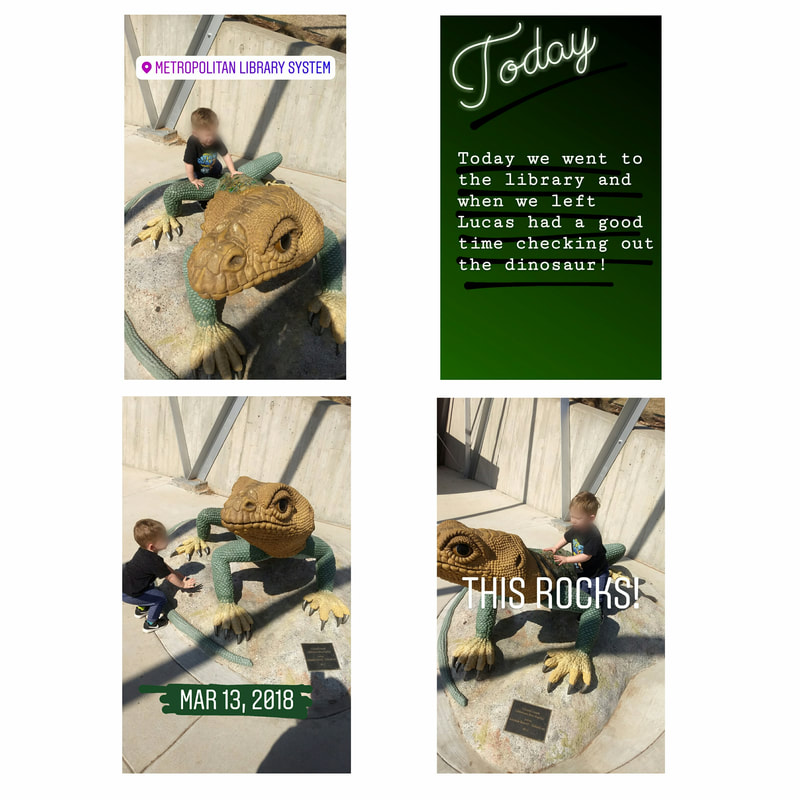 And then to change the filter for a different look, just swipe left or right. A few examples:
And here's how I incorporated them into my page! They went perfectly with the Dreamchaser Card Collection! 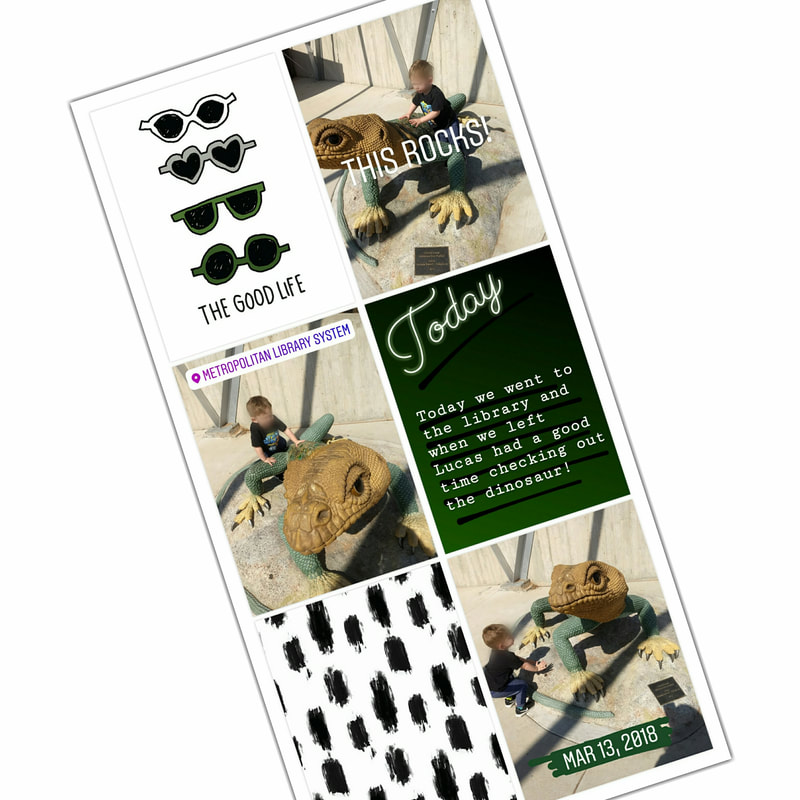 So, if you haven't tried Instagram Stories, I highly recommend it! Have a good weekend and keep scrapping!
Peace, Anne Hello!Happy Spring!! I know, I'm technically a little early, but I just couldn't wait to share some freebies with you! Yay! Anyway, talk about an awakening/rebirth/chance to start anew....A little over a week ago, I quit my job. You guys, this is a BIG deal. For too long, I had underestimated my worth, got too content, and allowed myself to be a pushover. Well, no more! I deserve more, and frankly, my family deserves more, so I'm looking for a new path. I am opening myself up to different opportunities I may not have considered before and looking beyond my field of study, (or should I say, pigeon-hole), to see what door will open for me next. I am so excited for this next chapter of my life! So, on with the freebie...I made three, Spring themed 3x4 pocket cards-one journal, two filler- and a .png for you all! 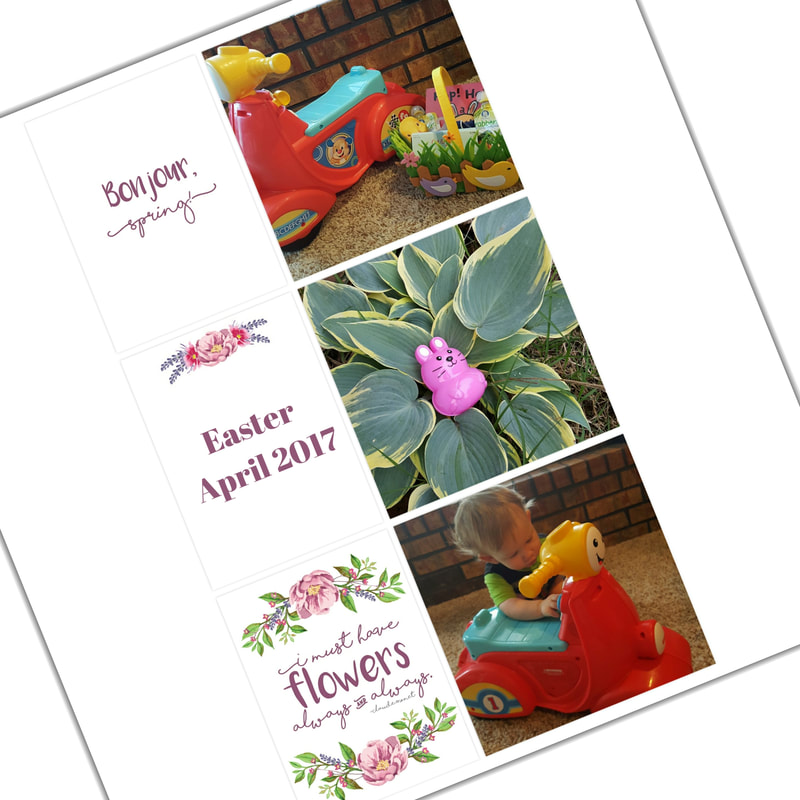 Aren't these so cute! I found some really pretty, free watercolor graphics from thehungryJPEG.com, and I am loving how bright and springy they are. Click on the image below to download and I hope they find their way into your memory keeping :) 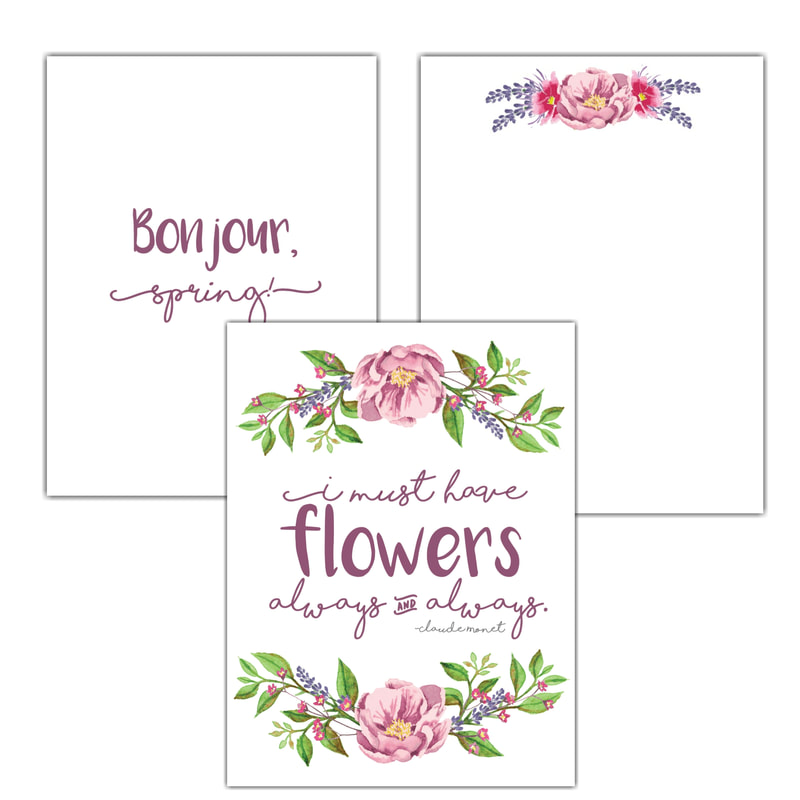 Until next time, enjoy the first day of spring and keep scrapping!
Peace, Anne hello!Ok, so we are on lesson 2 in our PixelLab 101 series! Yay! I thought really hard about what I wanted to teach you today....and I came up with "Layers". So, in Pixellab, you have the ability to layer elements on top of each other and/or your background/picture. This was actually one of the reasons why I downloaded this app. I kept seeing all these cute .pngs and overlays and really wanted to use them. But in the Project Life app, you can't do that, so I asked around, and PixelLab came highly recommended for Android. And this app will not only allow you to work with .png's, you can even make them as well! But that's a story for another day :) Ok, lets get started. So, this is what we will be making today:  Ok, so first, open your app. The first thing you are going to do is change your background. You can either change the color, or bring in a photo you would like to be your background. To use a photo, just click on the three dots in the upper right hand corner, select "use image from gallery", and then select the photo you would like to use from your gallery/photo storage. 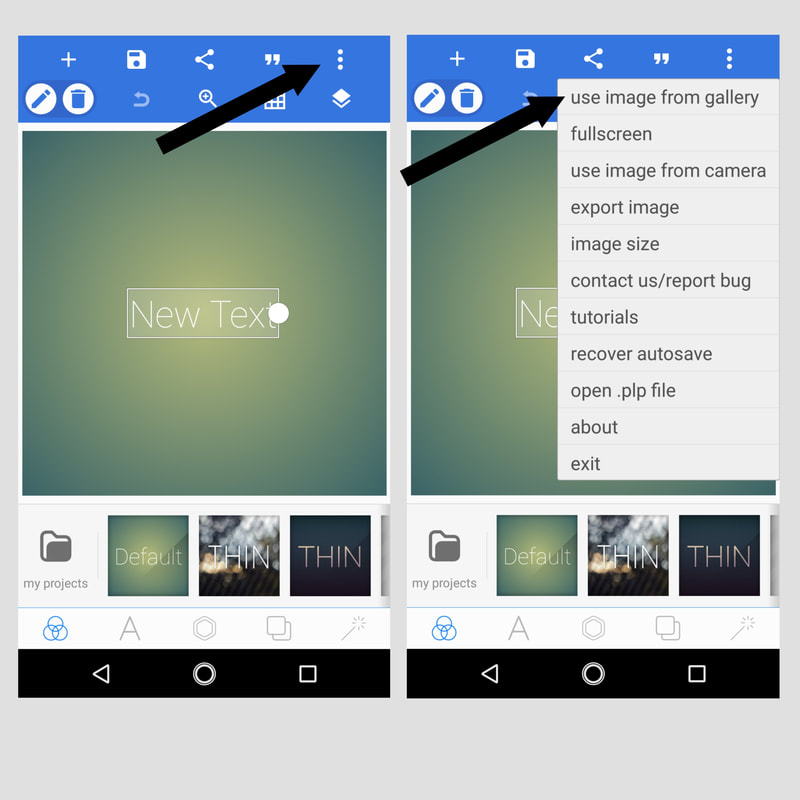 Next you are going to add the first element-the rectangle. Select the hexagon shape in the middle of the bottom menu bar. Select "shapes" and when you click on the drop down menu next to the square, you will see a variety of shapes to choose from. Select the rectangle. 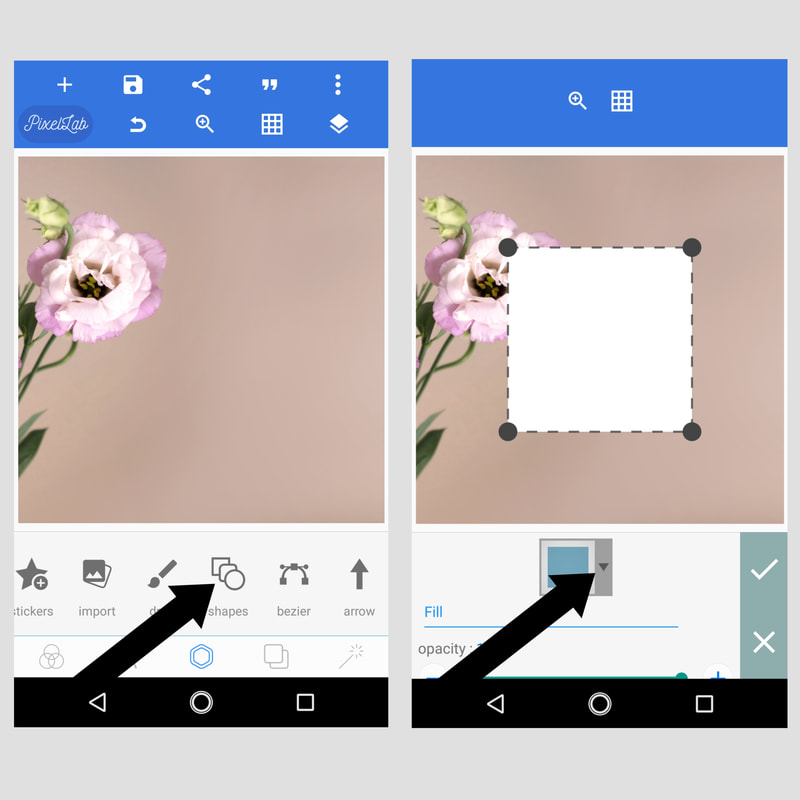 Then you can edit as needed. I changed the color and rotated it. 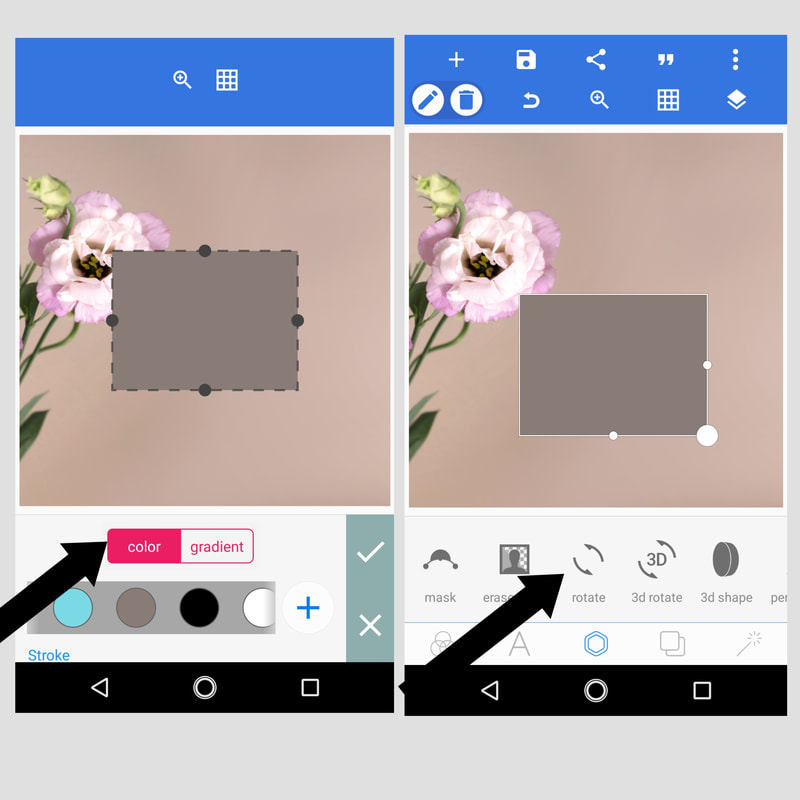 This is where the "layer" feature comes in. Once you place your shape in its final spot, you can lock it in place. This comes in very handy when adding elements on top of each other -especially on a phone, where it can be hard to move things around on such a small screen! In the upper right hand corner, under the three dots, is an icon that looks like two pieces of paper stacked on each other. You will select this and a list of all your elements will pop up on the left side of your screen. Hit the padlock icon and it will lock your element in place. If you want that menu to go away, click on the sheets of paper again. 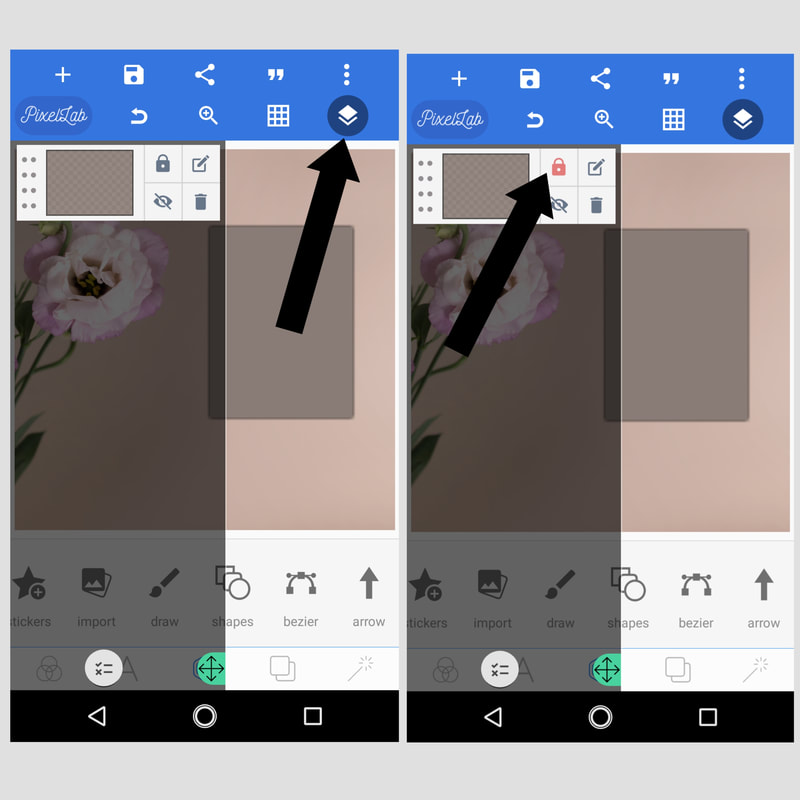 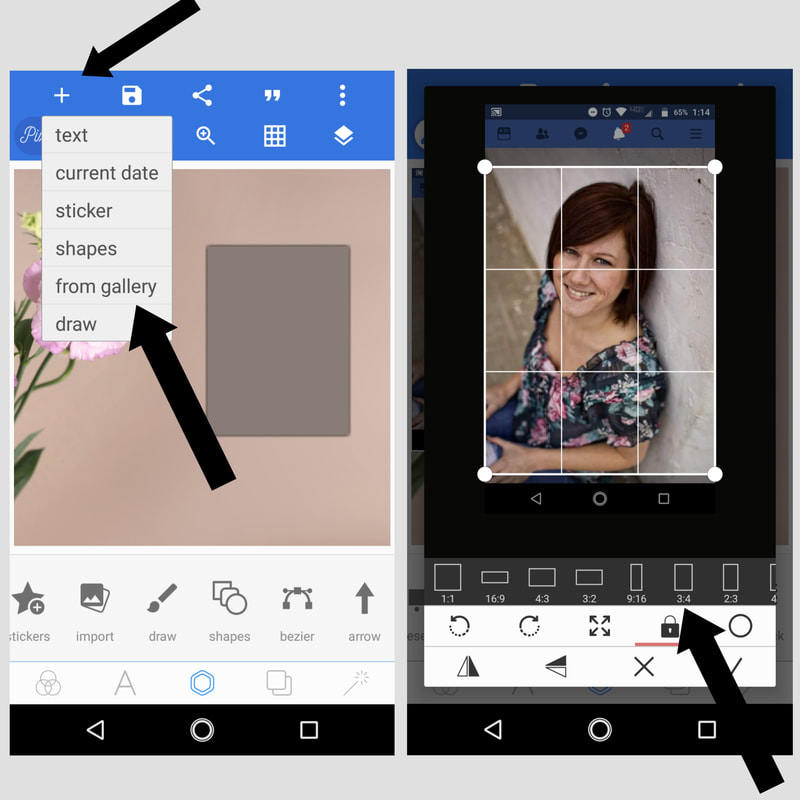 Bring in the next element, edit as needed and lock it in! :) 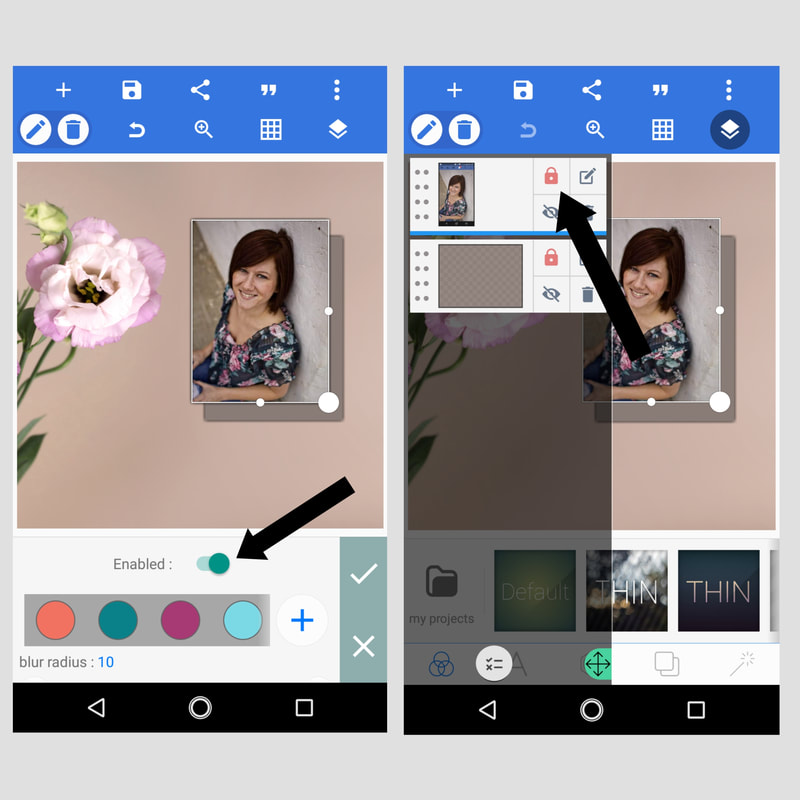 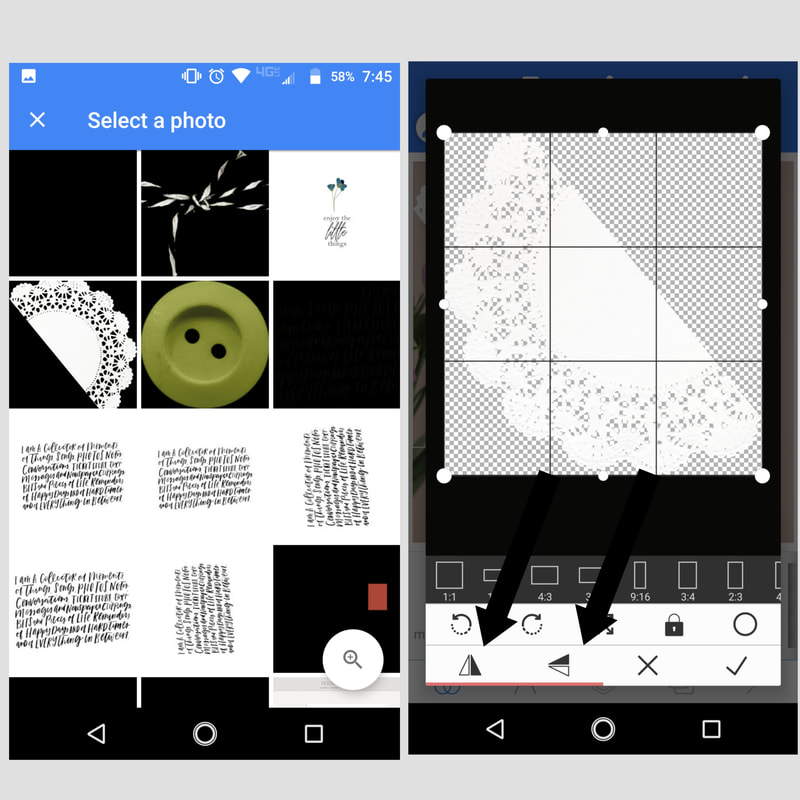 Don't forget, you can mirror and rotate your element before you add it to your page. I did that with the doily.
Then you just add text and it's ready to go! I hope you enjoyed this tutorial and feel free to comment if you have questions! Thanks for stopping by! Peace, Anne So, as most of you know, I am a white background girl when it comes to my PL pages. But every once in a while, I like a little somethin' extra to set off a page. In that case, I use PixelLab to allow me to layer a PL layout on top of a background, such as a digital scrapbook paper. So today I'm going to share a tutorial in how to do this :) See below! 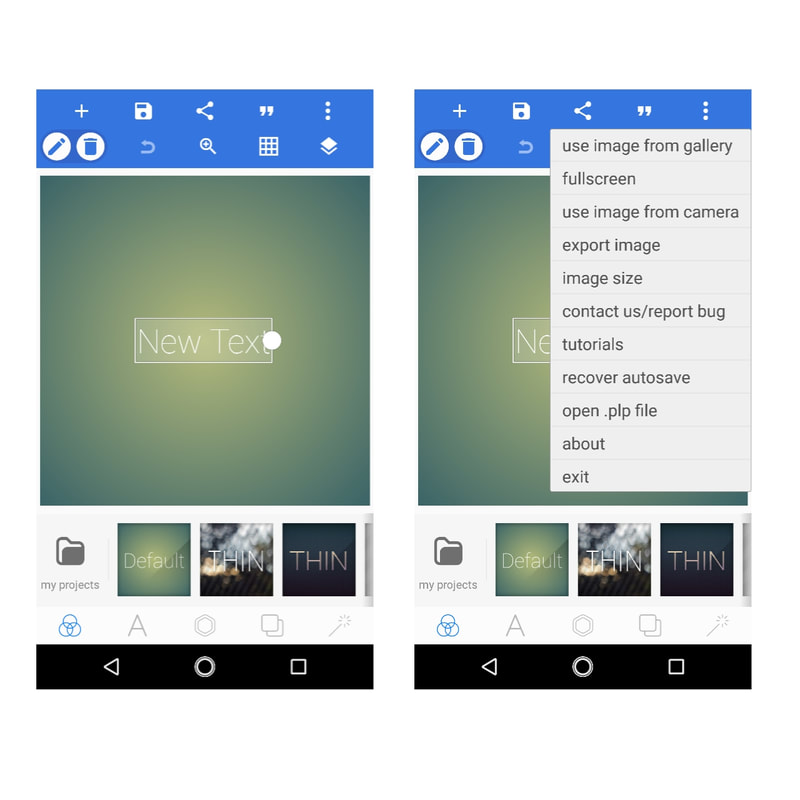 First, open your app. Now here's where you can go two different directions. You can select the squares to the left of the wand at the bottom and then change the color of the background to a solid or gradient color. Or you can select the three dots on the top right and choose an image you want to be your background. After you've done one of these two things, delete the text box (or you can just move it to the side if you plan on adding text to your page.)  If you do bring in an image as your background, make sure you hit the "x" so it expands it to the full size. Then select the checkmark. 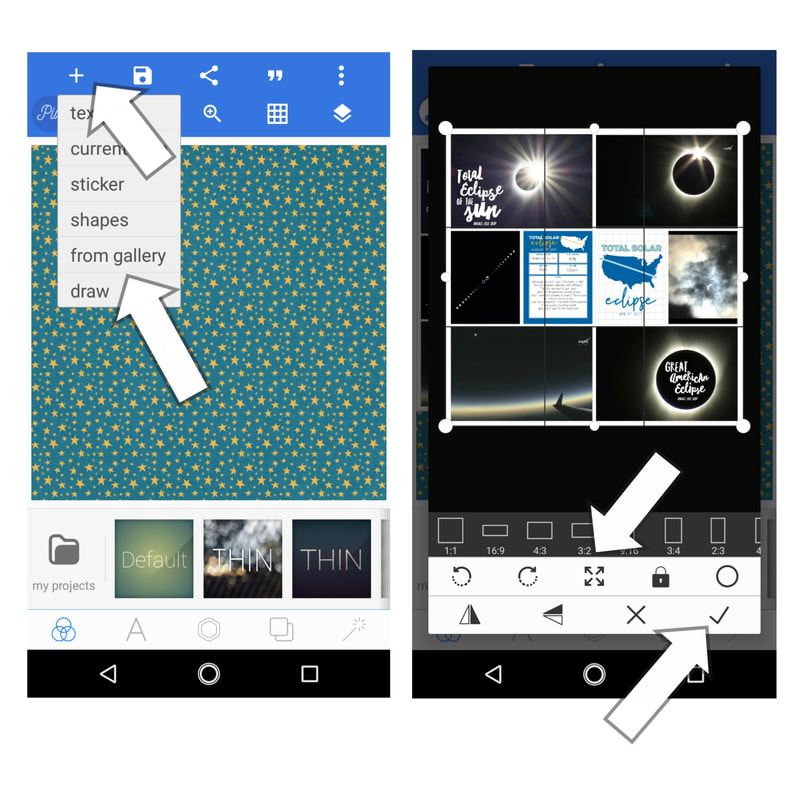 Once you have your background ready, select the cross in the upper left corner. Choose "from gallery". This will give you the option to select a photo to layer on top of your background. 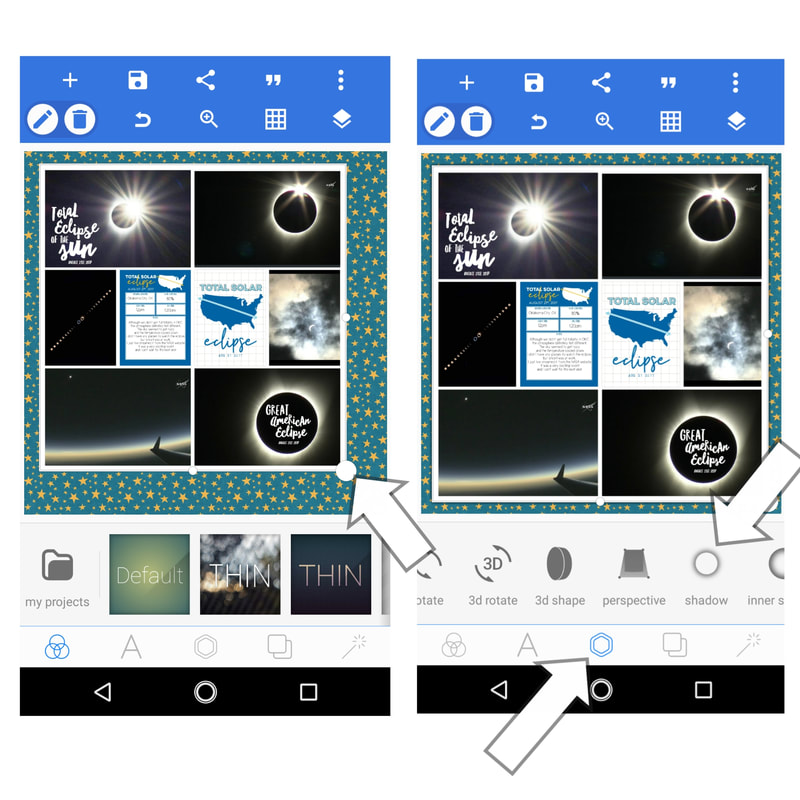 Ok, almost done! Now that your layout is on your background, you can use the dot on the box around your picture. to expand or decrease it, so it leaves an even amount of background around your layout. From there you can add a shadow if you like by selecting the hexagon in the bottom, middle. Then, swipe to the right to the shadow icon and add whatever color shadow you like. I usually just do black. And that's it! Now you have a Project Life layout with a border. 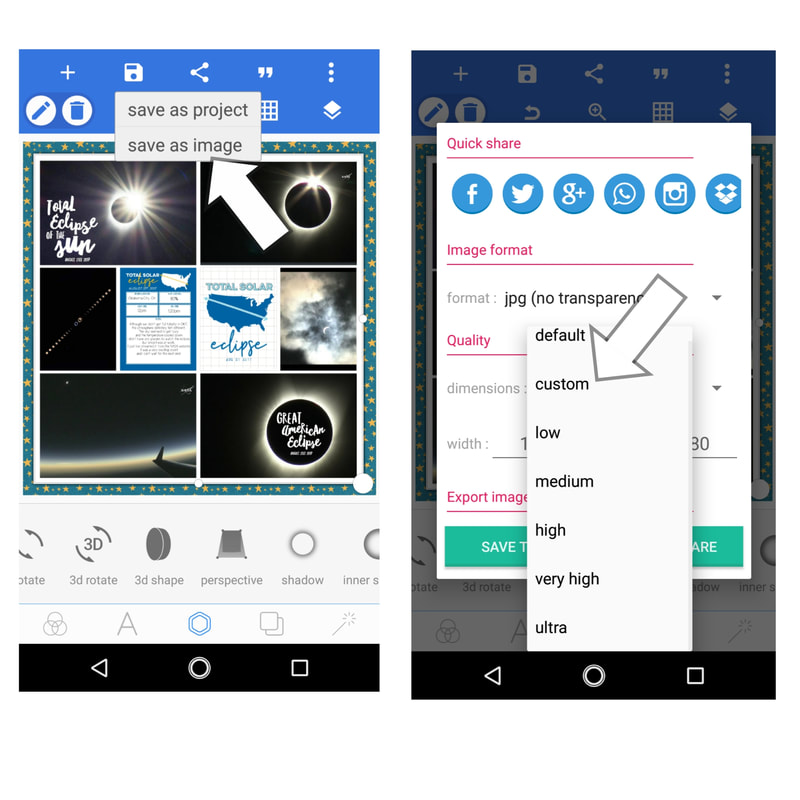 The only thing left to do is save. If you save as a project, it only saves it within the PixelLab app for you to edit later. Or you can save as a picture-make sure it is a 1280x1280 square. 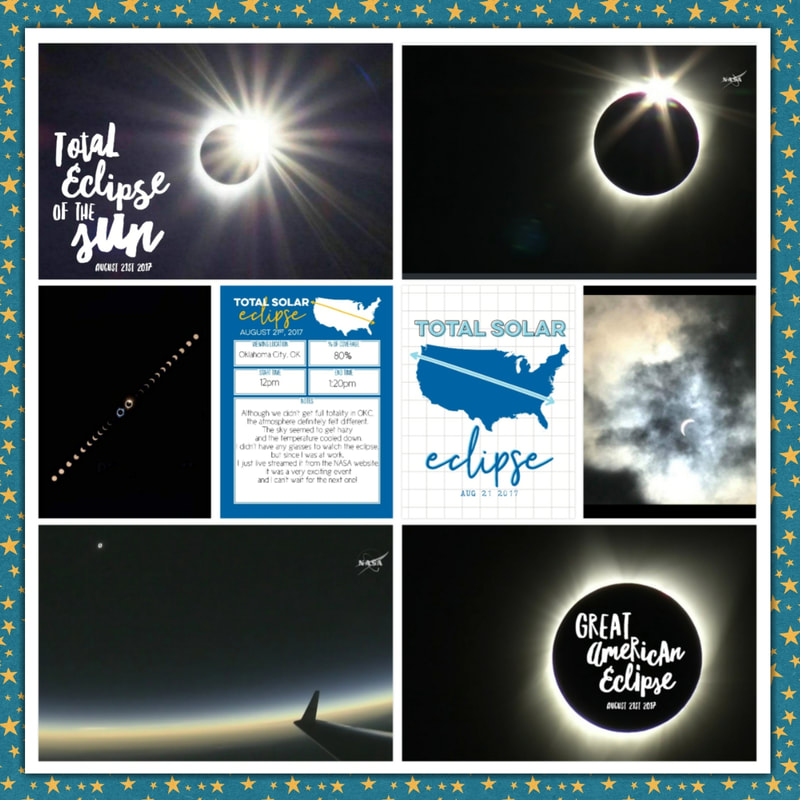 The finished product! Ok, so how do you get this back into the PL app? Simply select the collage feature in the PL app, and drop it into a 12x12 collage template. Et voila!
Let me know if you have tried this and if you have any questions, feel free to ask in the comments below! Peace, Anne hello! Welcome, February! I can't believe January is over, but then again, it felt like a looong month. I had my birthday this month...no, i'm not that excited about it, but oh well. I'm only going to get older, I suppose! ;) So, I'm sure most of you are familiar with the new preferences and kits the Project LIfe app has recently released. I just want to go over those today and then show off some layouts with the new game changer - no drop shadows! Lets get started! 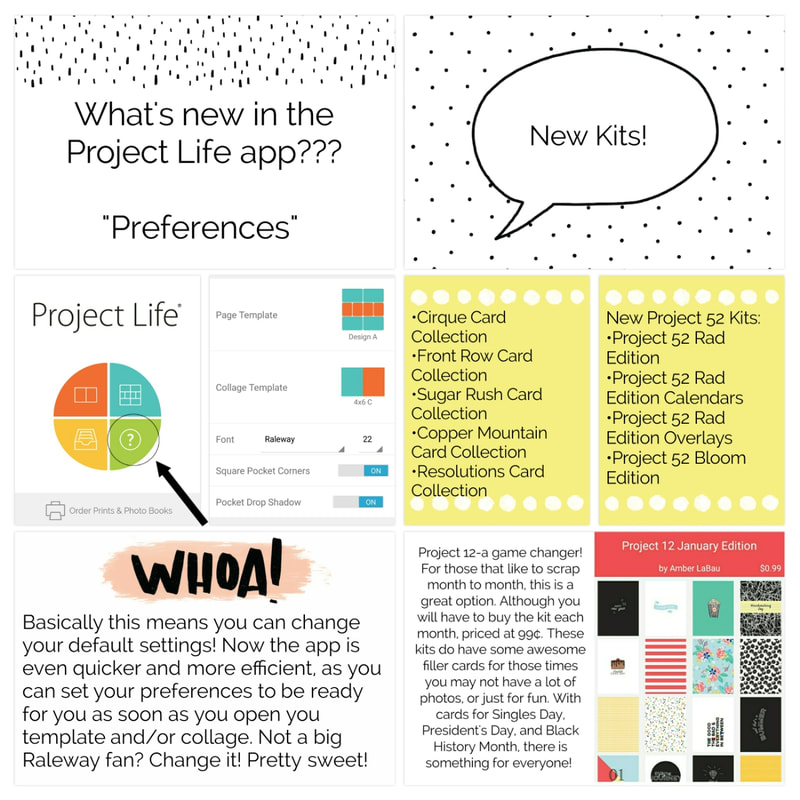 So, there it is! A basic overview of some new things. Have you all tried any of the new kits? So far, I have purchased Copper Mountain (I ended up being kind of disappointed by it-not a lot of selection), and the Project 52 Rad Edition (minus the calendars and overlays...for now). I love the Rad Edition more than I thought I would. It has a great variety and the cards have some really unique phrases and patterns on them. Love it! Now, on to the drop shadows. Normally, when you build a layout, it has a slight shadow line around each picture and card. This helps to create a more "pocket" look. By turning off the drop shadows, it eliminates the pocket look and can create an almost traditional looking scrapbook page. It's been fun playing with it and I've even created some cool pages with it in the PixelLab app...but more on that later :) Here are a few of my pages without the drop shadows: 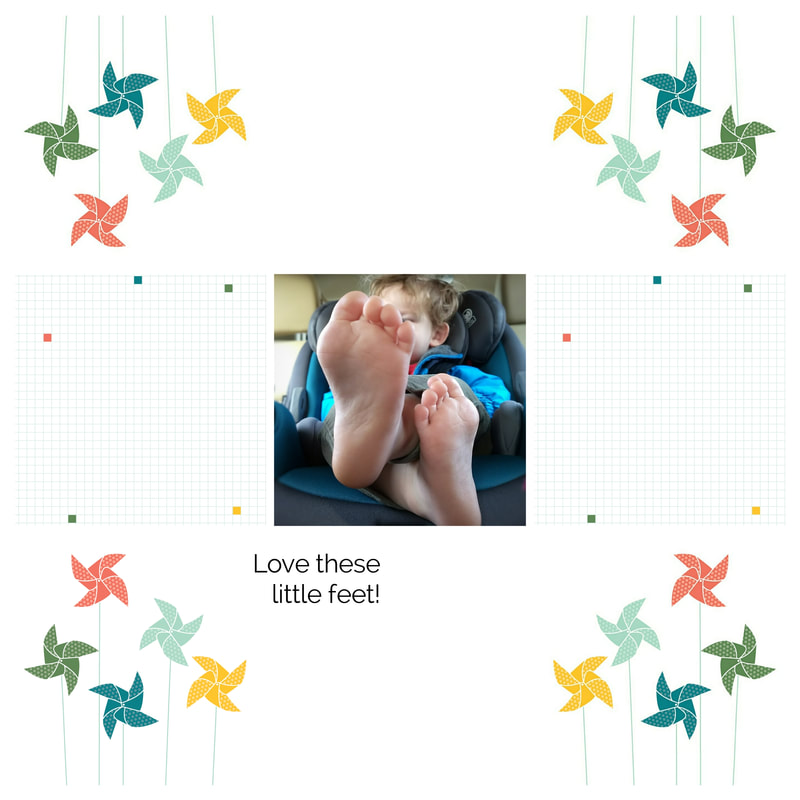 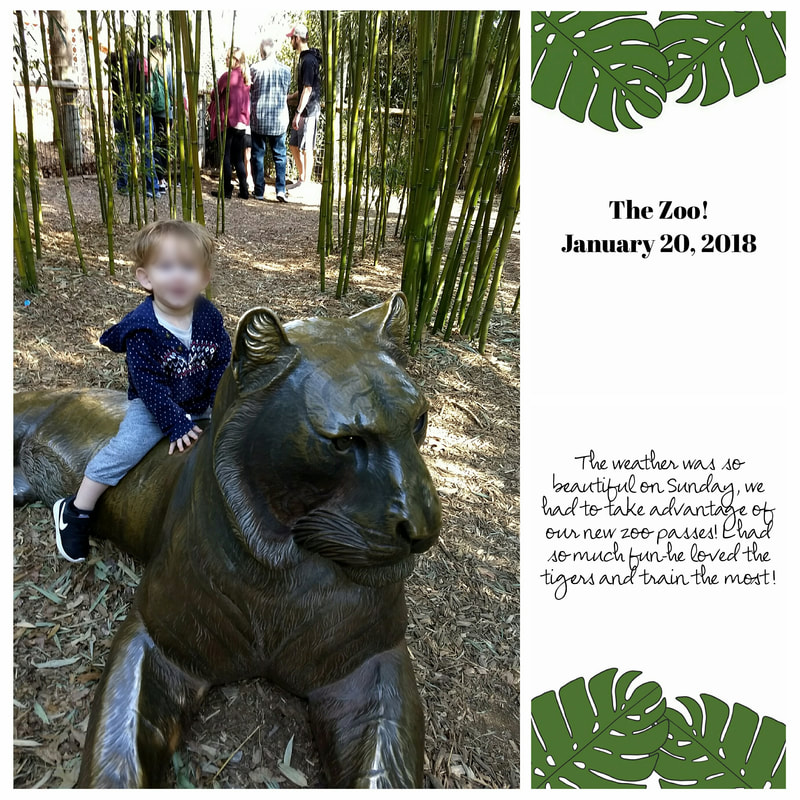 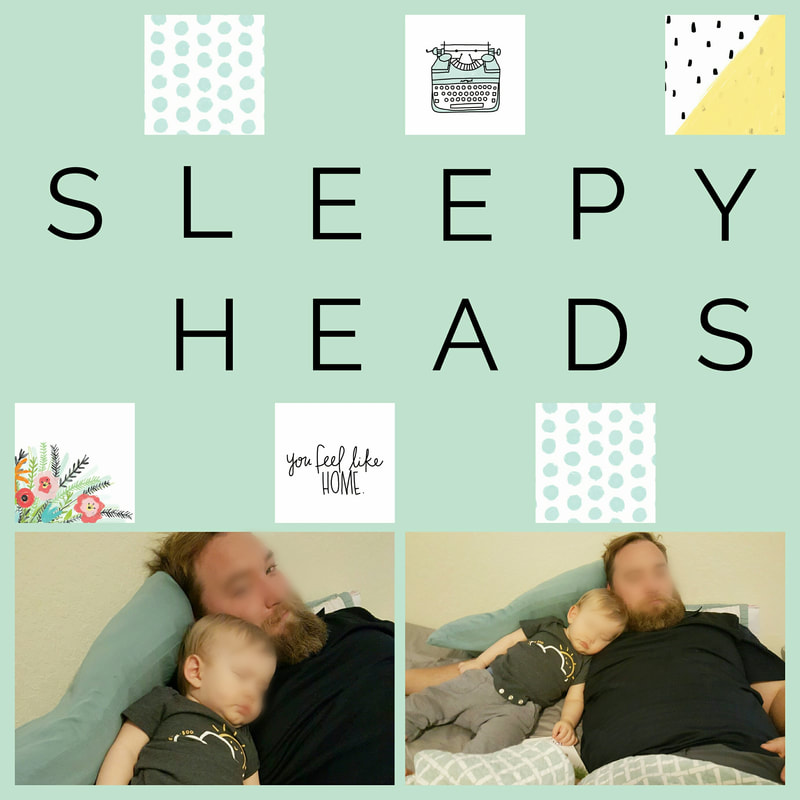 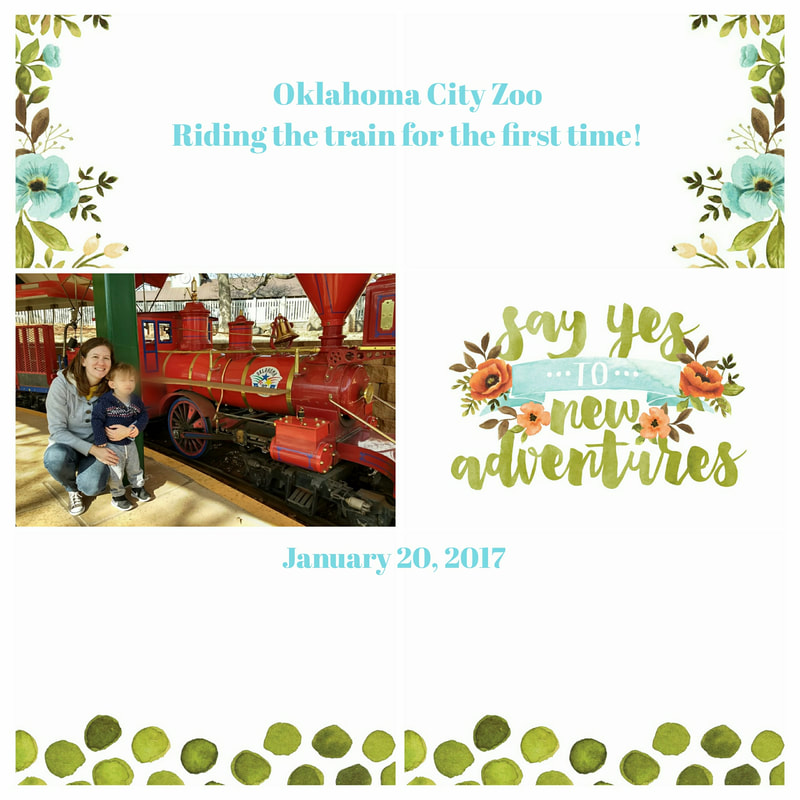 And don't forget-if you do use outside apps to add elements to your layouts, these new kits have other digital elements that coordinate on the Becky Higgins website! Hope you all get to try some of these new features!
Peace, Anne hello! I know, I know, what the heck am I talking about? Well, let me fill you in.... So, on the last big update for the PL app, they added a new feature called "Preferences". This addition allows you to change your default settings for layouts, collages, text, and drop shadows. What is a drop shadow, you ask? Well, in order to give your pages a more dimensional look, they have a small shadow around all the "pockets". This gives the pages a little more depth, making them appear more like a physical page. Now, with the option to turn the shadow off, you are left with a flat look, allowing you to take away the pocket look. This makes your pages look like a more traditional scrapbook page. Here's how you do it: 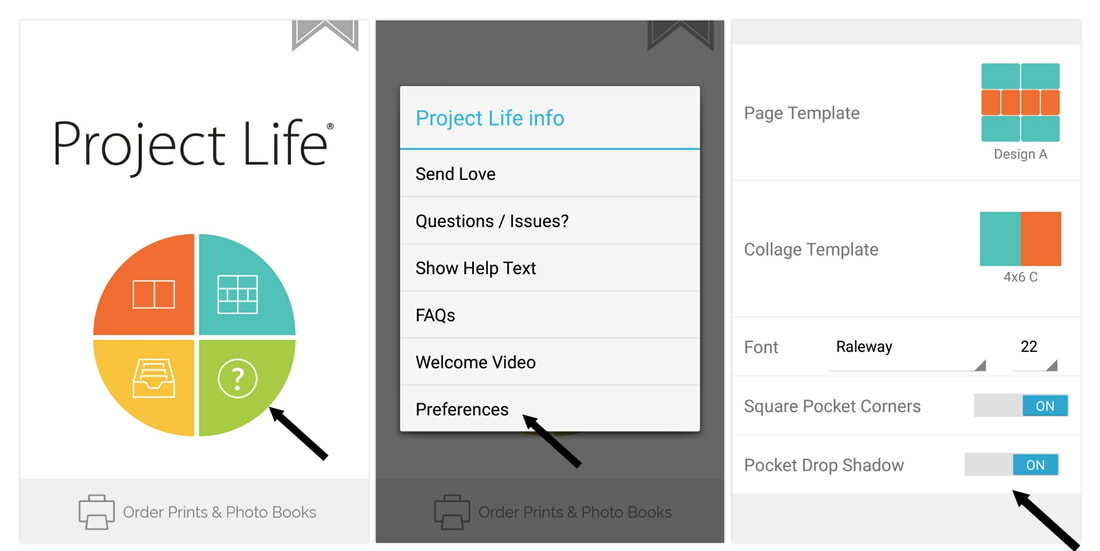 Ok, so where am I going with this? Lately, I have been venturing outside if the PL app world and playing around with a more digital scrapbook look. I can this in my PixelLab app. But, working on a phone can be tedious when putting together a layout. Thats where leaving the drop shadows behind can help! I can simply add my photos into whatever pockets I want, change the background color, and the other pockets to match and, voila!, I've got a template! Then, I just simply export into PixelLab and add my digital embellishments. While this probably won't be the main way I scrap, it is just another option that I like to have in my arsenal. See below for an example :) 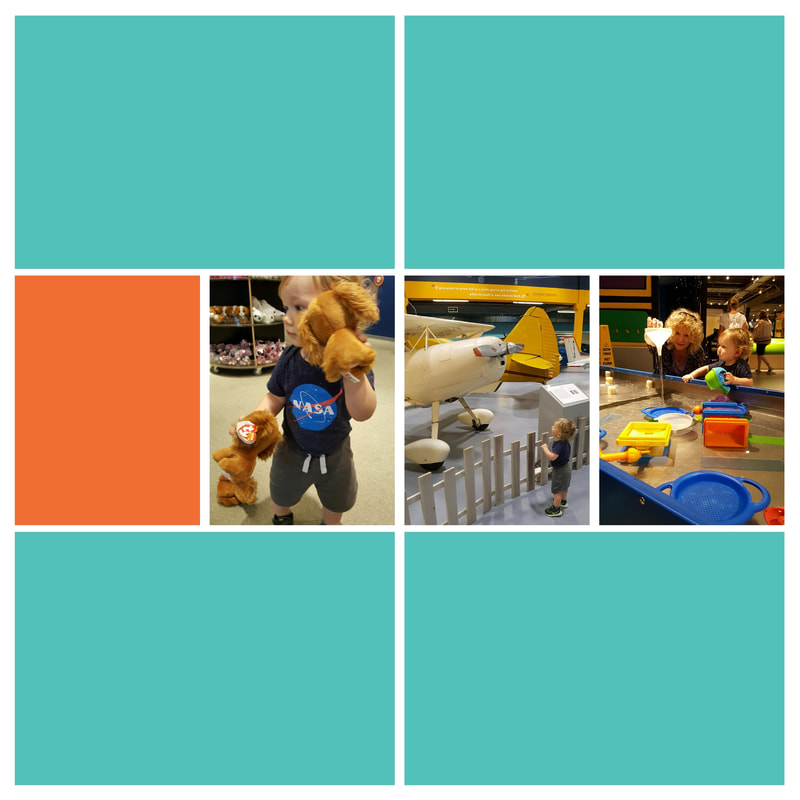 First, I open up the Design A template and add my pictures . 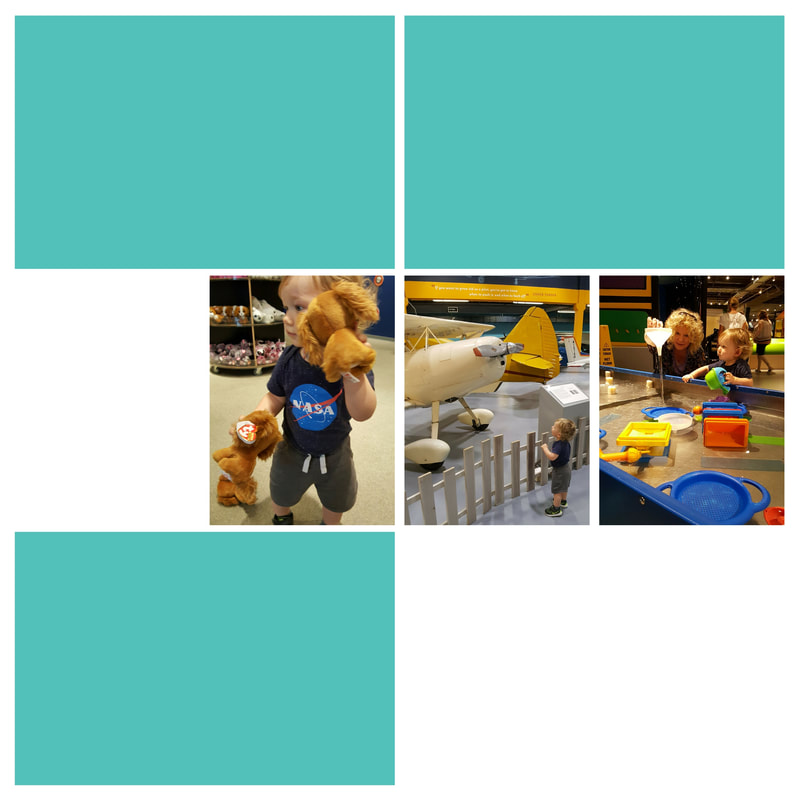 Then, I start adding the white cards from the Neutral Card Pack to match my white background. This will give me a clean, white negative space. If you want to change the color, just use whatever kit you want, pick a color, and then make sure you have solid cards to match the background options so they match and make a solid color. 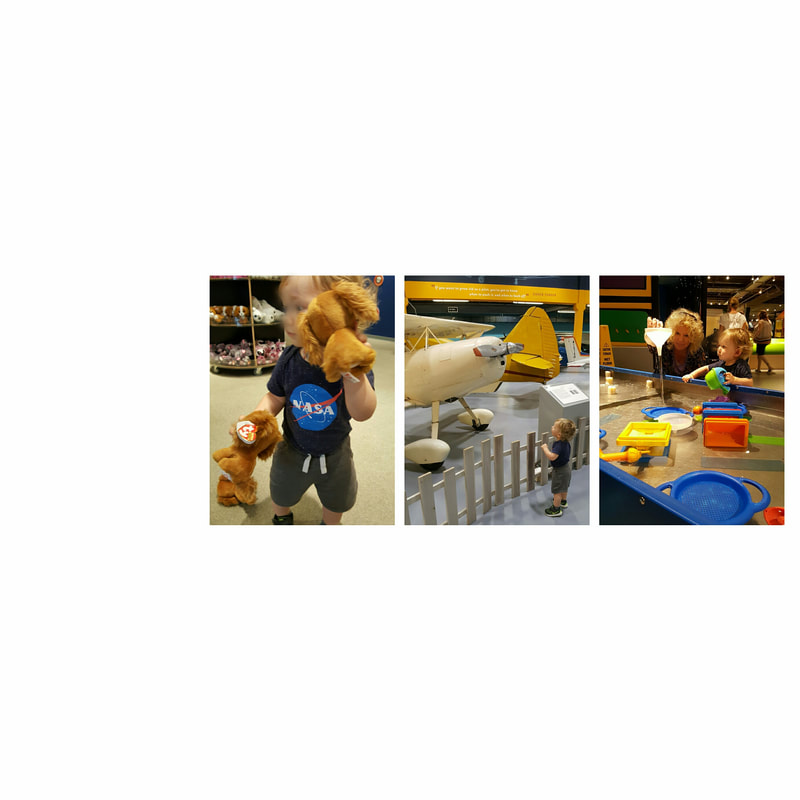 Last, you will end up with a page like this. Export directly into PixelLab (or app of your choice), or save to your gallery and upload within PixelLab.  And start adding embellishments!! Eek! I just love experimenting and trying these new methods of app scrapping! For this page, I used the "Anything You Can Imagine" kit, by Shawna Clingerman (love her!). I hope you get the chance to try this! If so, let me know in the comments below :)
Peace, Anne |
Hello!
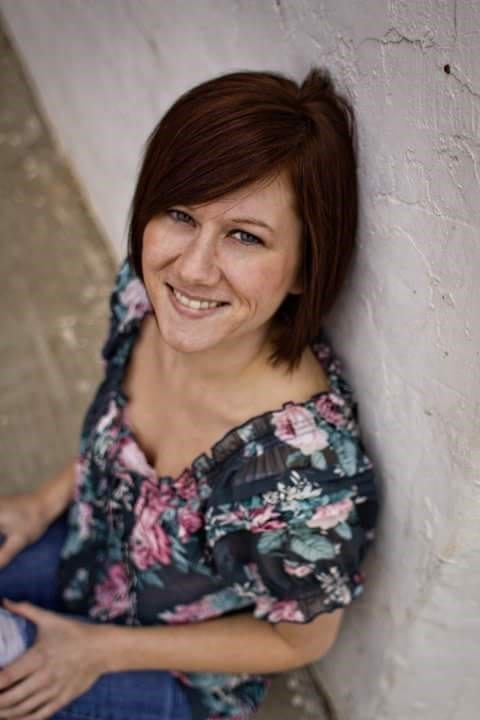
I'm Anne! Follow me as I go through life as a new mom and soon-to-be wife. Always looking for a creative outlet, I want to share all my ideas with you here at Life by Design! 
Archives
February 2018
tags
All
|
 RSS Feed
