hello!Ok, so we are on lesson 2 in our PixelLab 101 series! Yay! I thought really hard about what I wanted to teach you today....and I came up with "Layers". So, in Pixellab, you have the ability to layer elements on top of each other and/or your background/picture. This was actually one of the reasons why I downloaded this app. I kept seeing all these cute .pngs and overlays and really wanted to use them. But in the Project Life app, you can't do that, so I asked around, and PixelLab came highly recommended for Android. And this app will not only allow you to work with .png's, you can even make them as well! But that's a story for another day :) Ok, lets get started. So, this is what we will be making today: 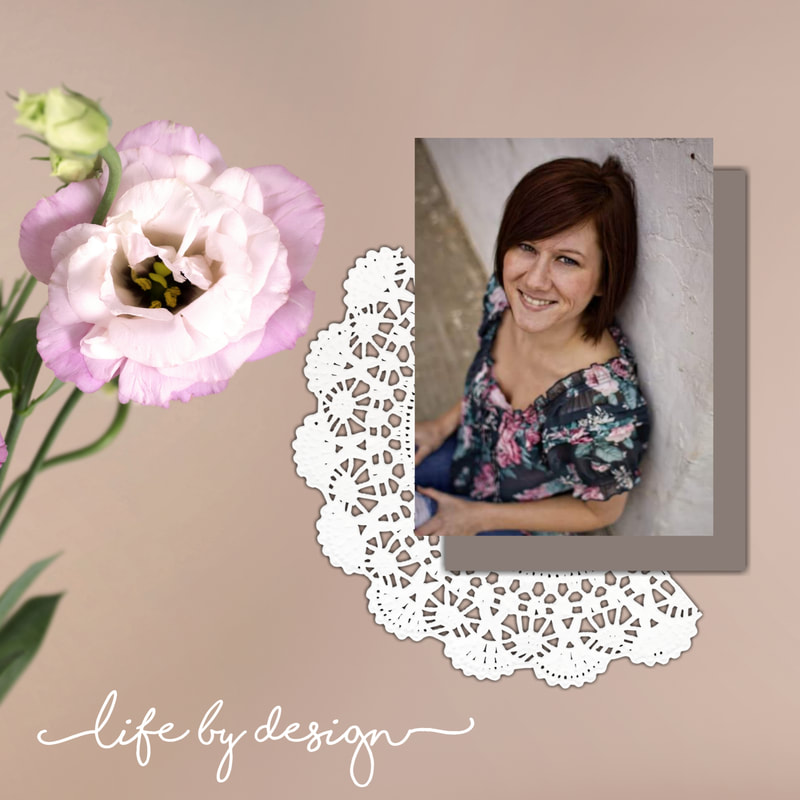 Ok, so first, open your app. The first thing you are going to do is change your background. You can either change the color, or bring in a photo you would like to be your background. To use a photo, just click on the three dots in the upper right hand corner, select "use image from gallery", and then select the photo you would like to use from your gallery/photo storage. 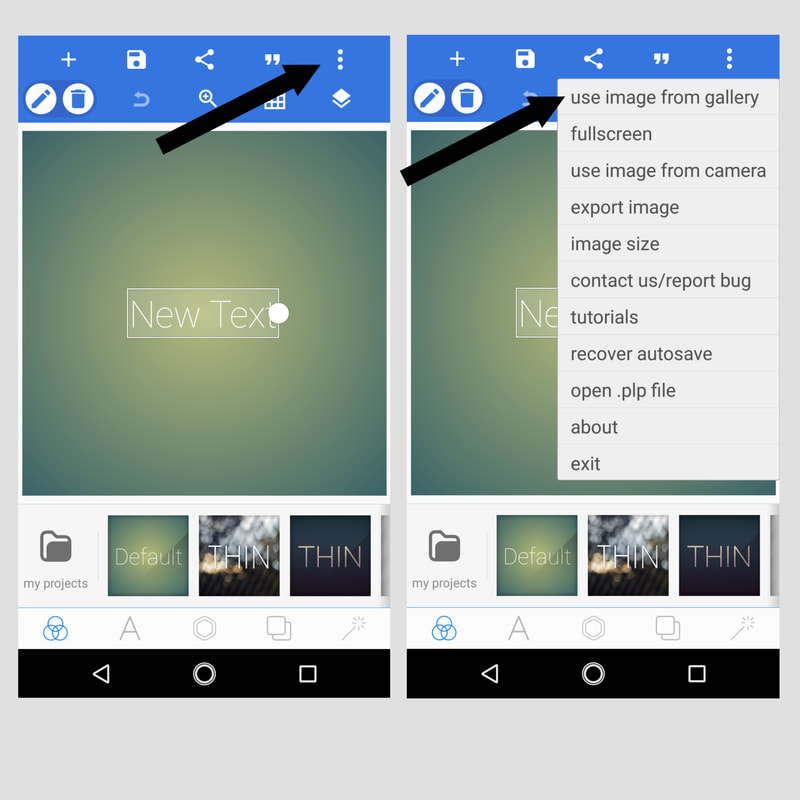 Next you are going to add the first element-the rectangle. Select the hexagon shape in the middle of the bottom menu bar. Select "shapes" and when you click on the drop down menu next to the square, you will see a variety of shapes to choose from. Select the rectangle. 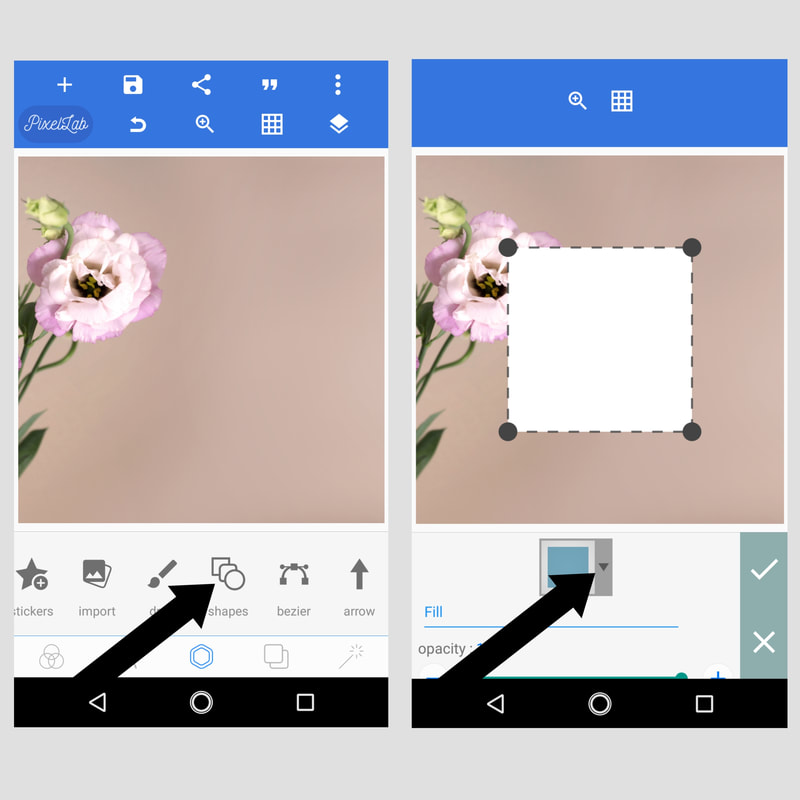 Then you can edit as needed. I changed the color and rotated it. 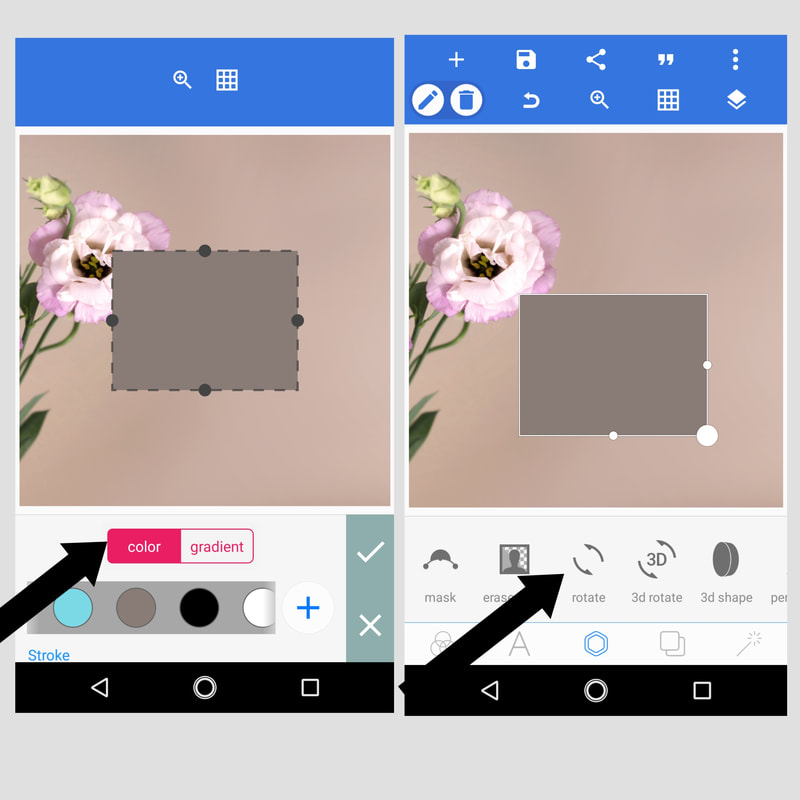 This is where the "layer" feature comes in. Once you place your shape in its final spot, you can lock it in place. This comes in very handy when adding elements on top of each other -especially on a phone, where it can be hard to move things around on such a small screen! In the upper right hand corner, under the three dots, is an icon that looks like two pieces of paper stacked on each other. You will select this and a list of all your elements will pop up on the left side of your screen. Hit the padlock icon and it will lock your element in place. If you want that menu to go away, click on the sheets of paper again. 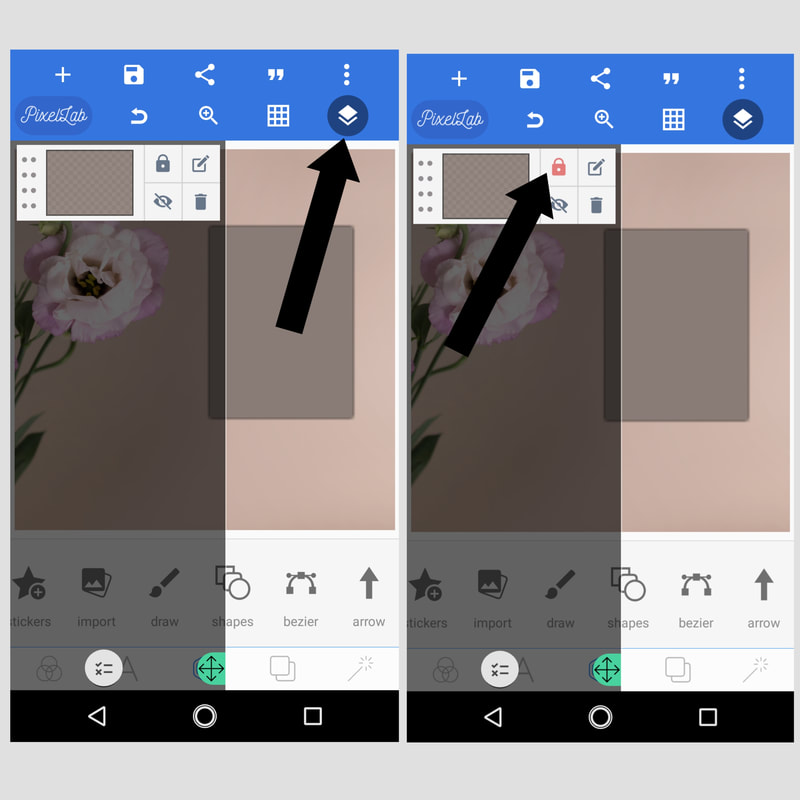 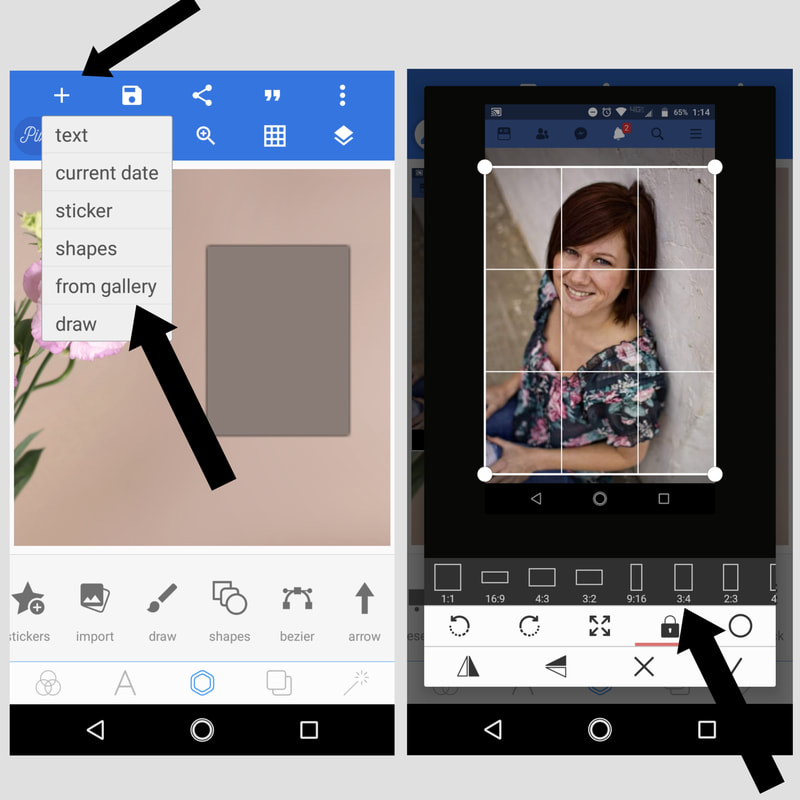 Bring in the next element, edit as needed and lock it in! :) 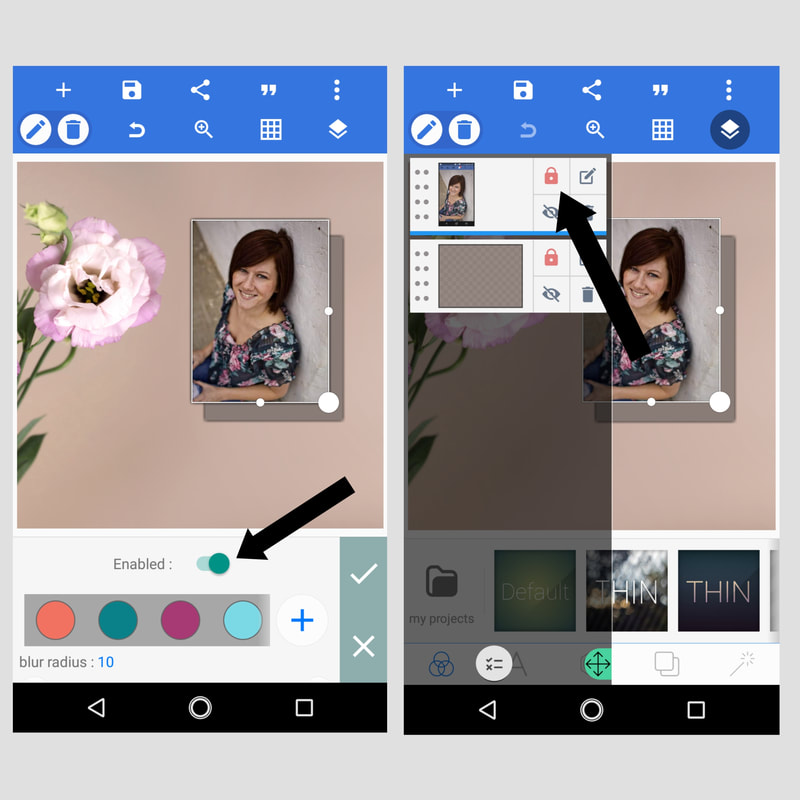  Don't forget, you can mirror and rotate your element before you add it to your page. I did that with the doily.
Then you just add text and it's ready to go! I hope you enjoyed this tutorial and feel free to comment if you have questions! Thanks for stopping by! Peace, Anne
0 Comments
Leave a Reply. |

Hello!
I'm Anne! Follow me as I go through life as a new mom and soon-to-be wife. Always looking for a creative outlet, I want to share all my ideas with you here at Life by Design! 
Archives
February 2018
tags
All
|
 RSS Feed
