|
So, while I love doing the Project 52 album, I also find myself wanting to do more with Project Life and documenting things. Since I'm not in the position right now to do any catch up on my old photos (which I hope to do later), I am trying to incorporate little projects here and there into my memory keeping. I noticed on June 20th, that Ali Edwards was doing a "day in the life" project. The one thing that always held me back from doing this type of documenting was the fact that if it falls during the week, I am at work most of the day, so I thought that may be boring. And I was concerned about the investment of time to put into it. Well, I have to say, it was not as time consuming as I thought it would be! And, yes, most of my day was spent at work, but isn't that the point? To celebrate the everyday moments and goings-on. I wouldn't be true to myself (which is a concept I try to stay close to when memory keeping) if I wasn't honest. So, my process was to take a picture every hour and then post to Instagram with a little bit of journaling as the caption. This kept it very simple and I had all my pictures in one place which was awesome and made for an easier time when I put them into my layouts. I started at 7am and went through 2pm. I decided at that point I should probably focus on work for a few hours :) Then I picked back up at 5pm and stopped at 8pm. I did not do 9pm because that is bedtime and I wanted to keep that time to spend with family. Some people set alarms on the hour, but I didn't worry about that - I just kept it free and easy, no pressure. I tried to take some photos from different perspectives and I feel this was a good way to experiment with the camera timer and angles. I really enjoyed it and I would definitely suggest trying it! As for putting my photos together, I used the Big Shot 7 and Squared Away 15 for my layouts with the Midnight Edition and Project 52 Fresh Edition kits. I also used my Phonto app to add the title to the 1st page. So, here is the final product - Enjoy! 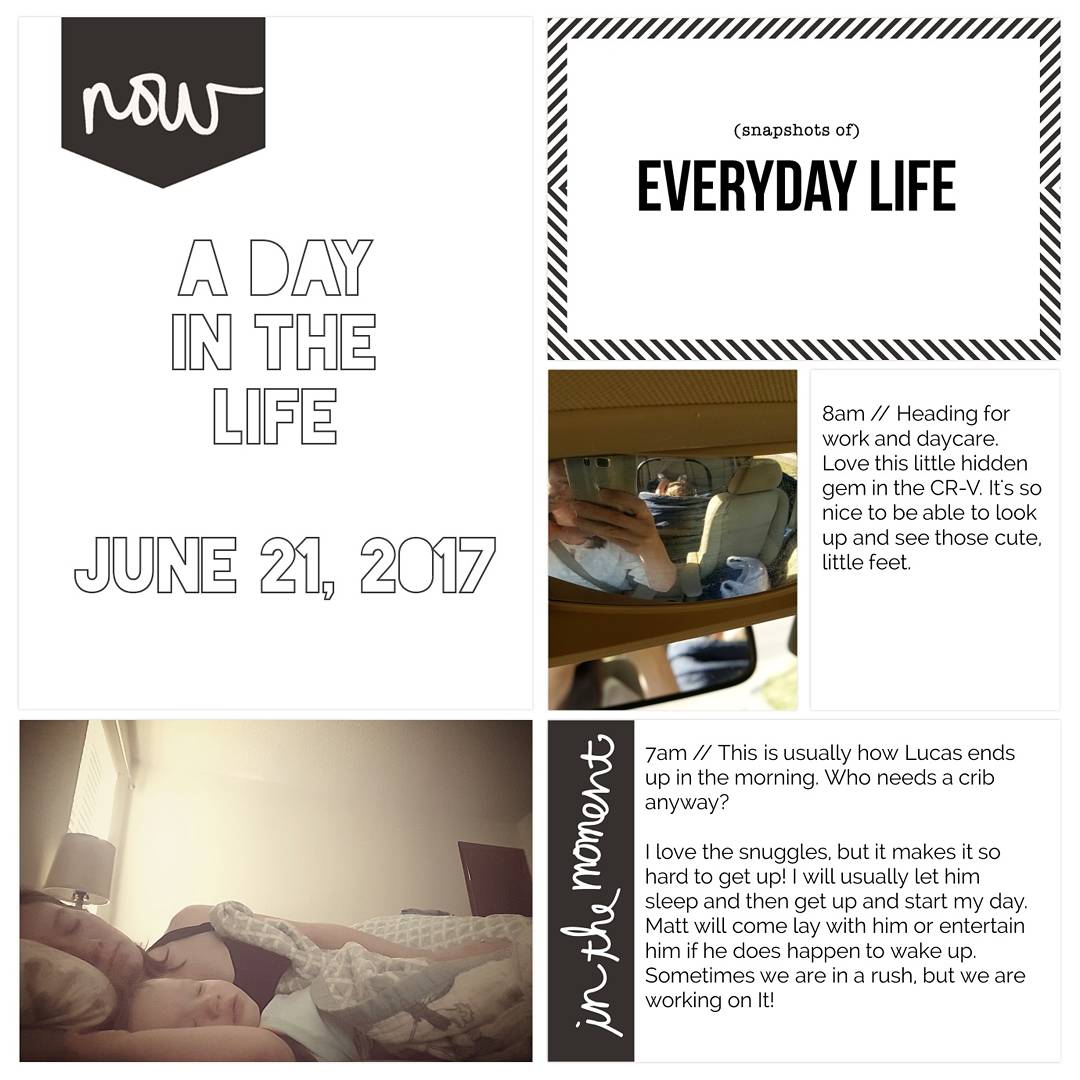 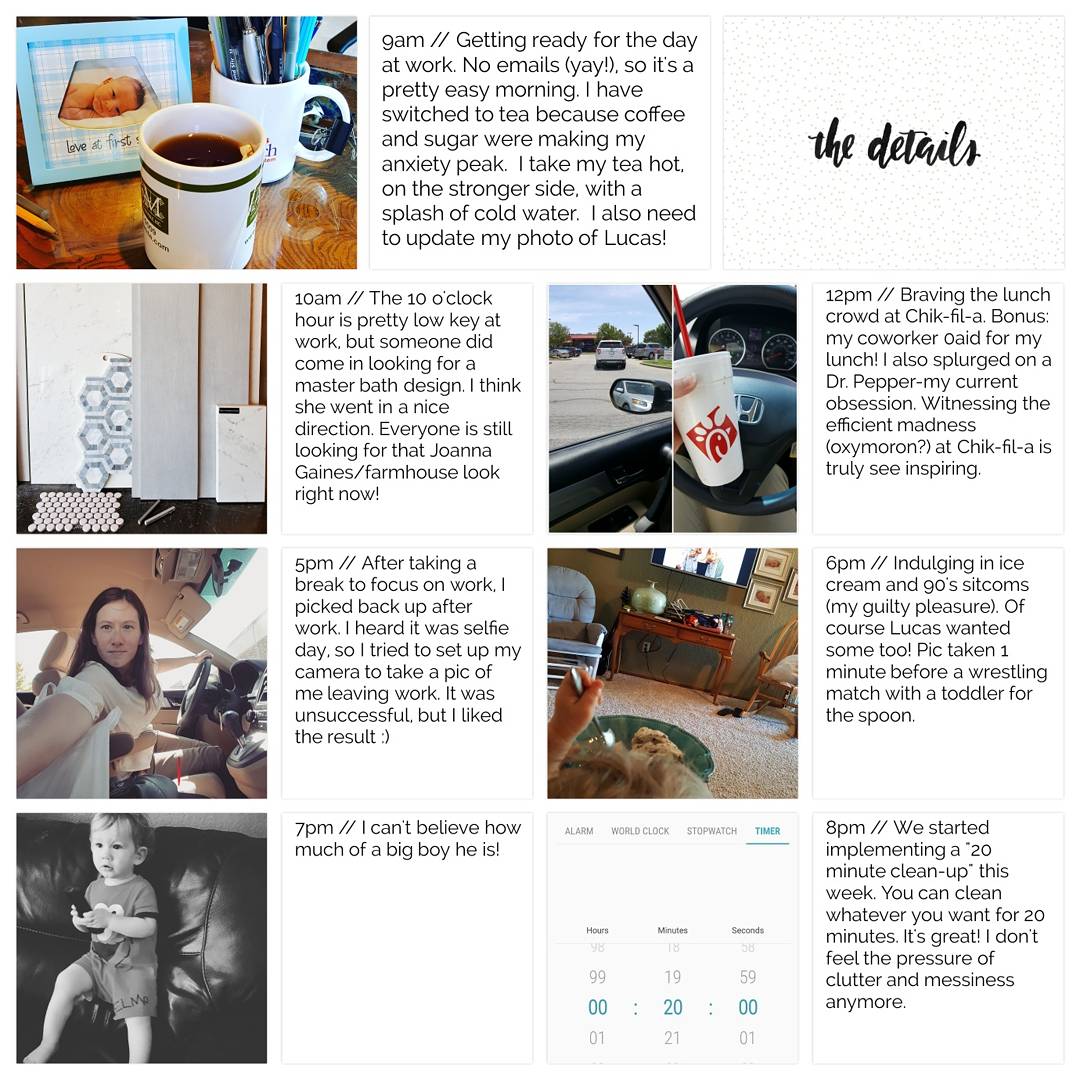
0 Comments
Well, we are almost halfway through the year. I can't believe it! People tell me all the time to enjoy motherhood because it goes fast....and let me tell you, it does. I am enjoying this phase that L is in. He is conversing in his own little toddler language and reading A LOT. The boy loves his books! Which makes this bookworm mama happy. Anyway, here are weeks 22-25. Enjoy!  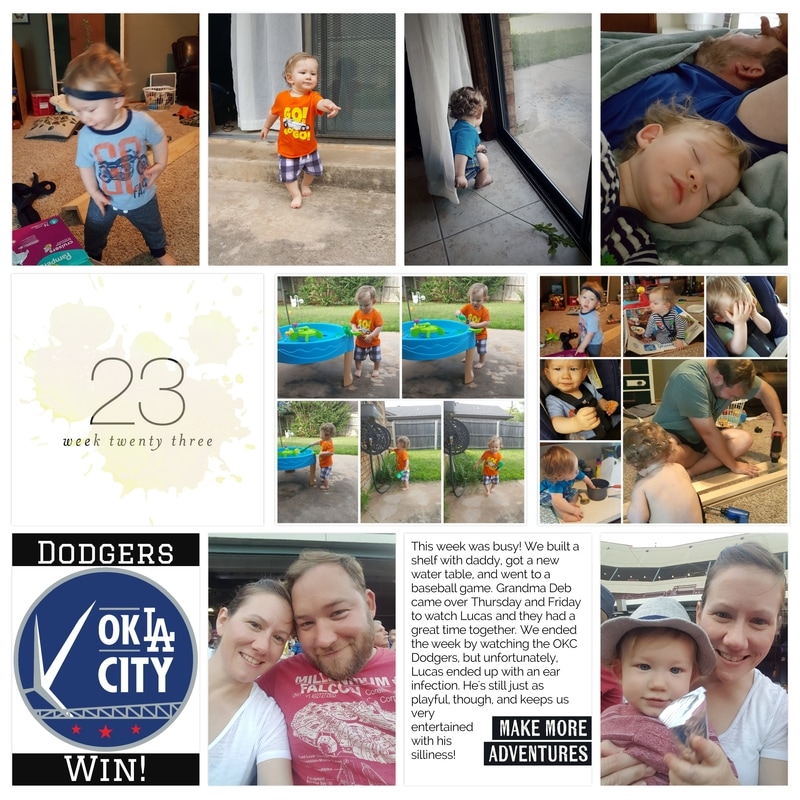 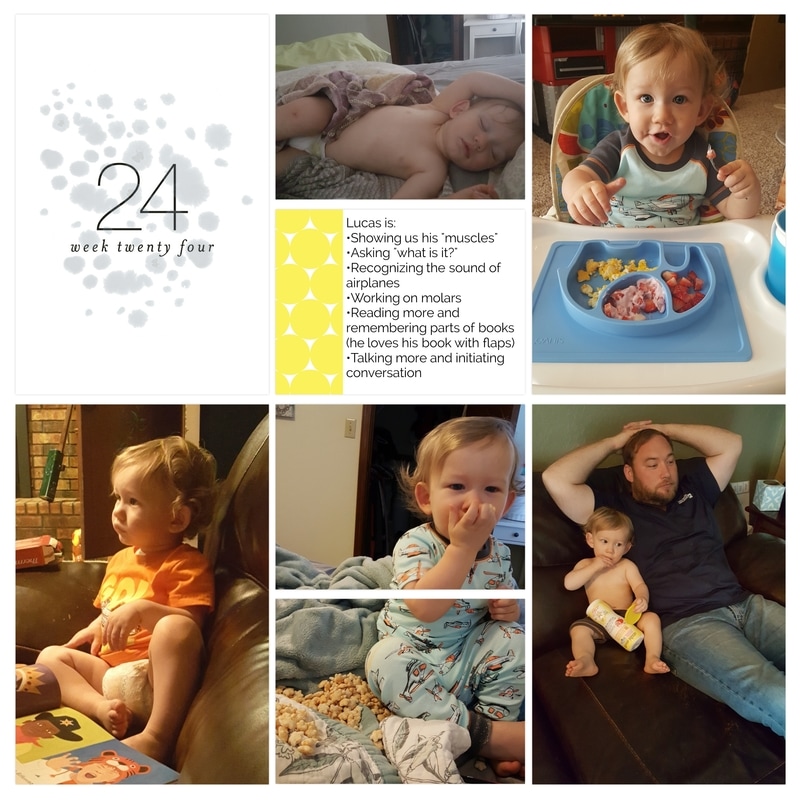 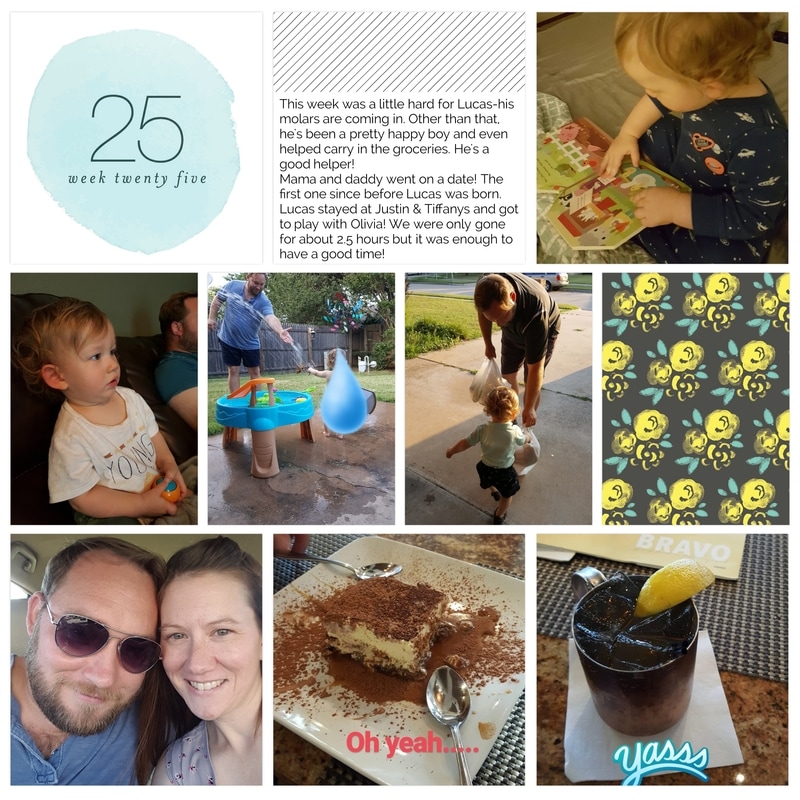 Thank you for stopping by! I will have some new pages coming after our vacation to Eureka Springs next week-I'm so excited! Stay tuned!
Peace, Anne A few years ago, M and I ate something for dinner that we just loved. And we thought, what if we recorded all the recipes we enjoy??? So, we tried to remember all the meals we liked, and from then on, they became known as "The List". *cue dramatic music* Anyway, I have seen people put together recipe books using Project Life, so I decided I should go for it! Over the weekend, I made one of our favorites, Dorito Casserole. This recipe came from a little recipe book I picked up at the grocery store that was published by Taste of Home. It's actually called Southwestern Turkey Casserole, but I make it with chicken and Dorito Casserole is more fun to say :) So, here you go, the first recipe in "The List"! Also, make this soon, it's delicious! Peace, Anne 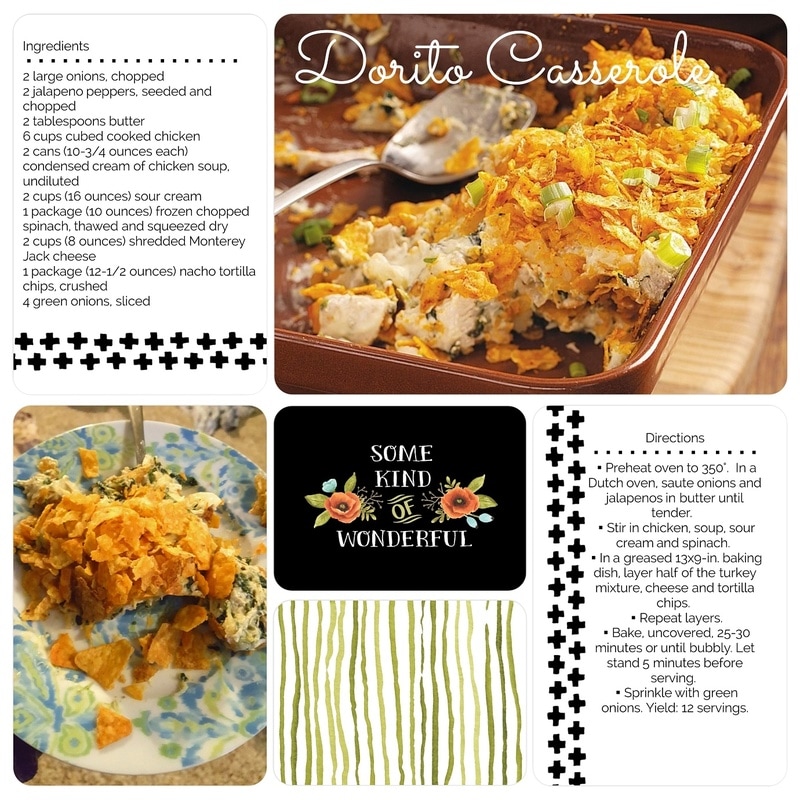 Hello! I hope you are doing well! Have you ever tried to use a photo in your Project Life layout and it just didn't quite fit? I was asked the other day how I put one photo into two spots on the Project Life layouts and I thought it would be an excellent thing to share with you! Please note this will be Android, PL app focused - you could certainly do this in Photoshop as well if working on a desktop. While I love the Big Shot layouts, sometimes they don't have enough spots for all the pictures I want to use. So, when I want to feature a picture with a larger spread than I have room for in a 3x4 or 4x6 spot, I break it up into two spots. The first way (and easiest), is to just simply put the photo in one box, adjust it accordingly to show one half of the photo, and then do the same in the box next to it. Then just make sure they line up in the middle so it looks like a cohesive picture. I did this with the airplane in this layout:  The second way involves a little more photo editing. I’ve done this with a couple photos in the layout below. The first one (the lighthouse), I simply used the crop option in my picture gallery. So, first find the middle of the photo. Here it was about to the top of the doorway. Crop the bottom half (or left/right side) to this point. Insert into layout. Next, do the same with the other half of the photo. Basically you are just cutting the photo in half two times to achieve this look. Insert the second photo in the layout next to the first photo. Voila! The third one is the pic below of all of us at the table. I actually had two versions of this photo and I liked the way the right side looked in one and how the left looked in the other. So this is a great way to combine the two and turn it into one photo. But when I cropped them to fit, I noticed the photos were off kilter a little bit, making the table look like it had a bend in the middle. So I just went into my photo editing program again and selected “Transform”. Using the sliding scale on under the pic, I just adjusted it a few degrees to make the table look straight. Then I inserted them into my layout and adjusted accordingly. 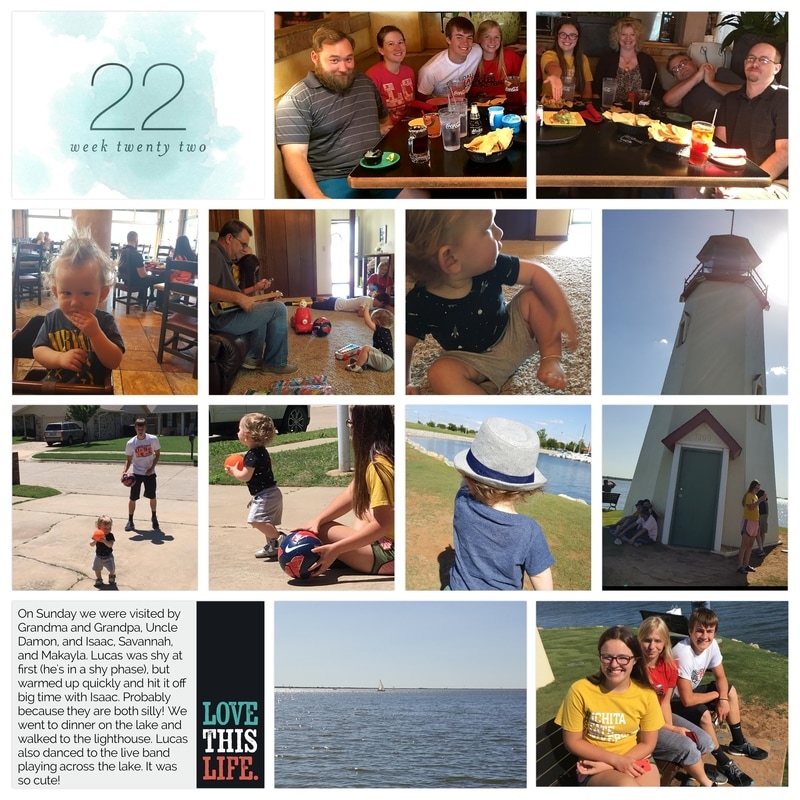 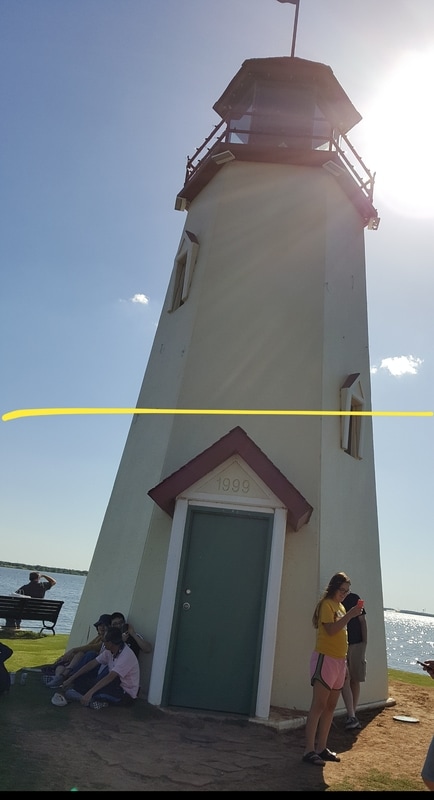 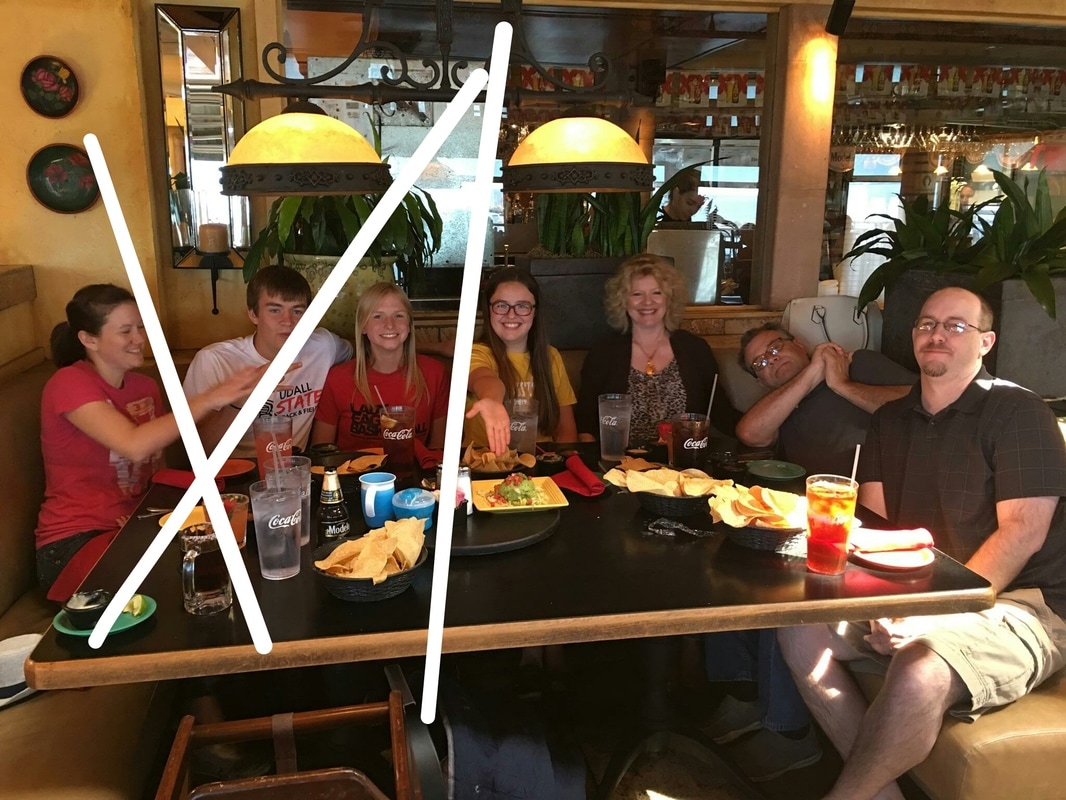 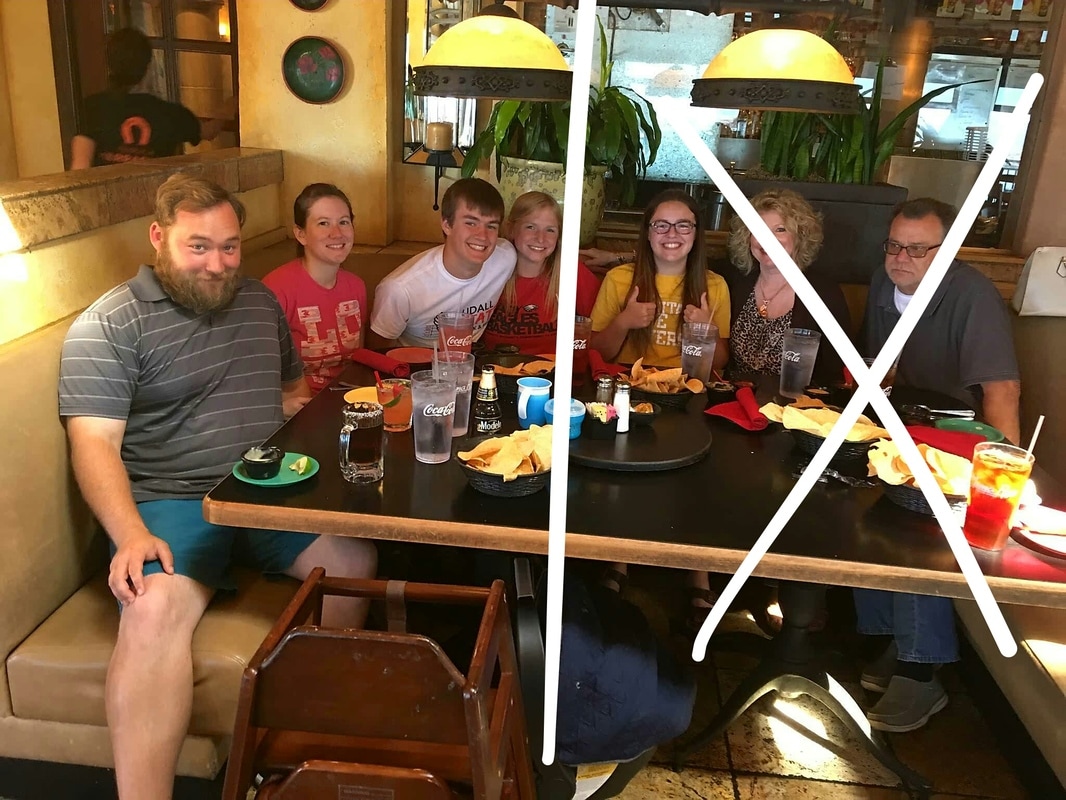 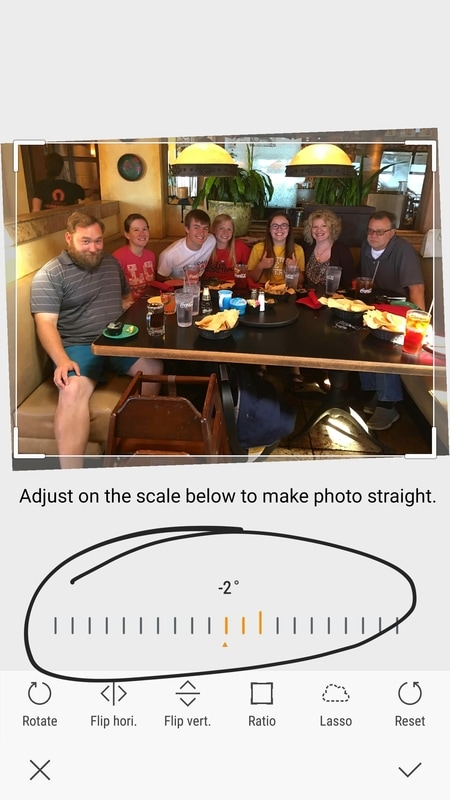 I love this look and I hope you are able to use it in your layouts. I think it gives a layout a little more interest. See below for more ideas and please comment below if you have tried this or have any questions about it! Peace, Anne  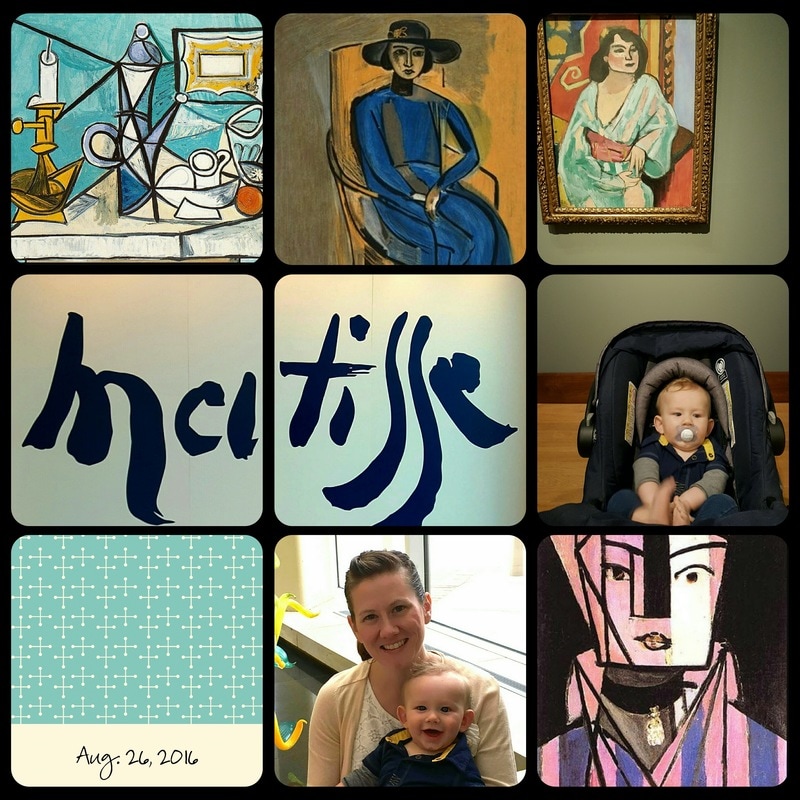 |
Hello!
I'm Anne! Follow me as I go through life as a new mom and soon-to-be wife. Always looking for a creative outlet, I want to share all my ideas with you here at Life by Design! 
Archives
February 2018
tags
All
|
 RSS Feed
