Hello!Tutorial time! Soooo, I recently downloaded the Pixelab app to add to my arsenal of scrapbooking apps and I am loving it. If you're not familiar with Pixelab, it's sort of like a simplified version of Photoshop. What led me to this app was the need for a way to add .png's to my pages. I love Ali Edwards digital products, but needed a way to use them on my phone. Thus, Pixelab. You can also mask, layer images, Bezier, do some photo editing, and much more. But, today I want to walk you through the steps of downloading and using a font from outside the app. Please note - this is for Android :) Let's dig in! 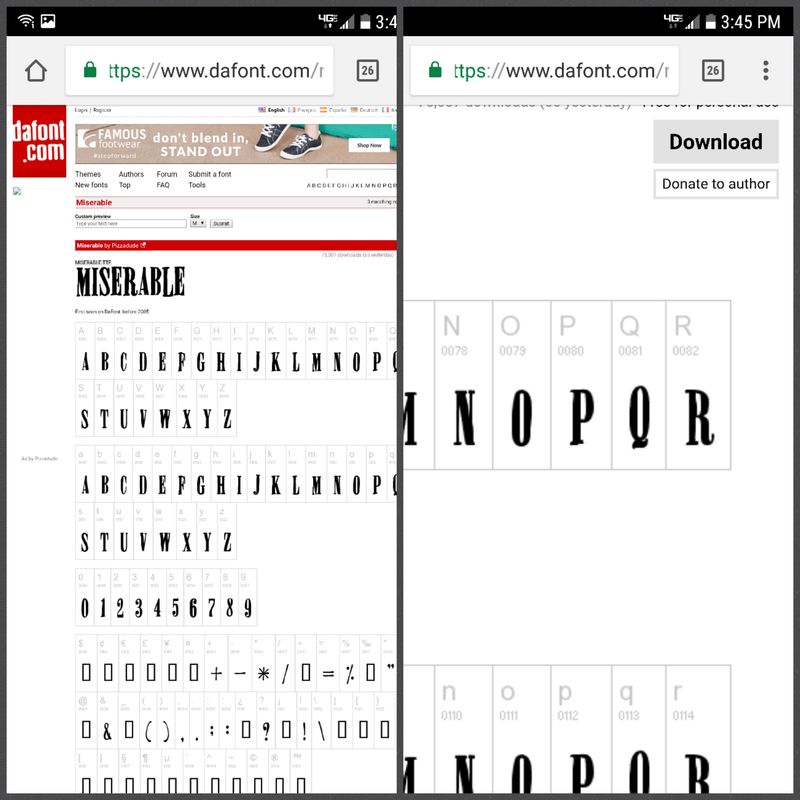 1. First, find a font you would like to use. I have used the website dafont.com with a lot of ease and success. You can just look through the most popular or search for handwriting, calligraphy, holiday, etc. I found this Halloween font that I though would come in handy here pretty soon. Once you find one you like, click the "Download" button. 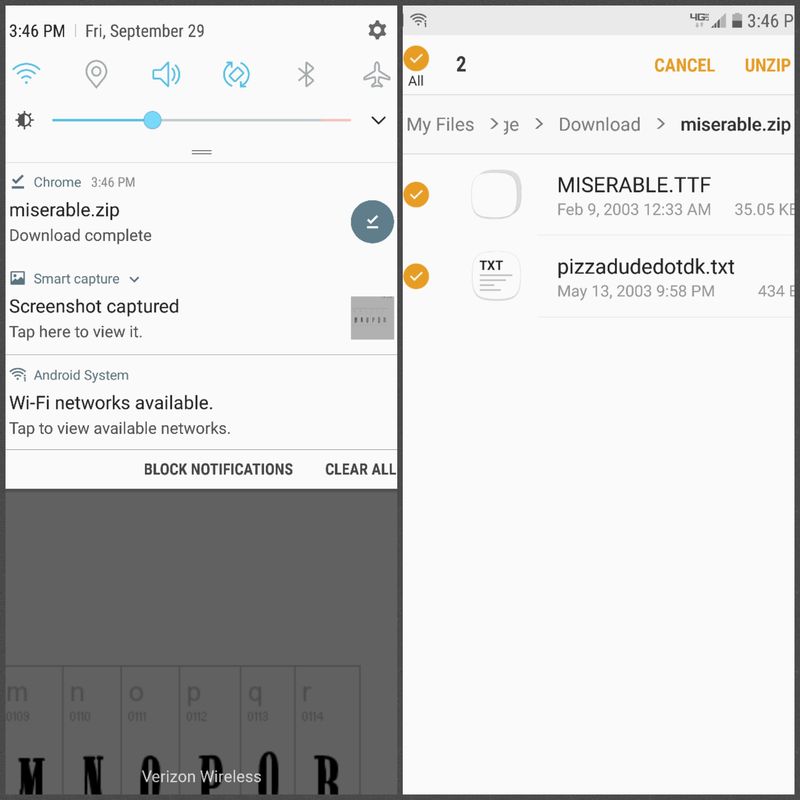 2. Once it has downloaded, open up your files and unzip the folder. If you do not have that capability, you can download an app that will unzip files. 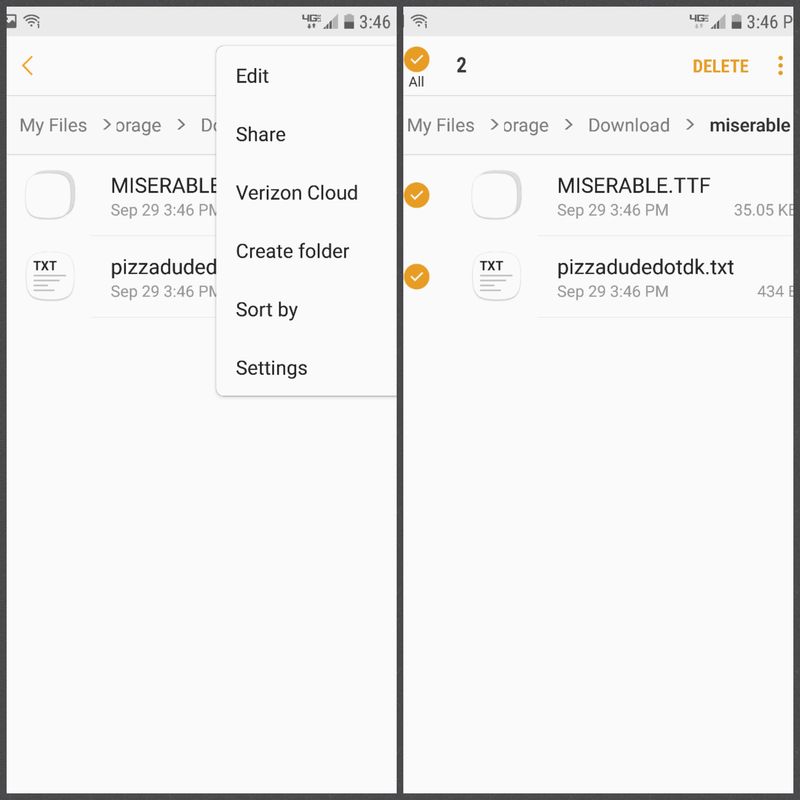 3. Ok, this is the important part. When you unzip the folder, click on the 3 dots in the upper right hand corner of your screen. Then select "Edit". From this point you are going to start the process of copying the files into another folder that Pixelab with recognize when you pull up the font options. So go ahead and select your files, so they can be copied. 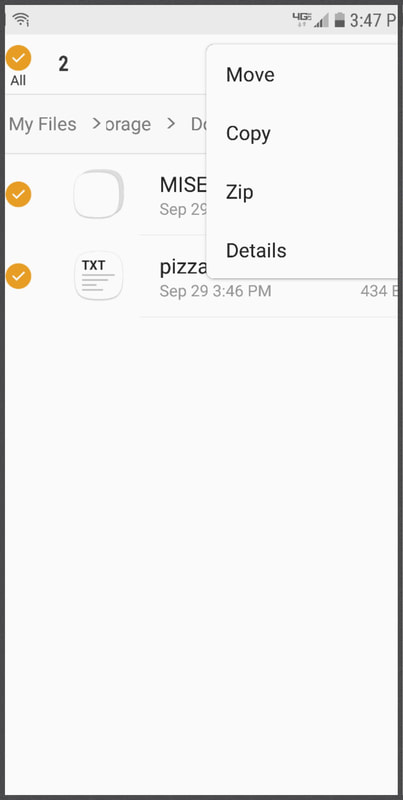 4. Click the 3 dots again and choose "Copy".
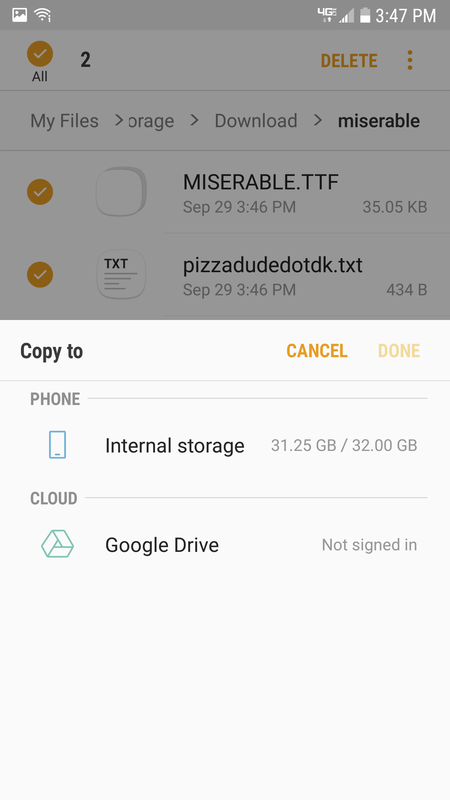
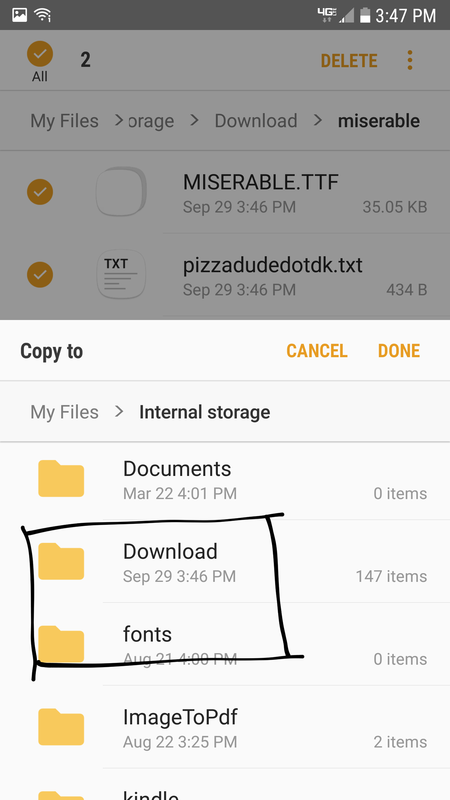
5. The "Copy To" screen will pop up and you will select, "Internal Storage". 6. Scroll down to either the "Downloads" or "Fonts" folder. You can copy into either one, but the "Fonts" folder is probably going to be easier to manage.
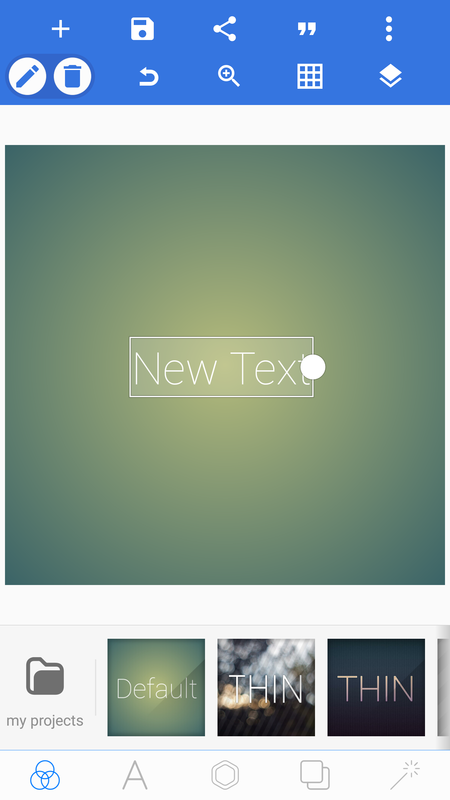
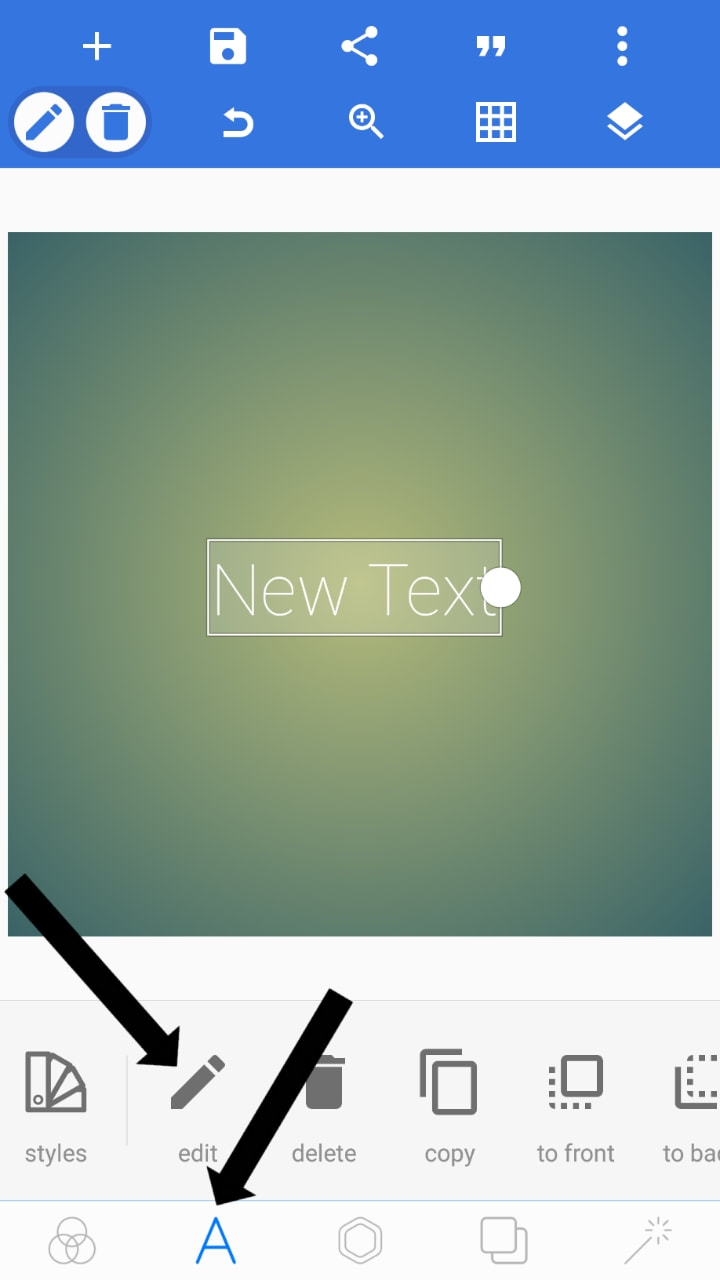
7. Open Pixelab! 8. Set up the layout however you want to. I'm just keeping it simple here for tutorial purposes :) Select the "A" on the bottom of the screen and you'll see some commands come across the screen above it. Hit "Edit" so you can type your words. 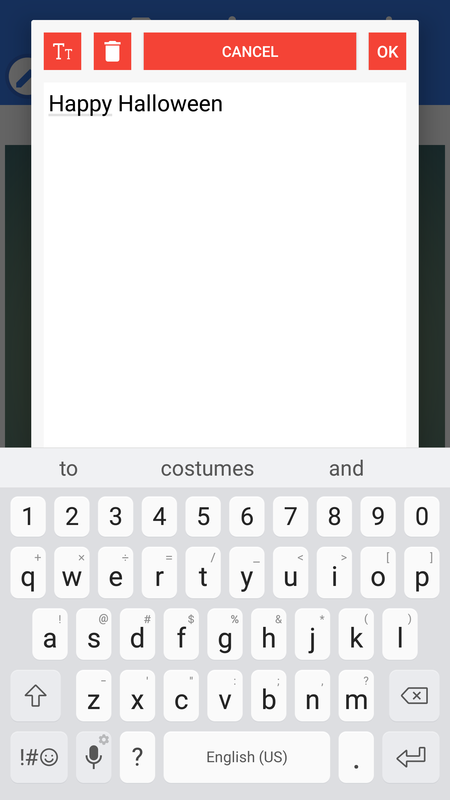
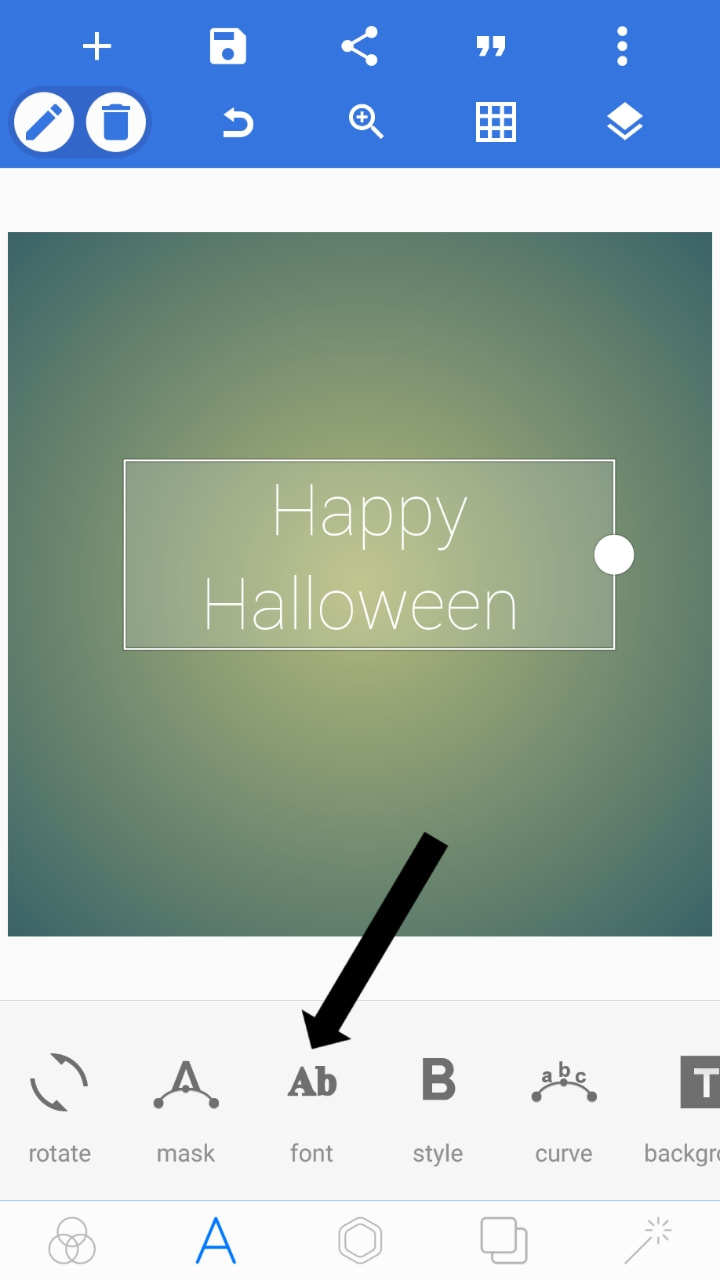
9. Type whatever you want and hit "Ok" :) 10. Scroll over to the "Font" selection by dragging the commands to the left with your finger.
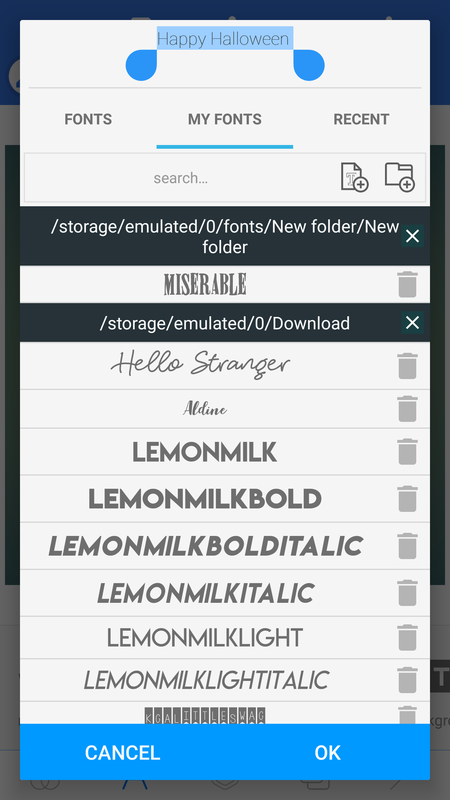
11. Your font selections with come up on the screen. Choose "My Fonts". 12. Now, from here you can select the folder you want to pull it from or it will just automatically have it loaded for you. You will see all the fonts you have downloaded. Yay! It's working!
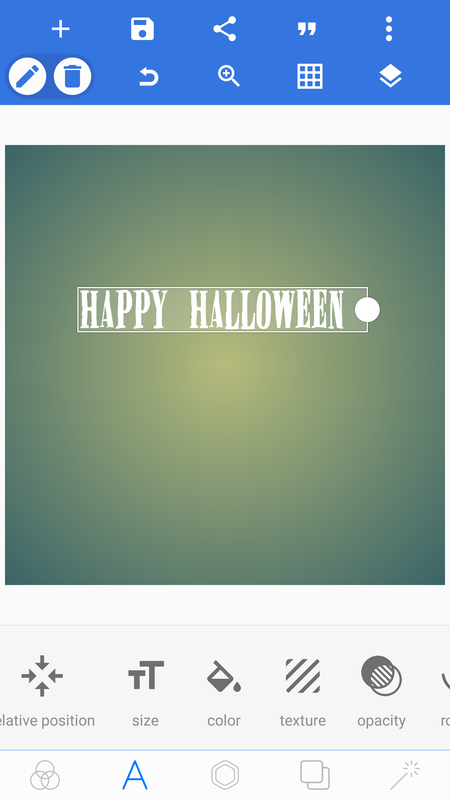
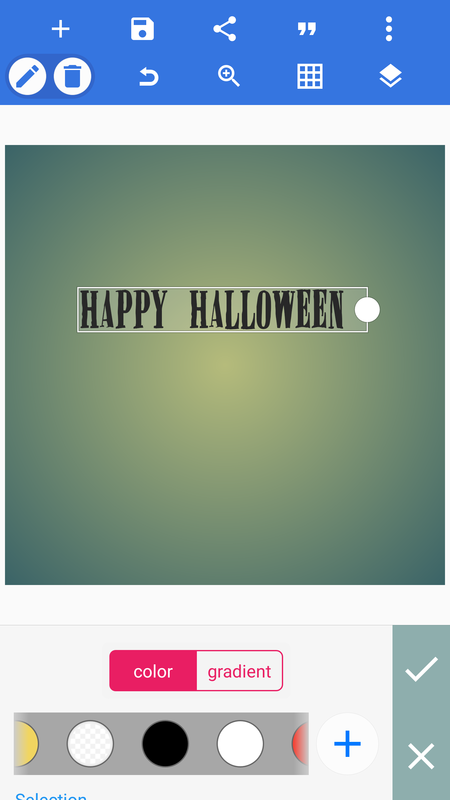
13. You're almost there! Once you get back out of that screen, stay in the "A" section and by scrolling left or right you will see more commands for your font. You can change the color, size, add shadow, perspective, all kinds of things. And that's how you do it! Well, thanks for sticking with me and hopefully you can implement this and add some cool elements to your pages.
Peace, Anne
5 Comments
Terri Fullerton
11/25/2017 09:16:14 am
Thank you for sharing this great tutorial. I don't use my phone as much as I would like, so these type of android articles are wonderful! So many are iPhone related. Thank you. Terri
Anne
11/25/2017 10:20:01 am
You're very welcome!
Terri
1/15/2018 09:55:57 am
Thanks for sharing your expertise. I am so excited. Not very many people are helping android users use their phones for scrapbooking and project life. This is awesome.
Anne
1/15/2018 10:39:18 am
You're welcome! I love my Android phone, but sometimes we get the short end of the stick, lol. Thanks for stopping by! Leave a Reply. |

Hello!
I'm Anne! Follow me as I go through life as a new mom and soon-to-be wife. Always looking for a creative outlet, I want to share all my ideas with you here at Life by Design! 
Archives
February 2018
tags
All
|

 RSS Feed
