hello!Ok, so we are on lesson 2 in our PixelLab 101 series! Yay! I thought really hard about what I wanted to teach you today....and I came up with "Layers". So, in Pixellab, you have the ability to layer elements on top of each other and/or your background/picture. This was actually one of the reasons why I downloaded this app. I kept seeing all these cute .pngs and overlays and really wanted to use them. But in the Project Life app, you can't do that, so I asked around, and PixelLab came highly recommended for Android. And this app will not only allow you to work with .png's, you can even make them as well! But that's a story for another day :) Ok, lets get started. So, this is what we will be making today: 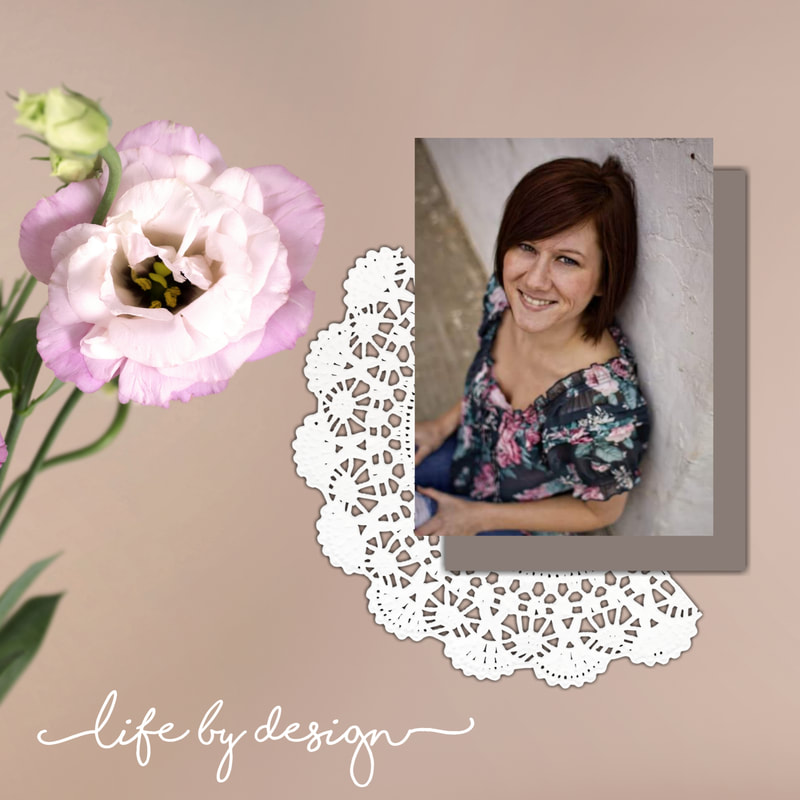 Ok, so first, open your app. The first thing you are going to do is change your background. You can either change the color, or bring in a photo you would like to be your background. To use a photo, just click on the three dots in the upper right hand corner, select "use image from gallery", and then select the photo you would like to use from your gallery/photo storage. 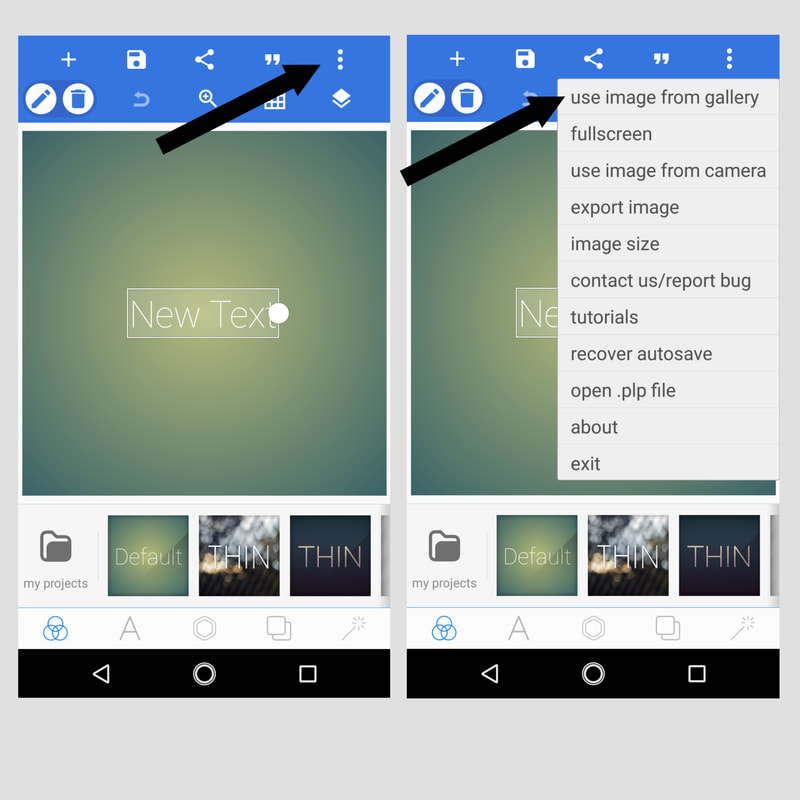 Next you are going to add the first element-the rectangle. Select the hexagon shape in the middle of the bottom menu bar. Select "shapes" and when you click on the drop down menu next to the square, you will see a variety of shapes to choose from. Select the rectangle. 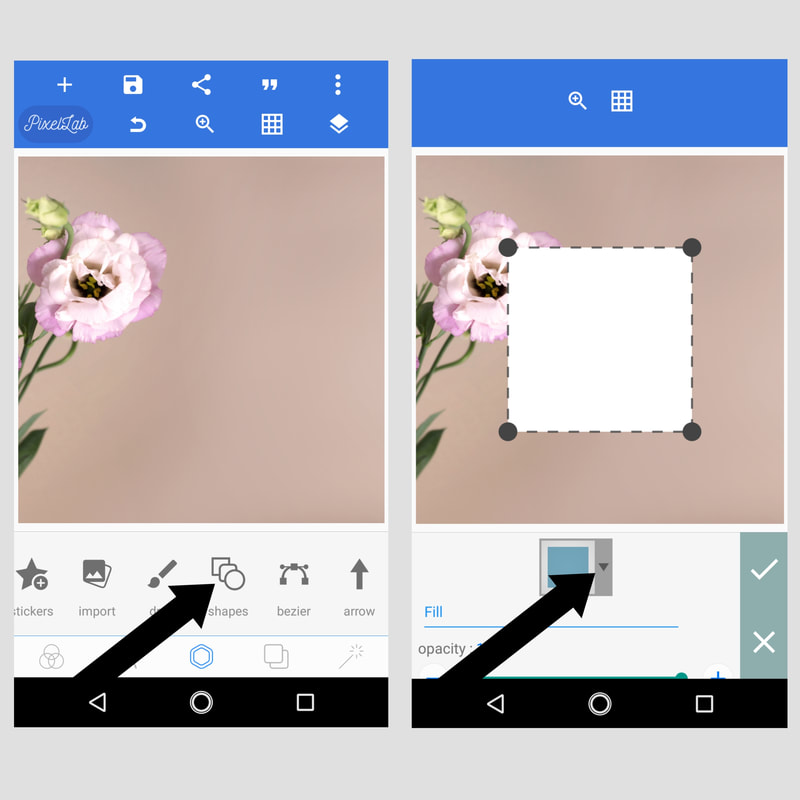 Then you can edit as needed. I changed the color and rotated it. 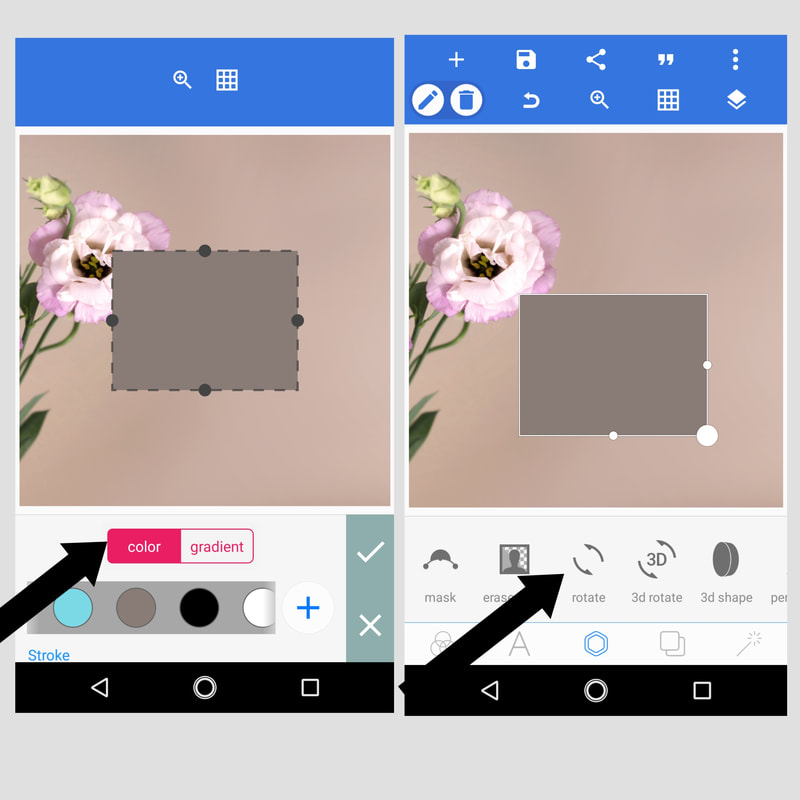 This is where the "layer" feature comes in. Once you place your shape in its final spot, you can lock it in place. This comes in very handy when adding elements on top of each other -especially on a phone, where it can be hard to move things around on such a small screen! In the upper right hand corner, under the three dots, is an icon that looks like two pieces of paper stacked on each other. You will select this and a list of all your elements will pop up on the left side of your screen. Hit the padlock icon and it will lock your element in place. If you want that menu to go away, click on the sheets of paper again. 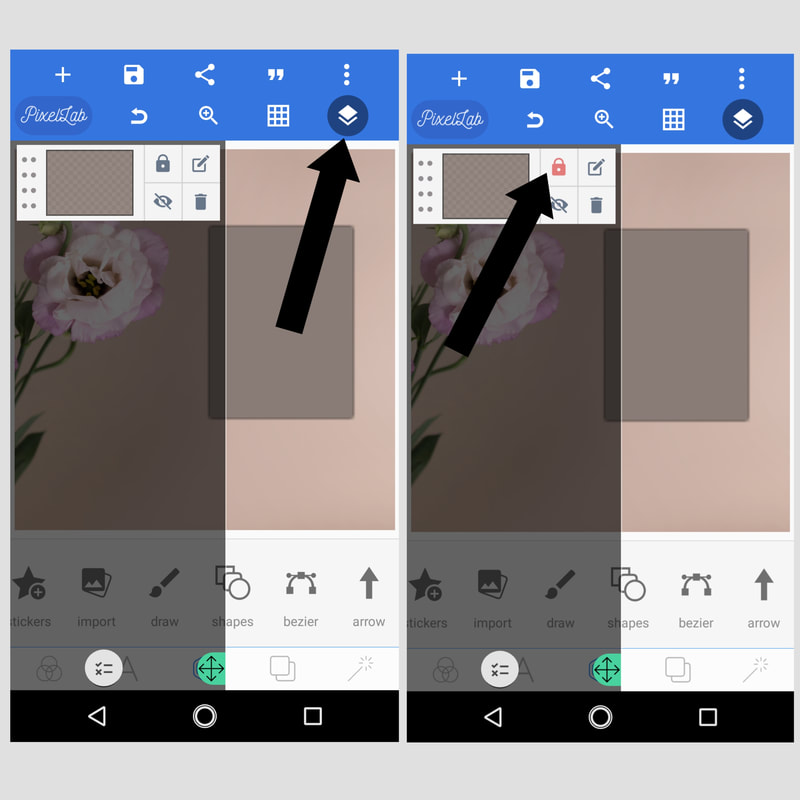 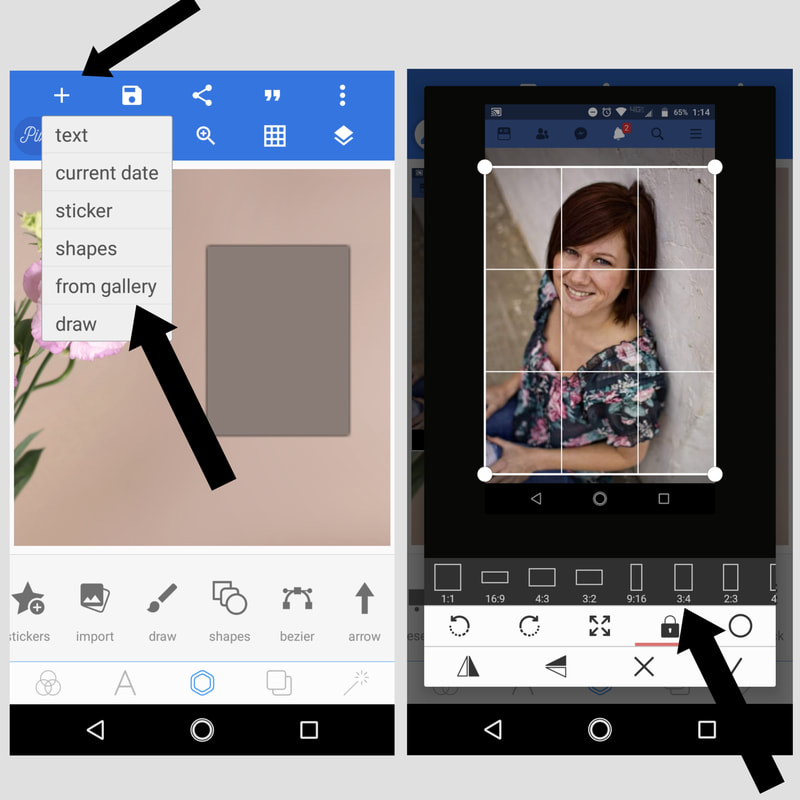 Bring in the next element, edit as needed and lock it in! :) 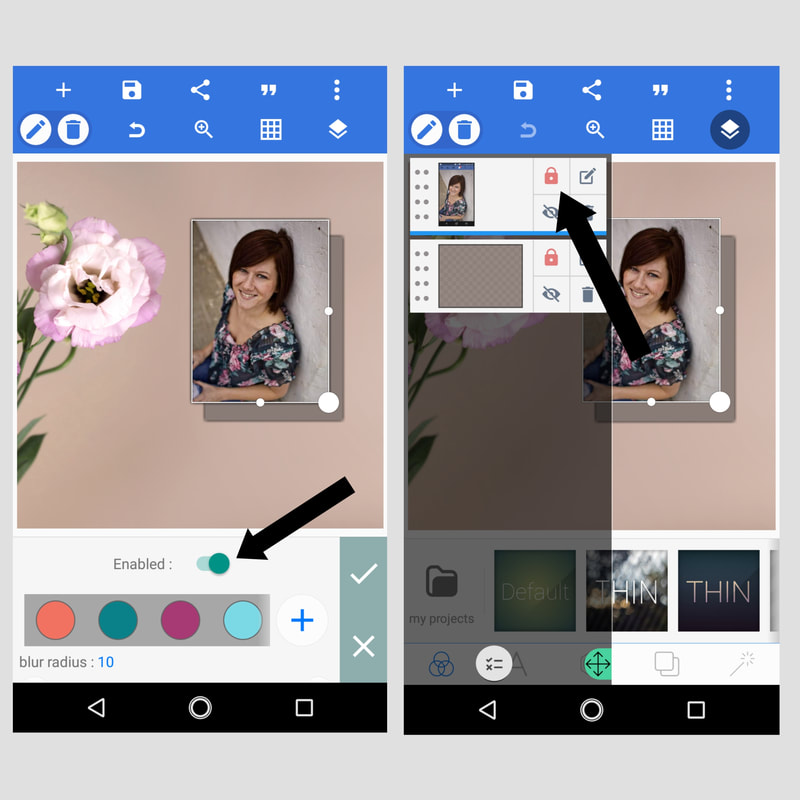  Don't forget, you can mirror and rotate your element before you add it to your page. I did that with the doily.
Then you just add text and it's ready to go! I hope you enjoyed this tutorial and feel free to comment if you have questions! Thanks for stopping by! Peace, Anne
0 Comments
So, as most of you know, I am a white background girl when it comes to my PL pages. But every once in a while, I like a little somethin' extra to set off a page. In that case, I use PixelLab to allow me to layer a PL layout on top of a background, such as a digital scrapbook paper. So today I'm going to share a tutorial in how to do this :) See below! 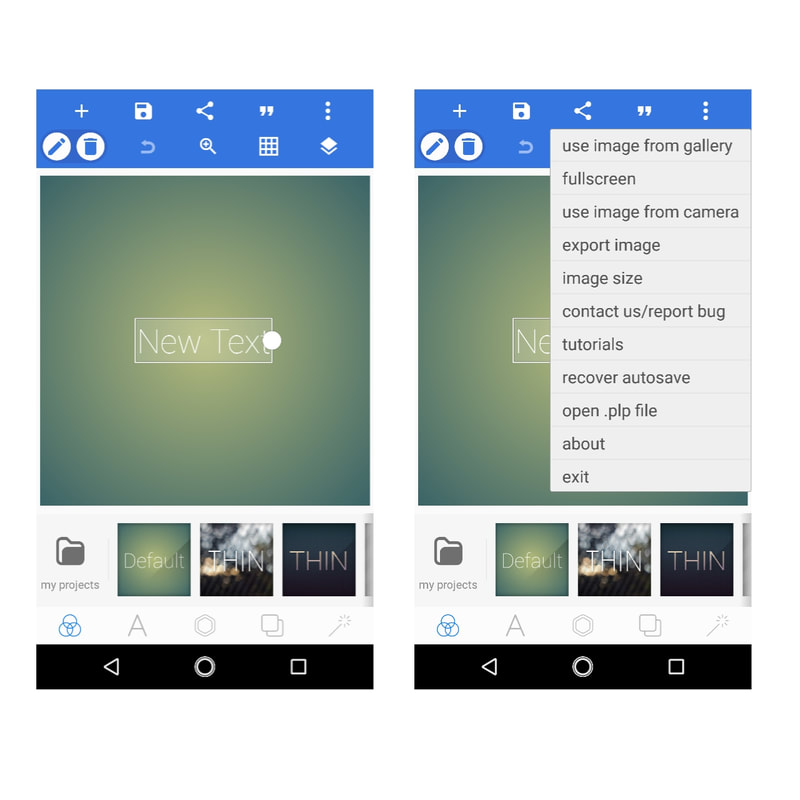 First, open your app. Now here's where you can go two different directions. You can select the squares to the left of the wand at the bottom and then change the color of the background to a solid or gradient color. Or you can select the three dots on the top right and choose an image you want to be your background. After you've done one of these two things, delete the text box (or you can just move it to the side if you plan on adding text to your page.) 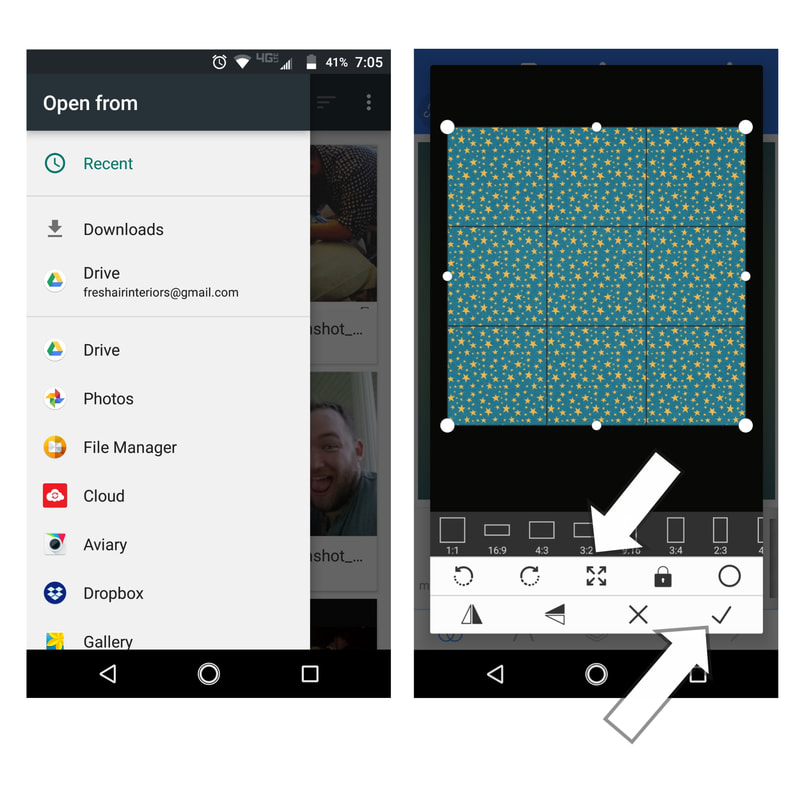 If you do bring in an image as your background, make sure you hit the "x" so it expands it to the full size. Then select the checkmark. 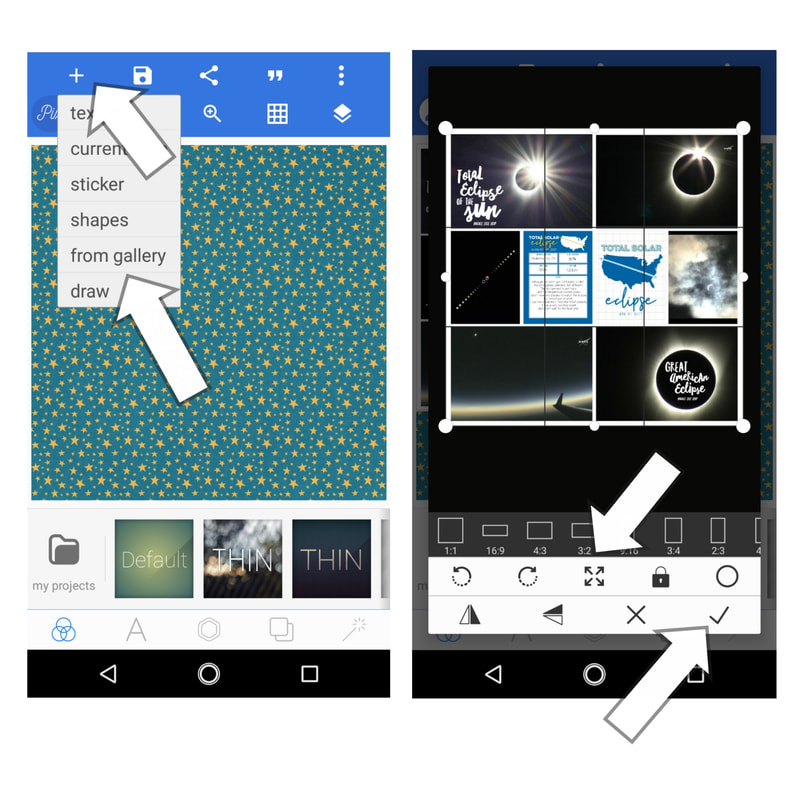 Once you have your background ready, select the cross in the upper left corner. Choose "from gallery". This will give you the option to select a photo to layer on top of your background.  Ok, almost done! Now that your layout is on your background, you can use the dot on the box around your picture. to expand or decrease it, so it leaves an even amount of background around your layout. From there you can add a shadow if you like by selecting the hexagon in the bottom, middle. Then, swipe to the right to the shadow icon and add whatever color shadow you like. I usually just do black. And that's it! Now you have a Project Life layout with a border. 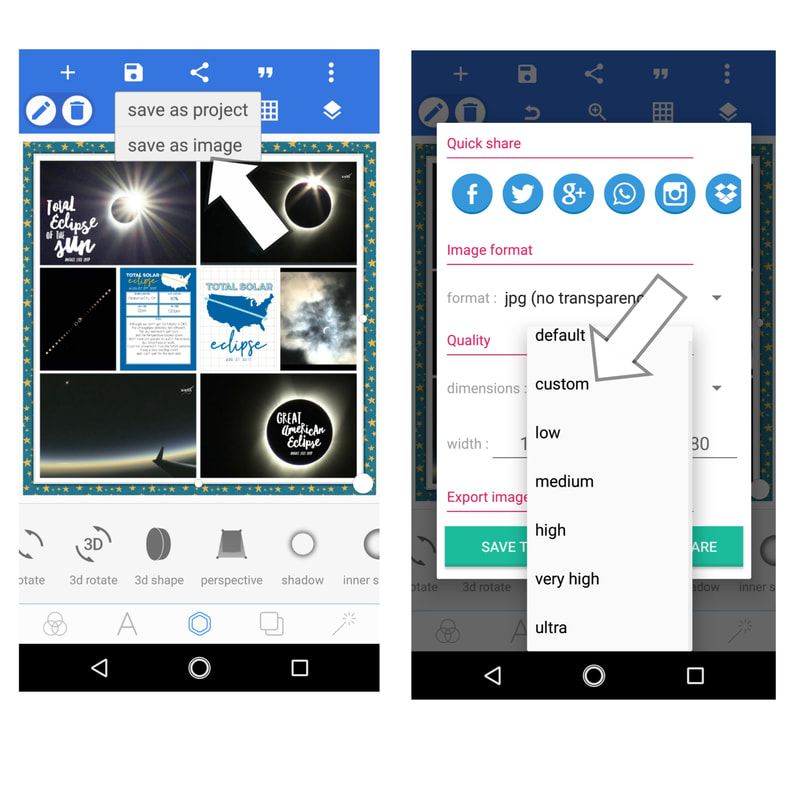 The only thing left to do is save. If you save as a project, it only saves it within the PixelLab app for you to edit later. Or you can save as a picture-make sure it is a 1280x1280 square. 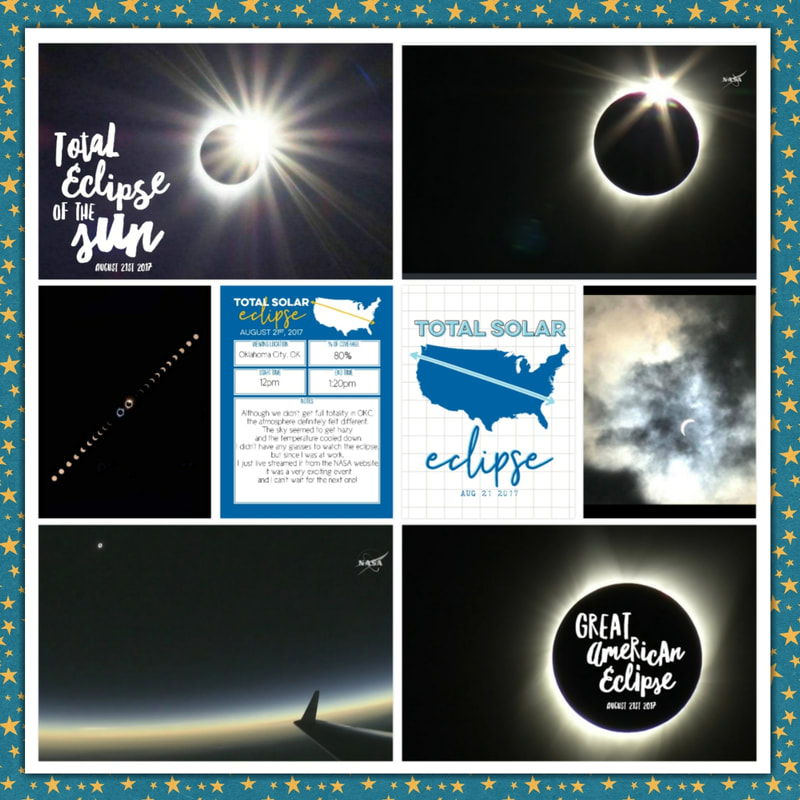 The finished product! Ok, so how do you get this back into the PL app? Simply select the collage feature in the PL app, and drop it into a 12x12 collage template. Et voila!
Let me know if you have tried this and if you have any questions, feel free to ask in the comments below! Peace, Anne hello! Welcome, February! I can't believe January is over, but then again, it felt like a looong month. I had my birthday this month...no, i'm not that excited about it, but oh well. I'm only going to get older, I suppose! ;) So, I'm sure most of you are familiar with the new preferences and kits the Project LIfe app has recently released. I just want to go over those today and then show off some layouts with the new game changer - no drop shadows! Lets get started! 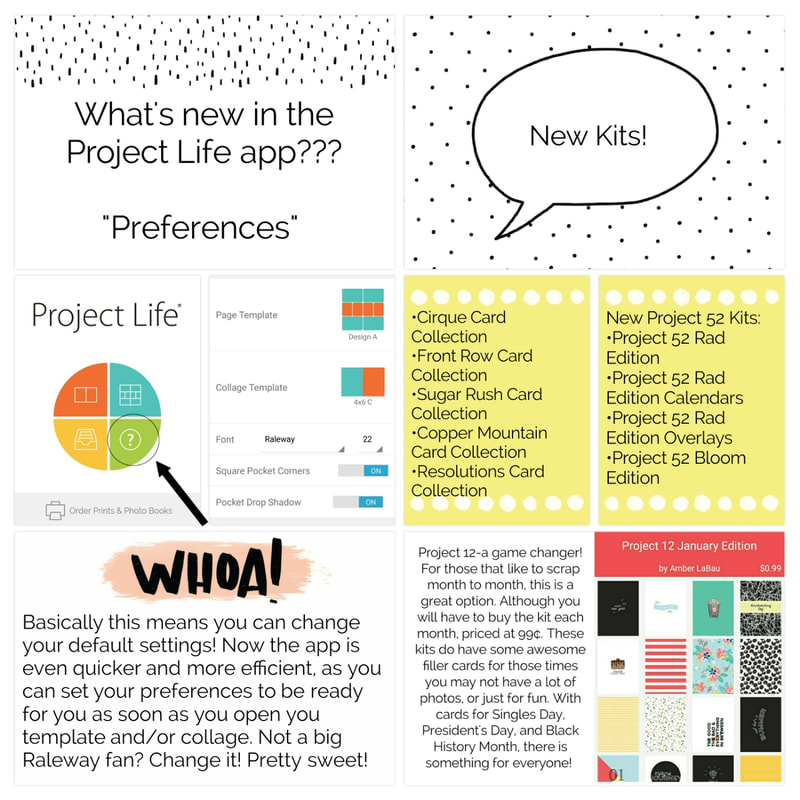 So, there it is! A basic overview of some new things. Have you all tried any of the new kits? So far, I have purchased Copper Mountain (I ended up being kind of disappointed by it-not a lot of selection), and the Project 52 Rad Edition (minus the calendars and overlays...for now). I love the Rad Edition more than I thought I would. It has a great variety and the cards have some really unique phrases and patterns on them. Love it! Now, on to the drop shadows. Normally, when you build a layout, it has a slight shadow line around each picture and card. This helps to create a more "pocket" look. By turning off the drop shadows, it eliminates the pocket look and can create an almost traditional looking scrapbook page. It's been fun playing with it and I've even created some cool pages with it in the PixelLab app...but more on that later :) Here are a few of my pages without the drop shadows: 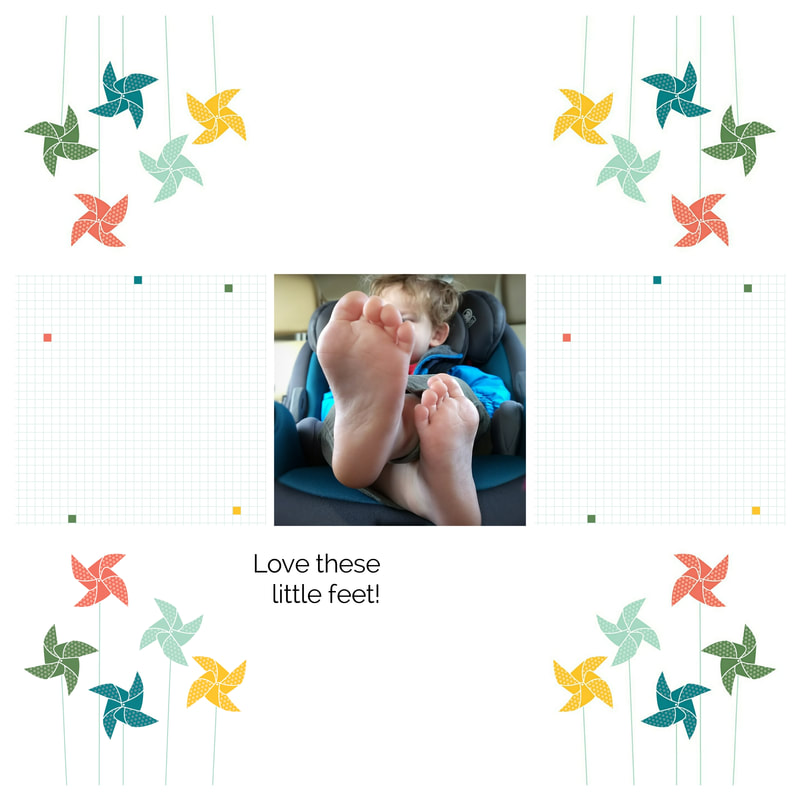 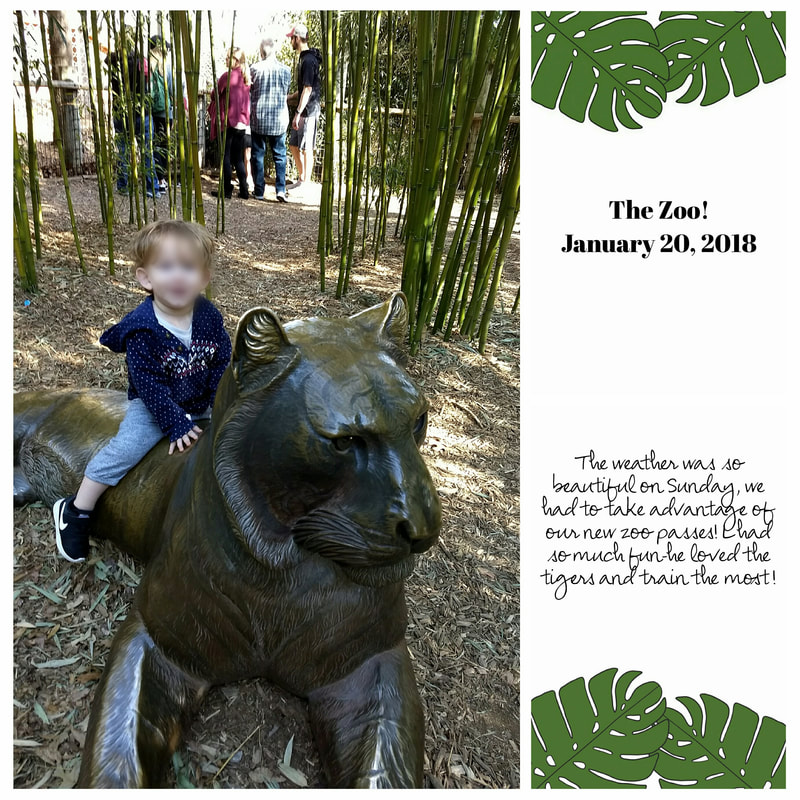 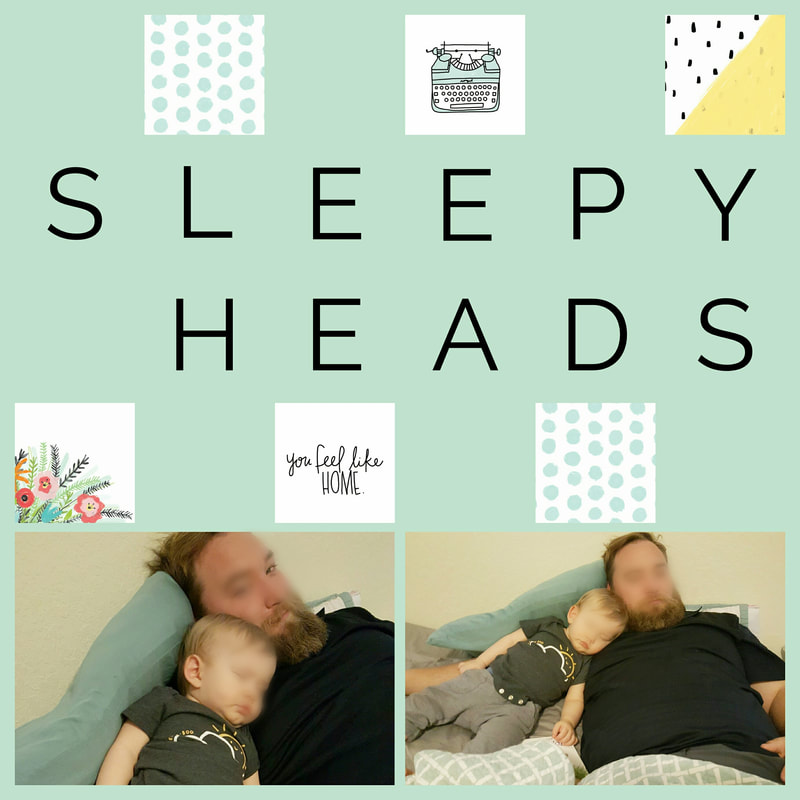 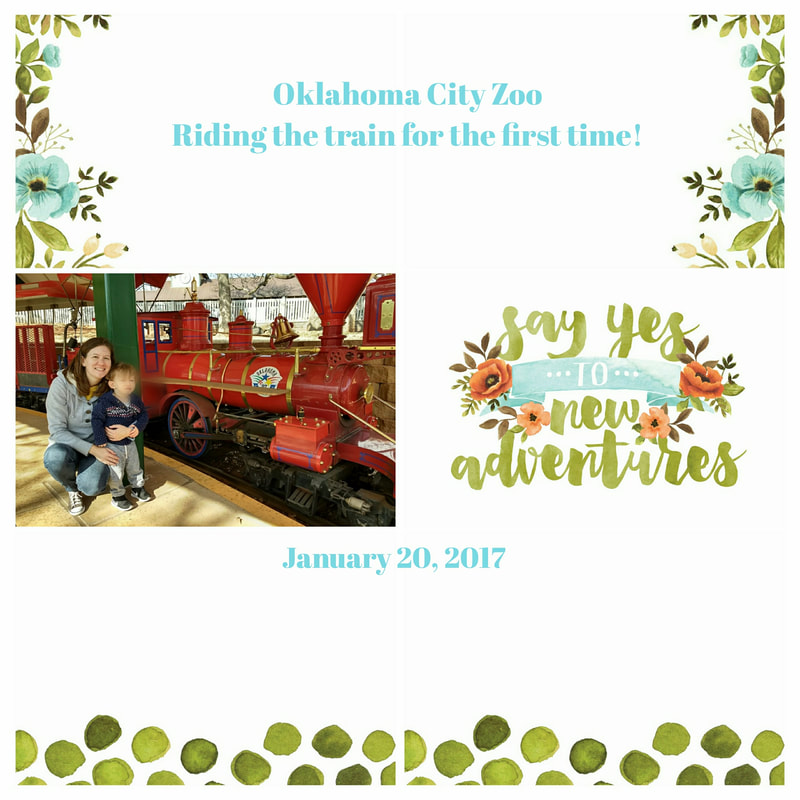 And don't forget-if you do use outside apps to add elements to your layouts, these new kits have other digital elements that coordinate on the Becky Higgins website! Hope you all get to try some of these new features!
Peace, Anne |
Hello!
I'm Anne! Follow me as I go through life as a new mom and soon-to-be wife. Always looking for a creative outlet, I want to share all my ideas with you here at Life by Design! 
Archives
February 2018
tags
All
|
 RSS Feed
